And thank you too, Jeff! Your “well documented build” was a great tutorial and a good motivating tool! WTG!
And I have a Q for you - I have CNC router in my future plans and, as I understand it, you built lowrider. Would you recommend it? My needs are like stairs for the staircase, railing for a balcony - nothing very precise but bulky. Or I am expecting too much from a CNC router?
I love my Low Rider and getting involved with the MPCNC has been a huge joy for me.
The low rider is great at cutting through large sheet goods. It is ok at carving and thicker material. But it is not a miracle tool and needs a lot of knowledge to run. I am having a hard time imagining what kind of railing or stairs would be easier to be cut out on a cnc. A lot of that kind of “house construction” woodworking is really designed to fit the common tools. Most of that is, cut to within 1/8", cover with trim.
The best application for a low rider is sort of ikea flat pack furniture. If you want to cut out a shape, add tabs for joinery and cut out small pockets, it will be great. Any kind of 3D shape or large areas of carving is going to be a massive job. Engraving or carving art on a large piece is fine, as long as the carving isn’t the whole area (job time is proportional to area, and gets huge quick).
My projects usually require cutting, planing and sanding. I am living in the country and I am building rough and strong things:)
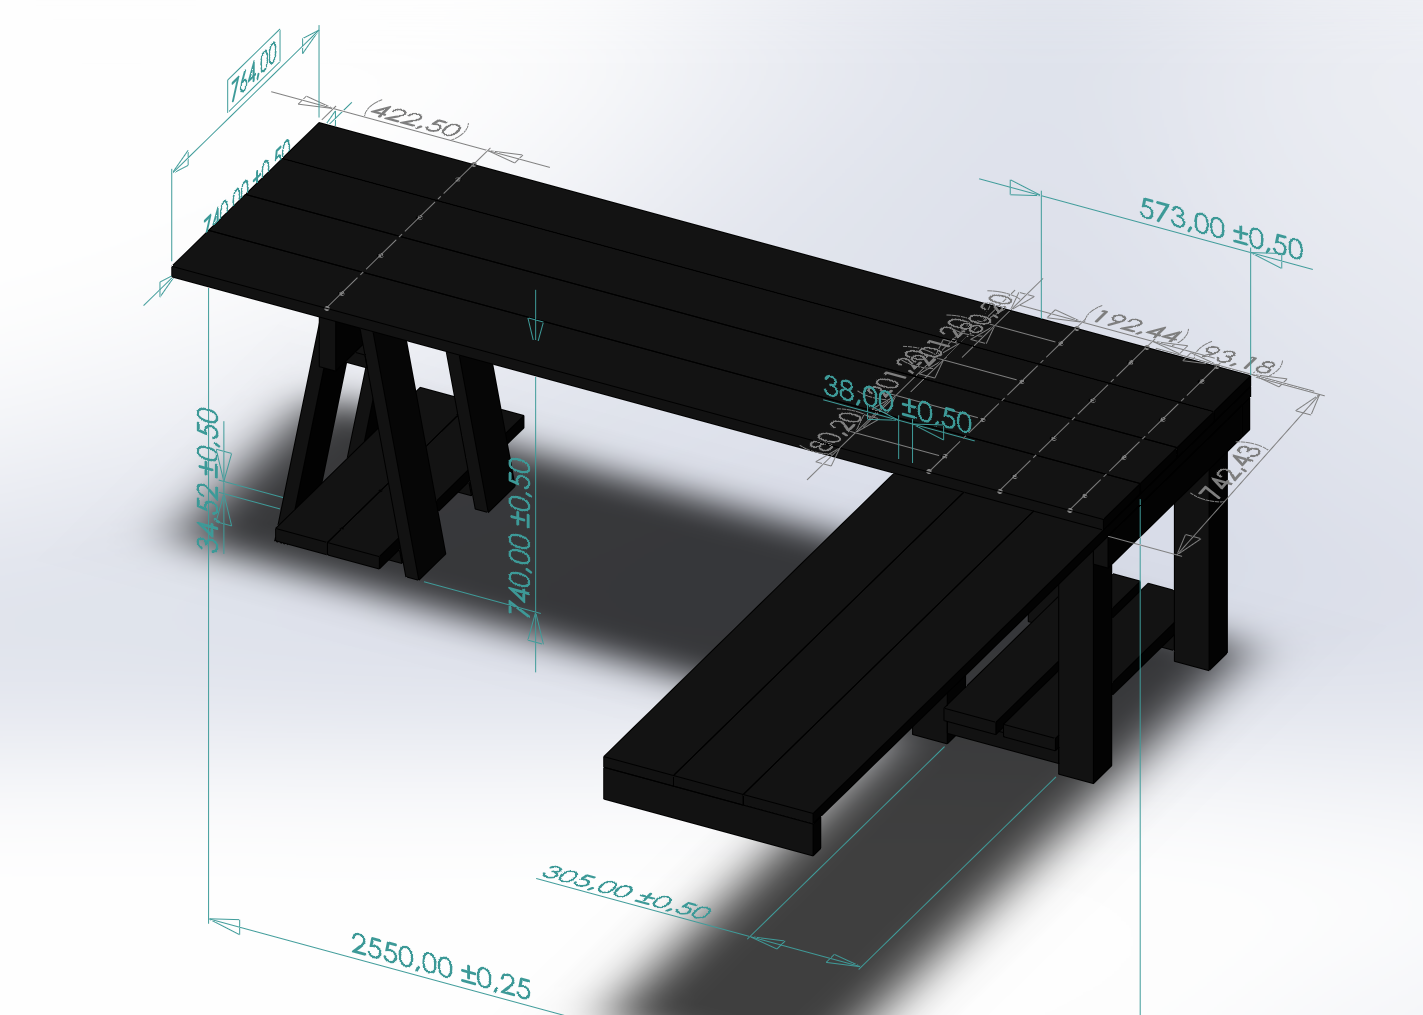
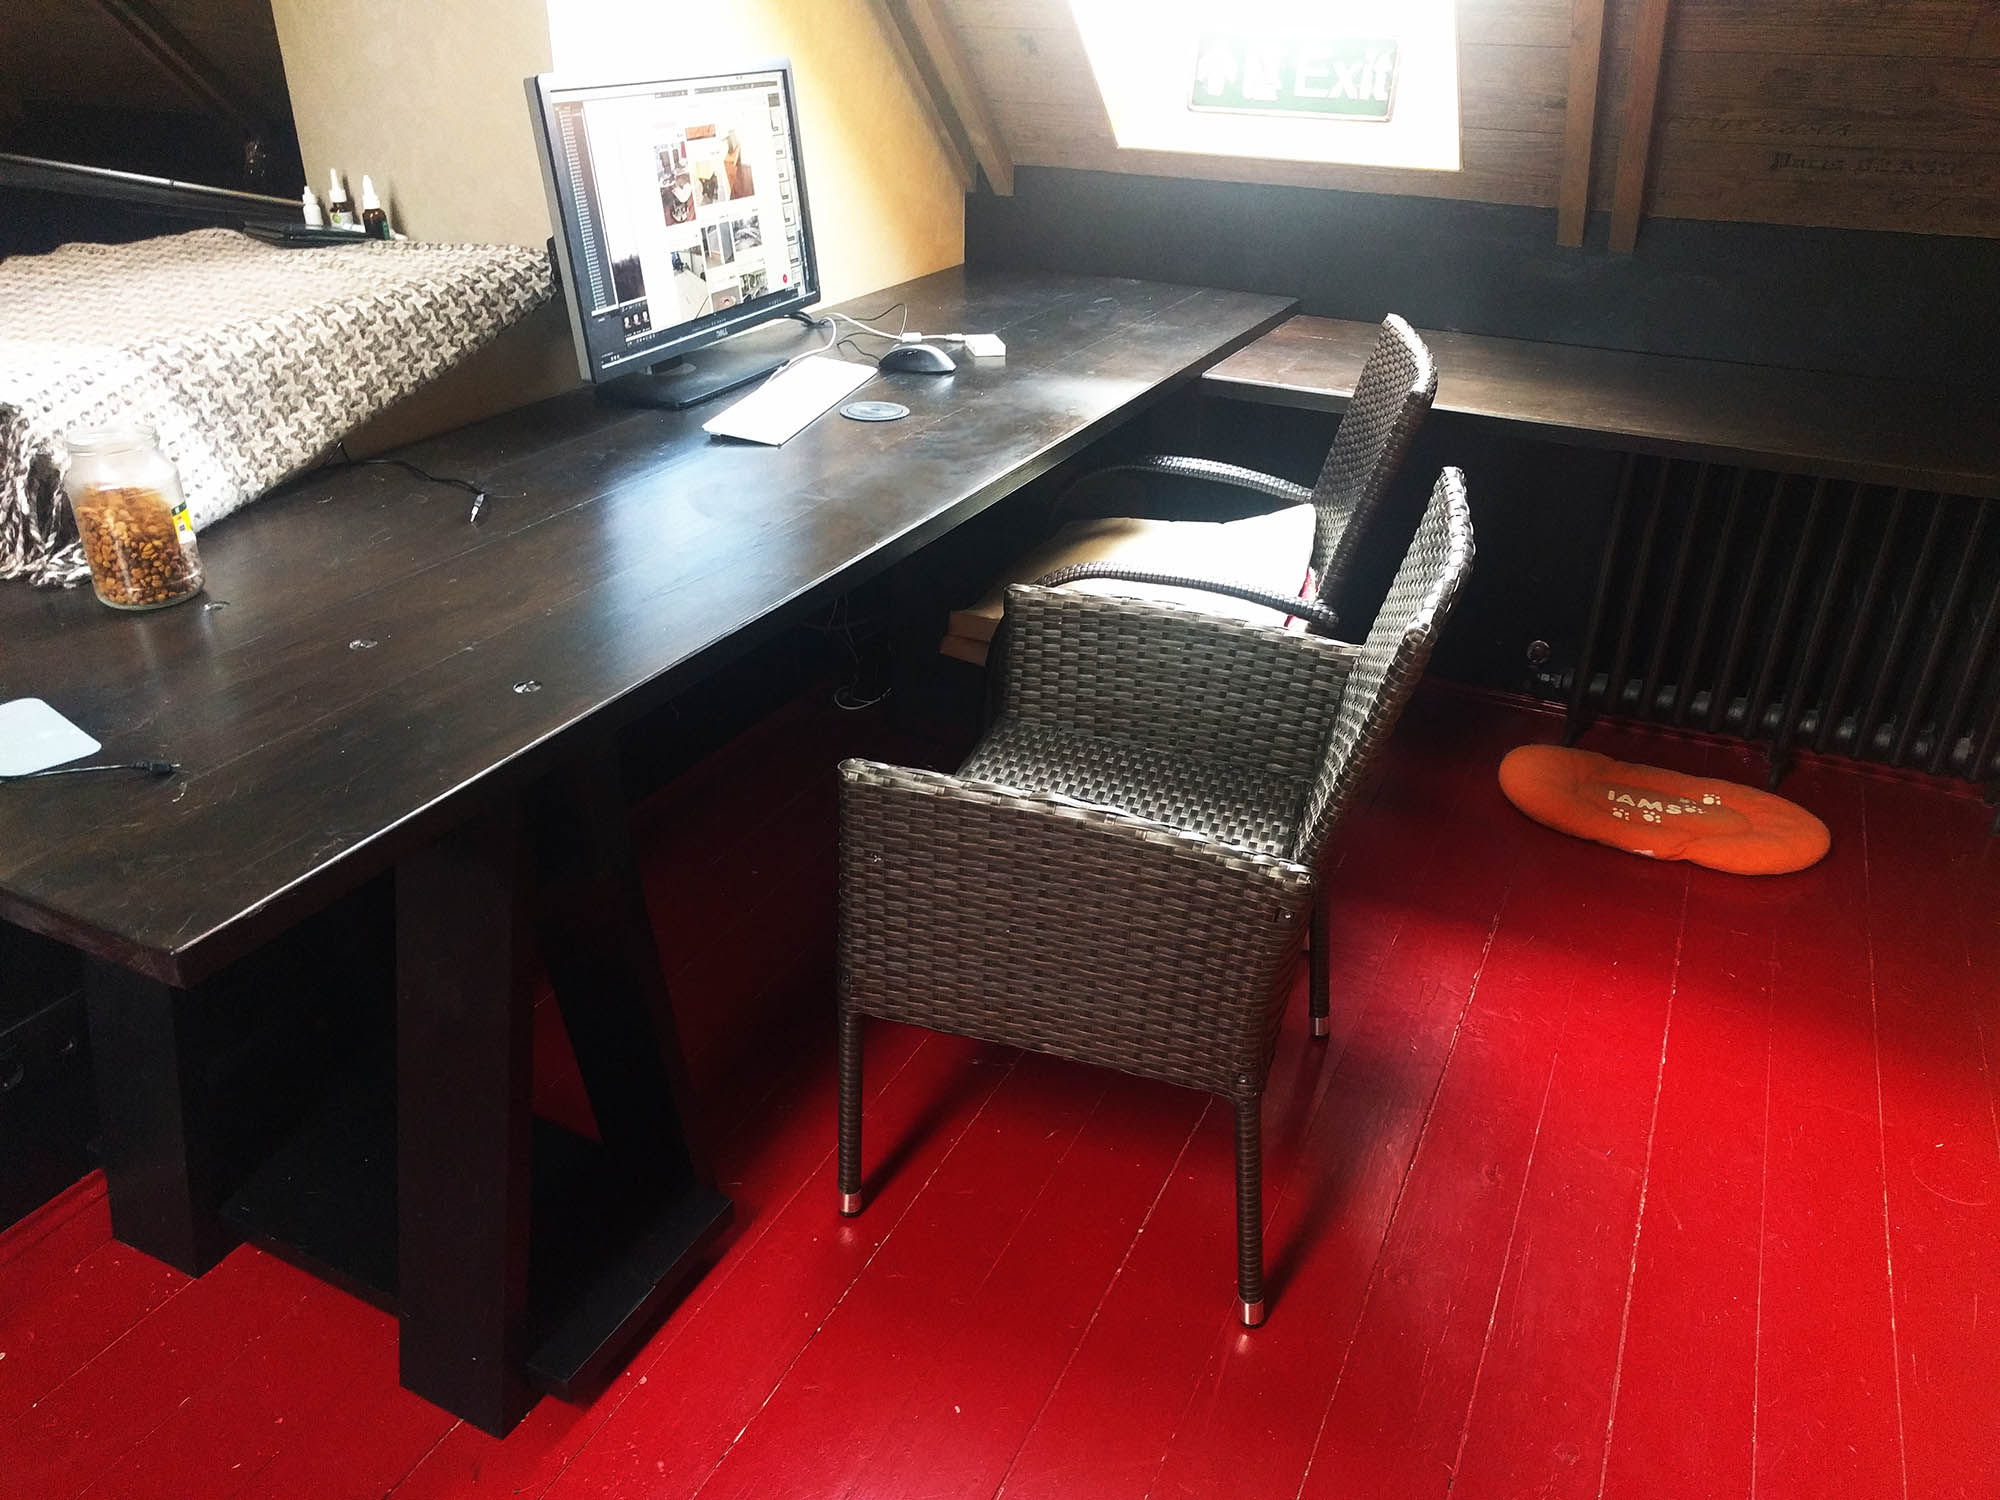
This is my desk, for example:
I am using cheap solid wood most of time, but cutting flat leafs ability would be useful too.
My biggest problem with the woodworking is my allergy. All this dust from planing and sanding is not good for me. Absolutely. And this kind of job is dull and my skills are low, it is not easy for me to do it more or less precisely.
So, my wet dream is to build a CNC, position it outdoors and drink coffee while it is working
Surely, the reality is rough thing… but if I replace some %% of hand work with CNC it could be great.
And surely, I do not really understand what a CNC can and can not do at the moment…
You can see some stuff that is possible with the LR, but really, it is very hard to tell how much effort, and scrap wood were needed.
They say you shouldn’t leave your 3D printer unattended, but you definitely should never leave a CNC. The routers are about 600W, and they are operating very close to their limits, so if the but gets buried, it will have no idea and just grind away steel on wood, which will make a fire in a few moments. You will have less than a minute to stop things before you end up with an uncontrolled fire. It sounds like you want to watch it anyway, but just to be perfectly clear.
This is what I think is the ideal project. Creating high precision 3D furniture from sheet goods. Etching/carving patterns is also a great application (again, as long as you aren’t doing huge carves).
But, I may be underestimating your interest. Just know that some of the projects in that gallery are dozens of hours of cuts, and you have a high likelyhood of making fails. And then at the end, you still usually need to sand and finish the projects.
Many thanks for your input:)
I had a suspicion that there is no free ice cream… and you reinforced it! I shall use it outdoors only and let it burn!!!
Your stool project is quite nice. But when your boy is 20-25 it would not be so easy for you:)
Actually, I can see some real BIG and NICE projects in the gallery. I understand that it takes time and effort to build them. And CNC is just only one of the tools and not the magic wand.
On the other hand, the projects like the table I mentioned, do take quite a lot of time and effort with or without CNC
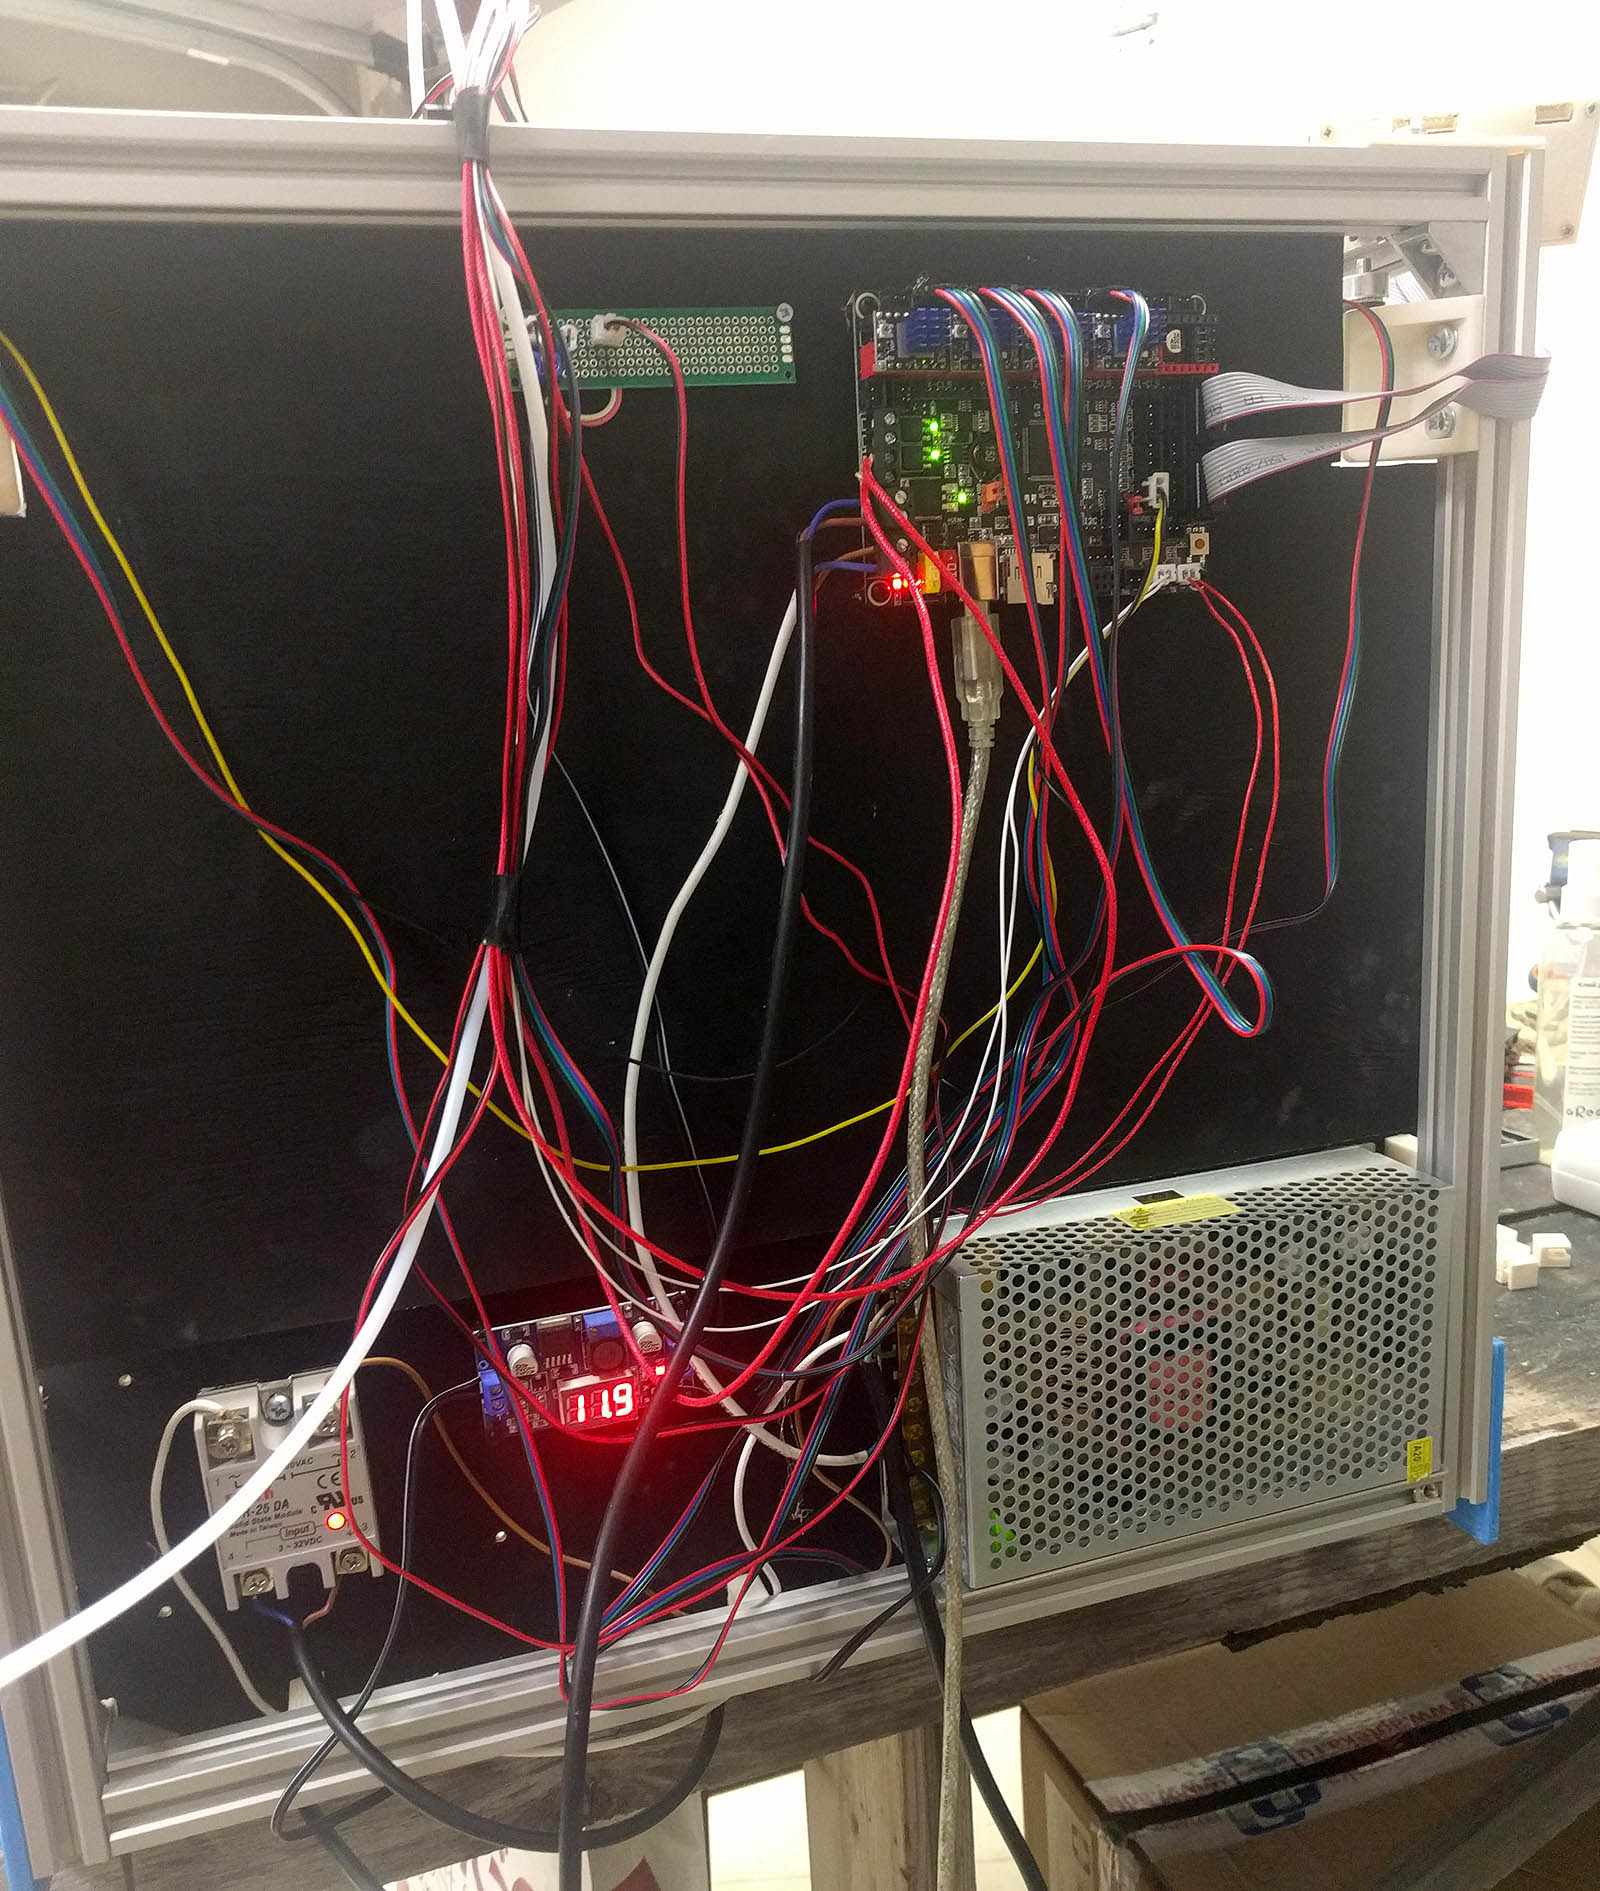
I am planning to add some kind of enclosure later, so I was not a problem to add a wall here. Now I have more space for electronics placement AND, miraculously, I do not need longer wires anymore. All stock cabling is long enough now.
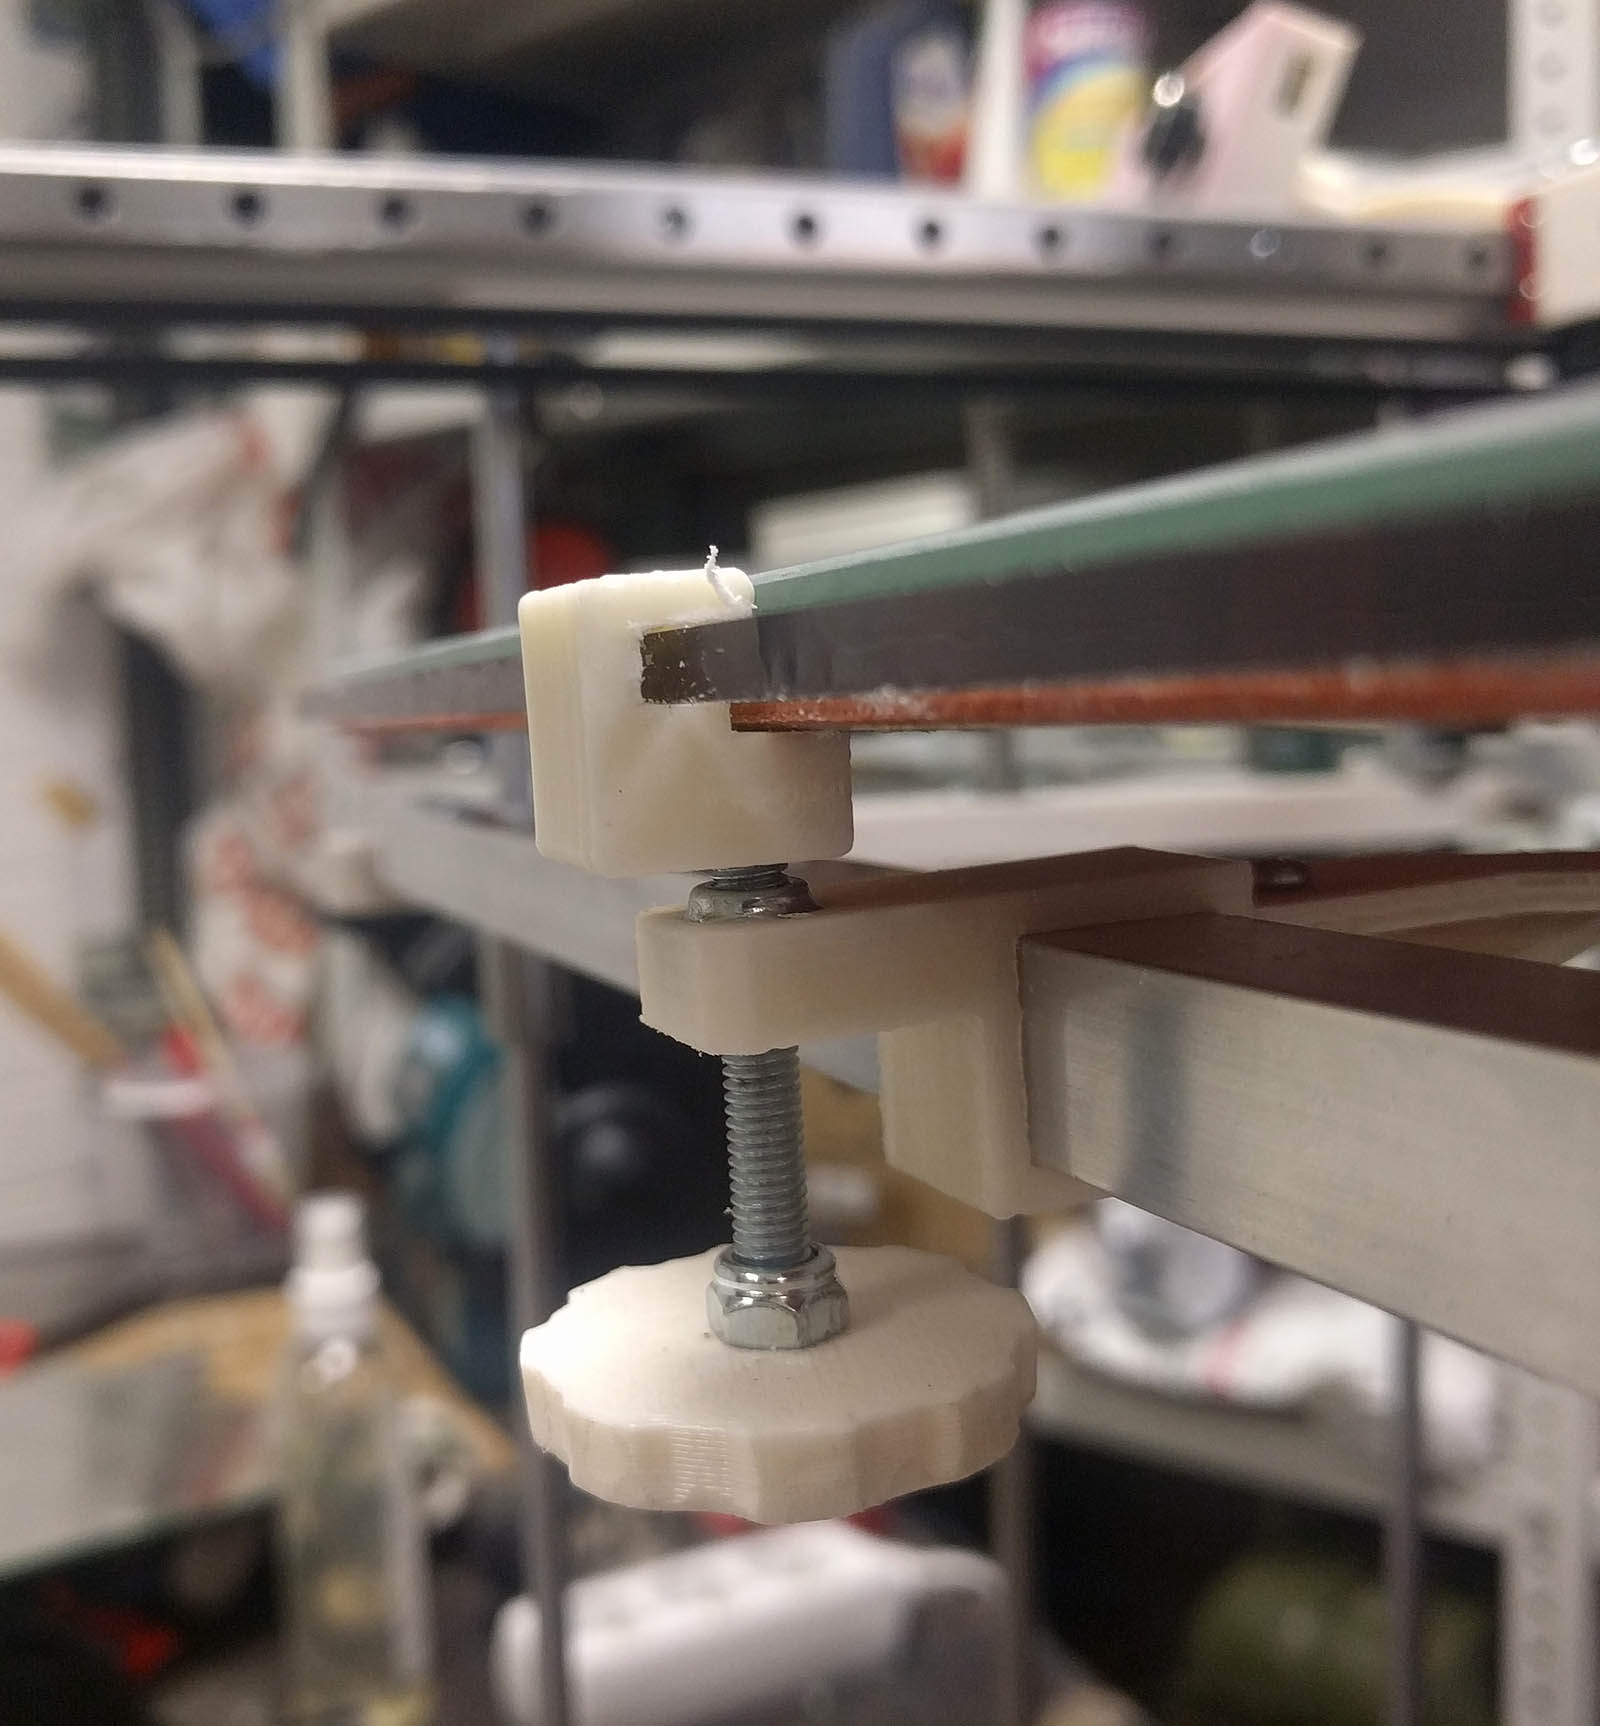
My hotbed is 310x310 4mm custom cut ceramic glass from a local glass shop (it is used for the fireplaces, brand is Robax, I believe). I am using a 220V 500W silicone heater pad from Aliexpress. Did not add a cork yet… BTW, what glue are you using for the cork, guys?
I am using 300x300 mirror glass tiles on the top. You can see this sandwich here:
I printed this clip with ABS, but I think I will need something more heat resistant later in case I print a lot ABS here… BTW, I use a self-locking nut with this clip to keep the table height setting stable.
I know, I know, you are going to criticize me for not being on the safe side with 220V… You are right, but to defend myself I can only say that I am a crazy russian, I am using this setup for a while, and the current is small, so the wires are cold and not heat-degrading, opposite to low voltage solutions.
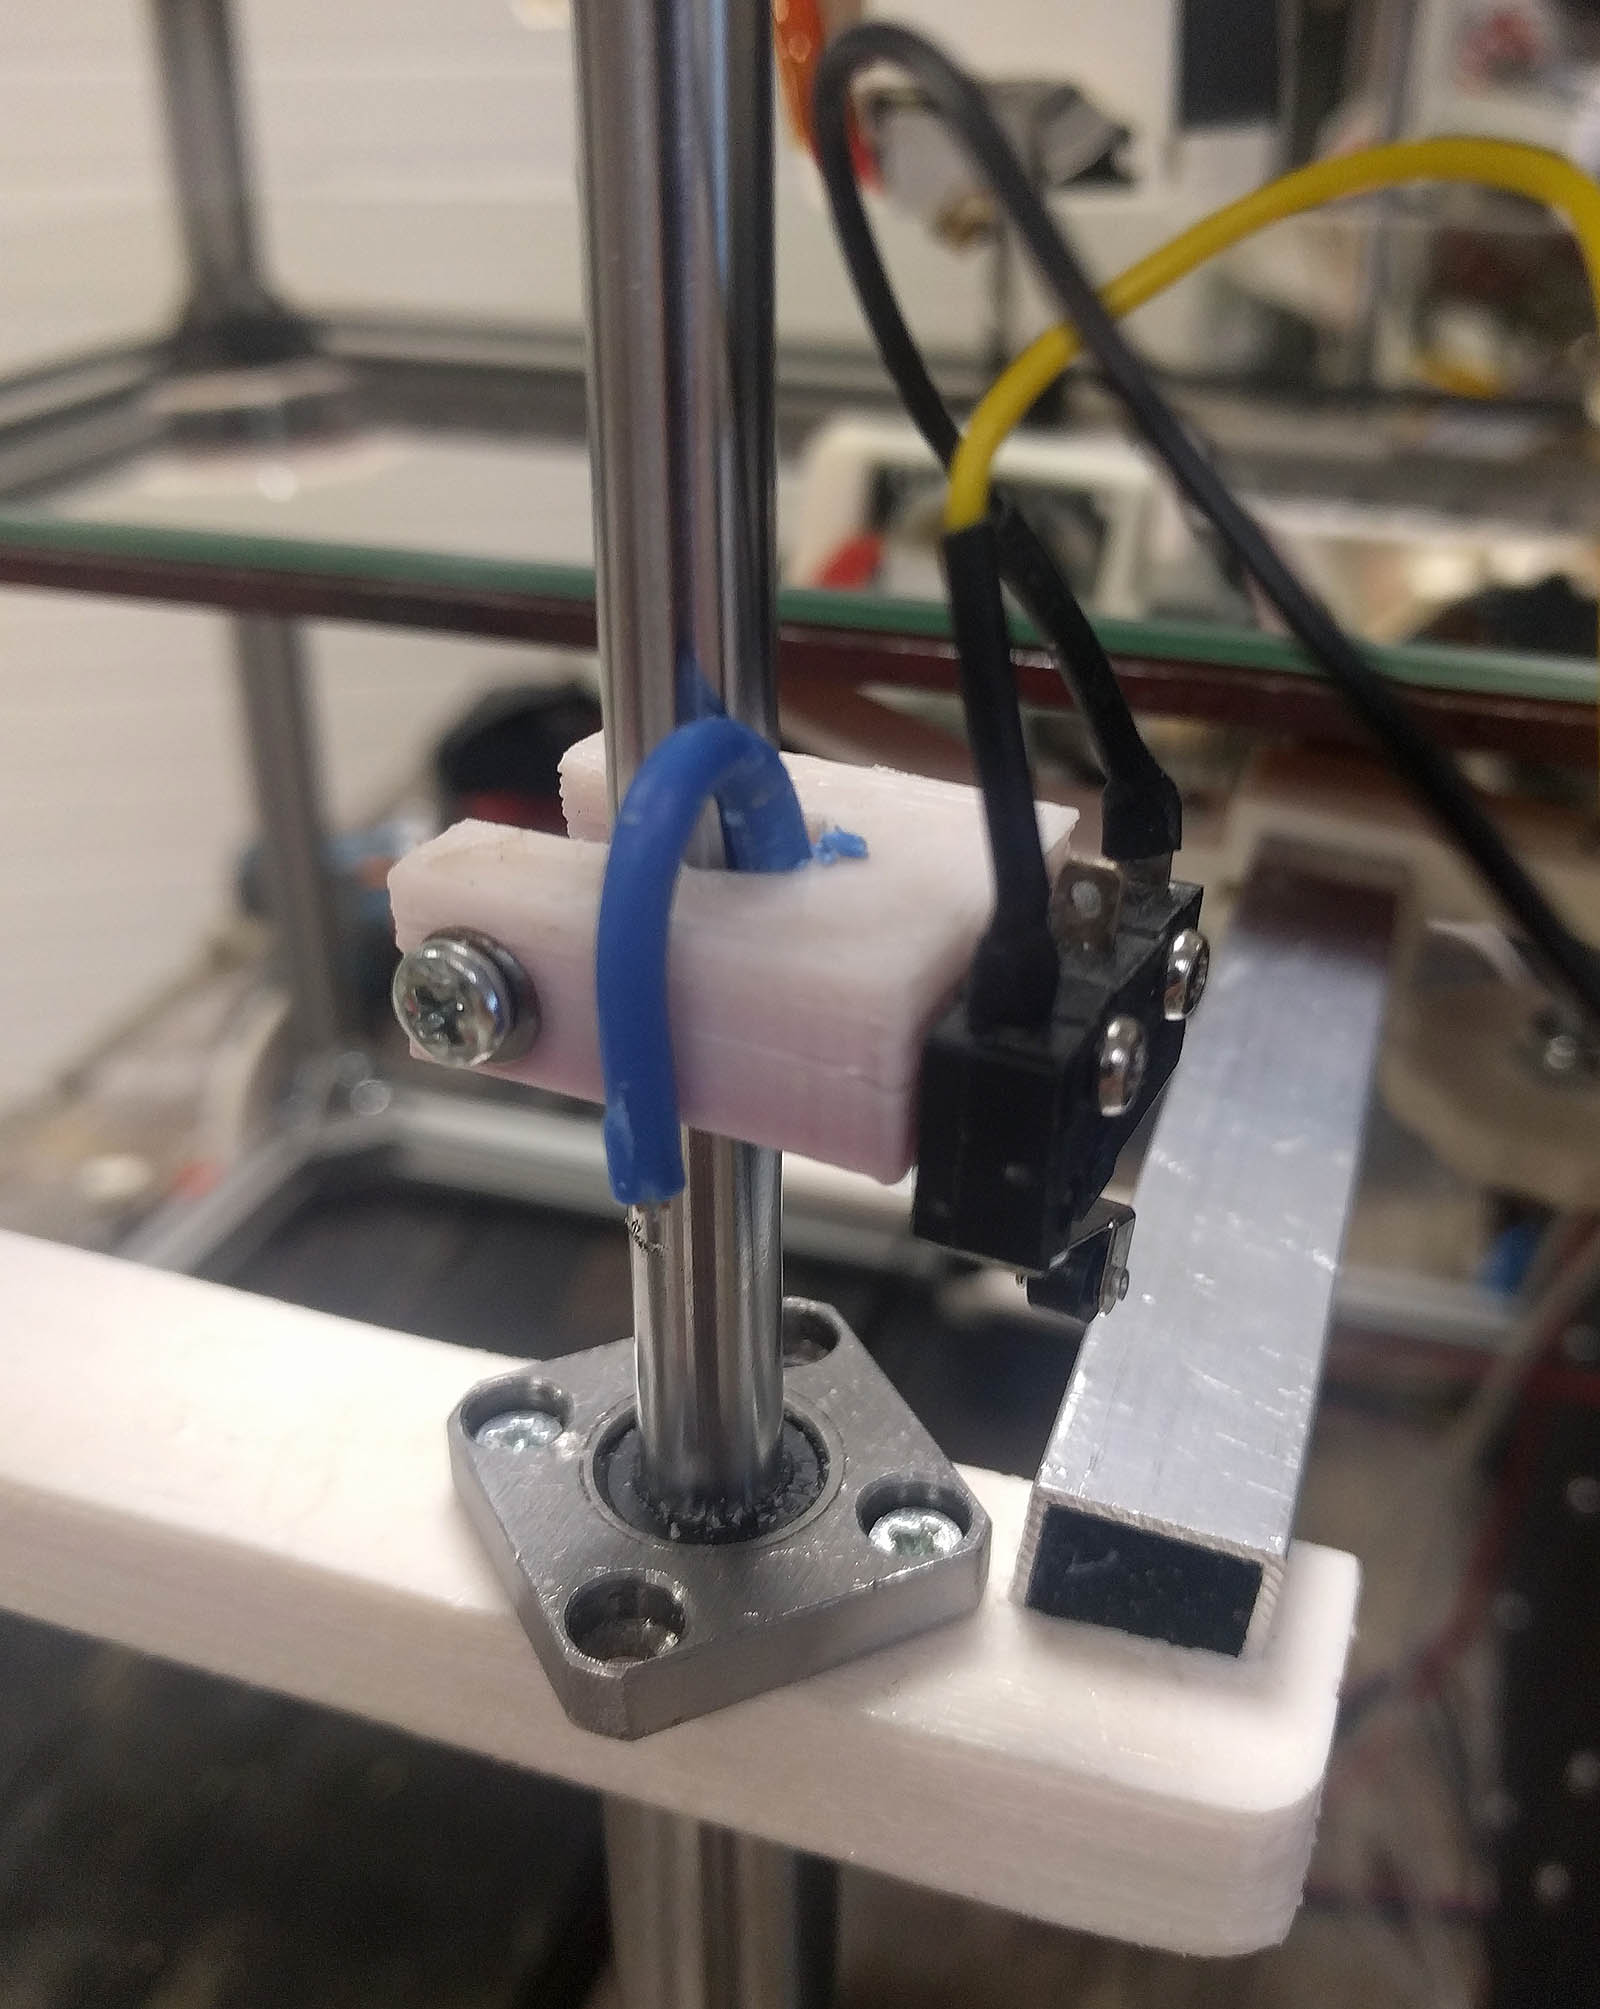
The mount is a bit short, I am using a blue wire as a spacer here, will redesign it later. Actually, this very primitive sensor was my only available option in stock and I was going to replace it with something more cozy later, but, astonishingly, it is pretty stable and precise. And I feel that as long as I stay with only one bed surface, I do not need any bed levelling.
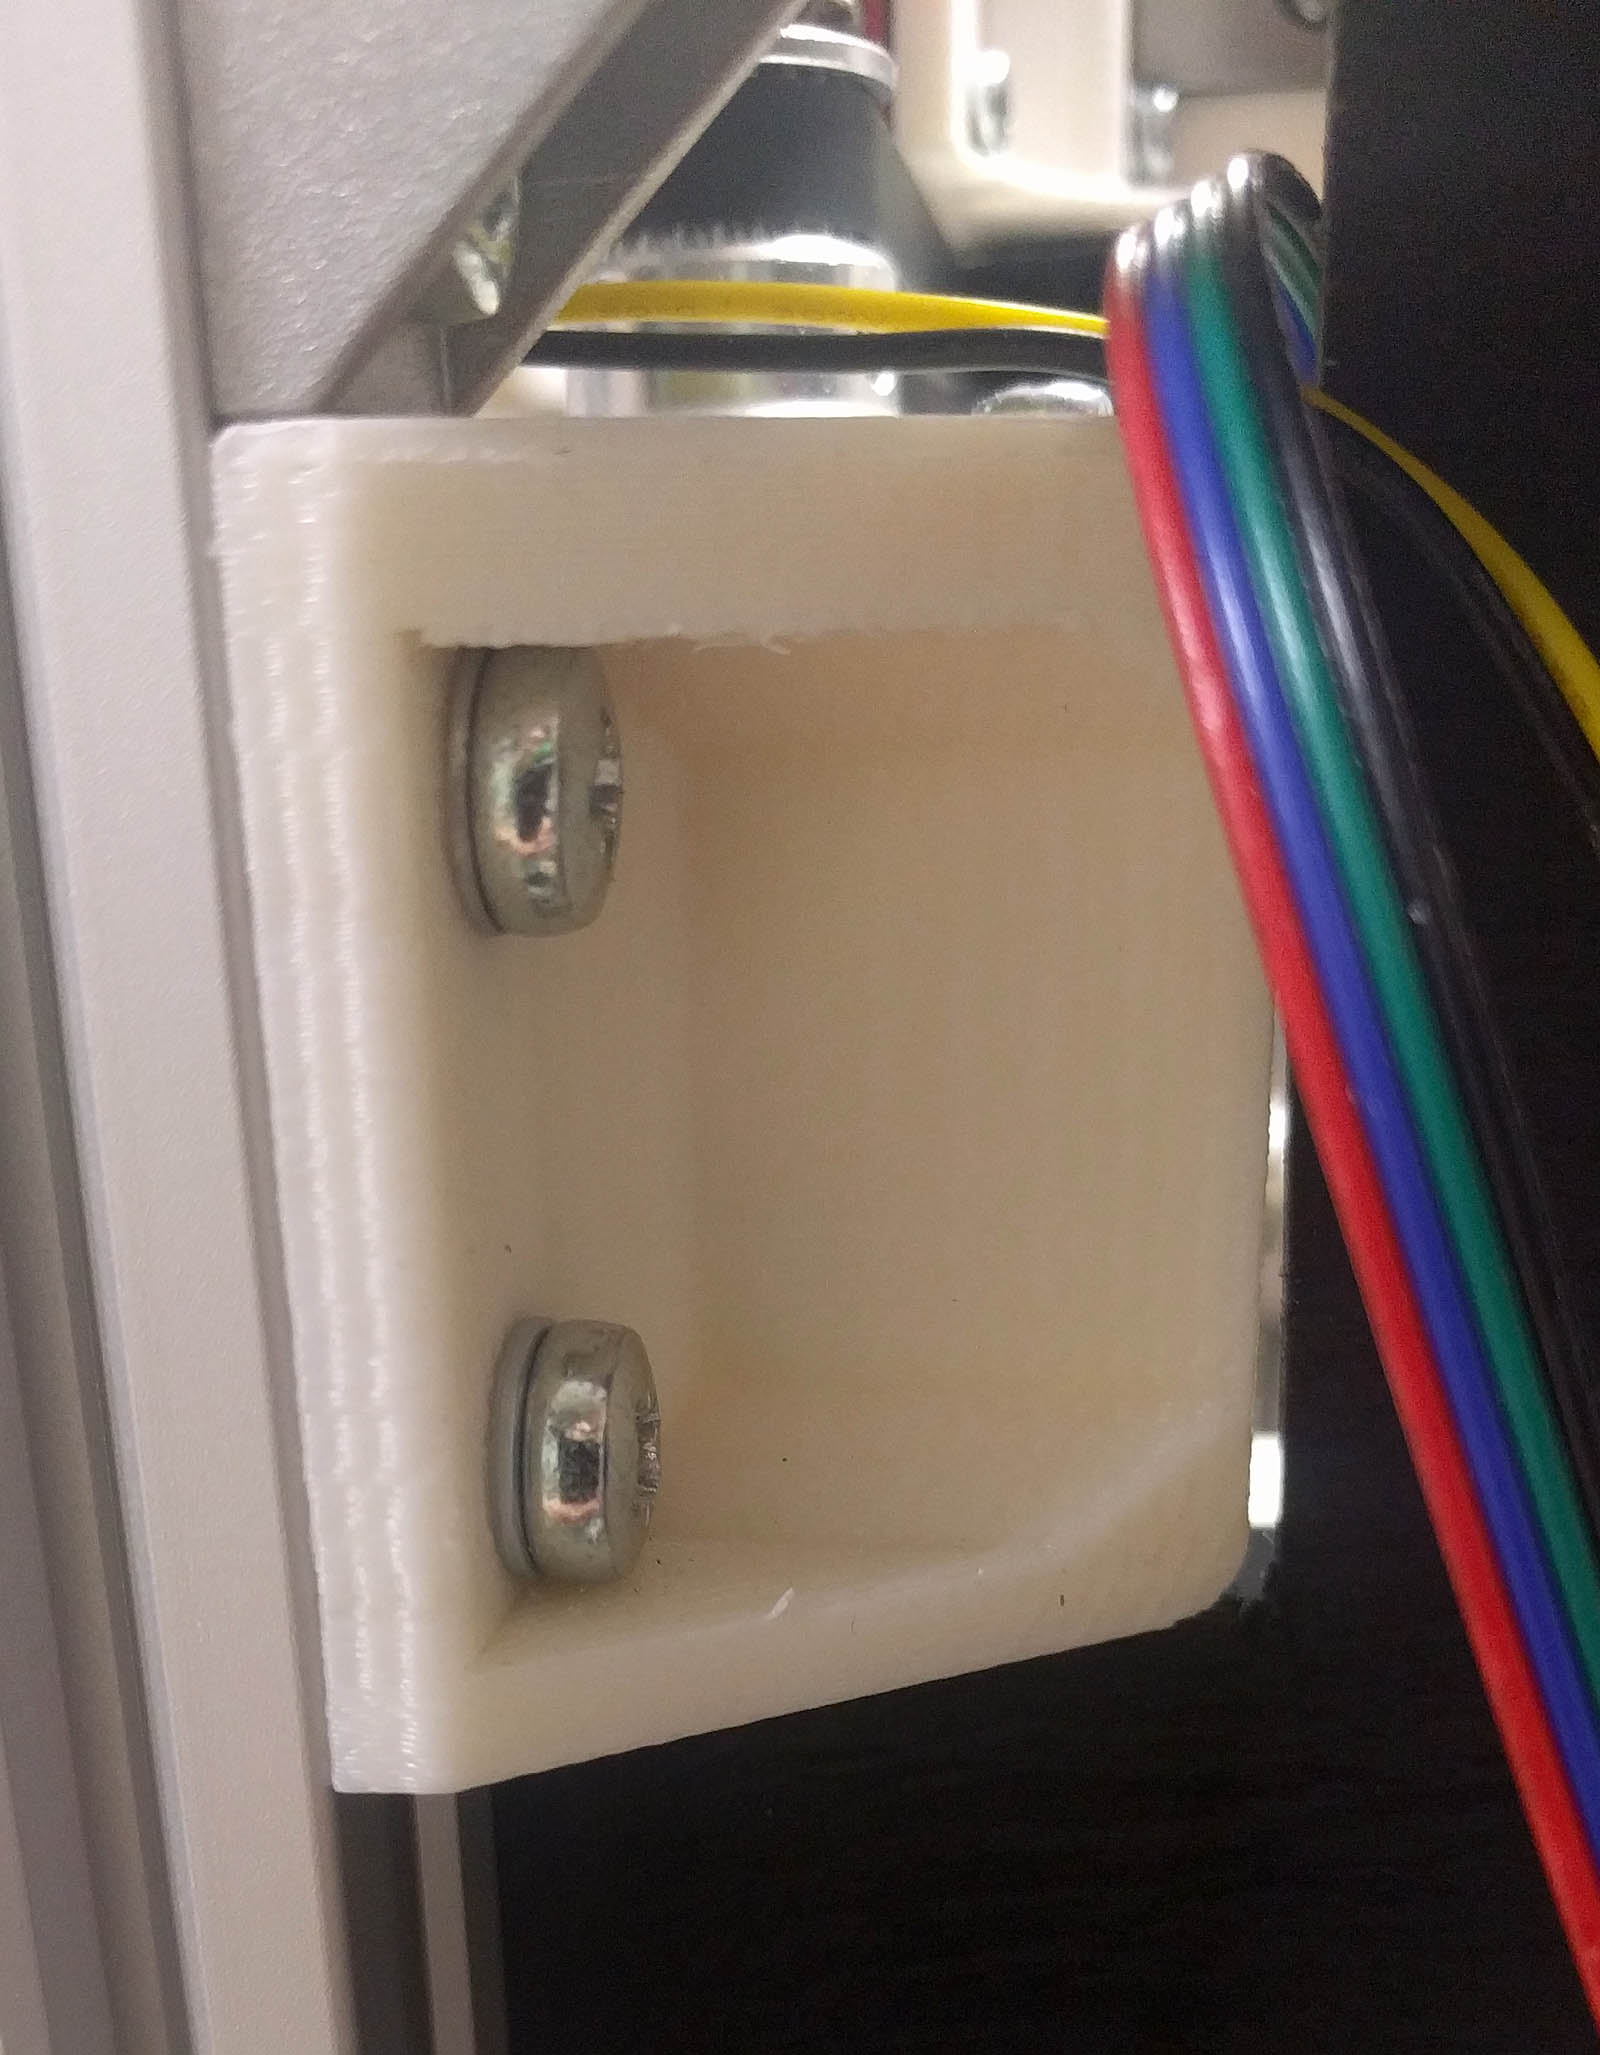
I reinforced the motor mount. ABS is strong but more flexible and the original mounts were twisting a little. As a result motor axis were not strictly vertical and the belt was drifting to the upper pulley cheek and rubbing against it.
This is my new mount:
I can share STL if needed. I wonder if I can upload it onto the grid.space.
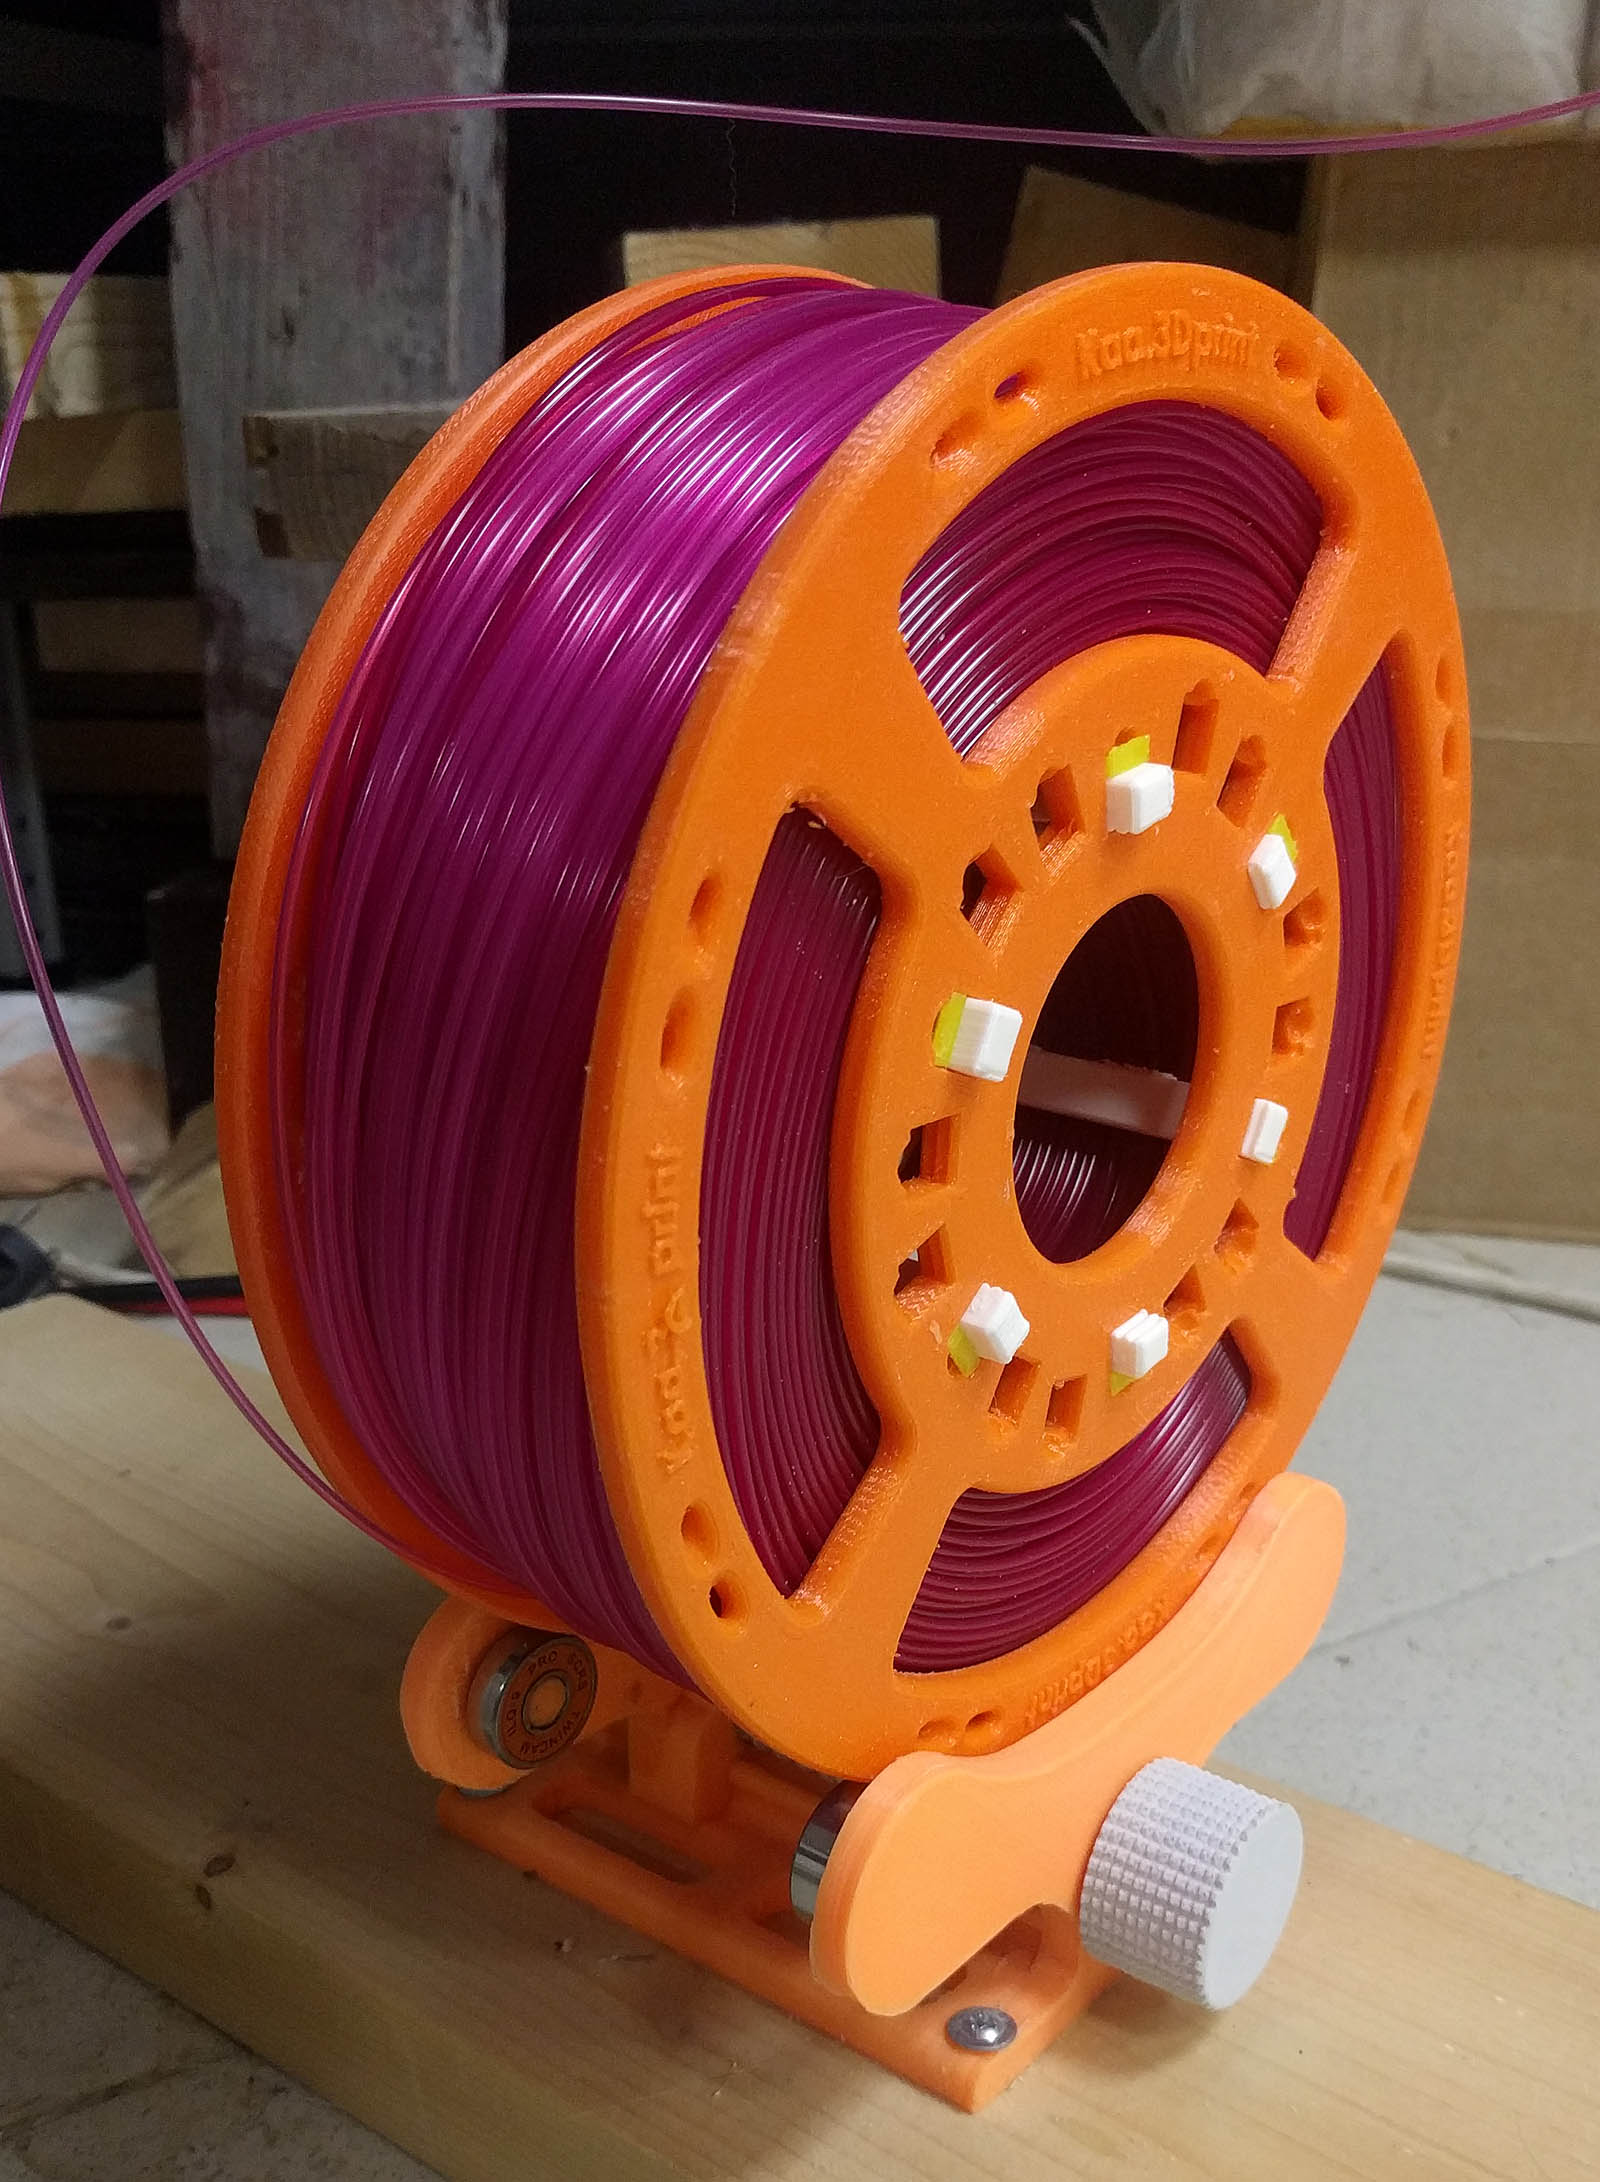
I am sourcing the filament in 400m packages without the spool, so I have to print the spools. They are too big to be mounted on the back of the printer, so they are mounted in a standalone way.
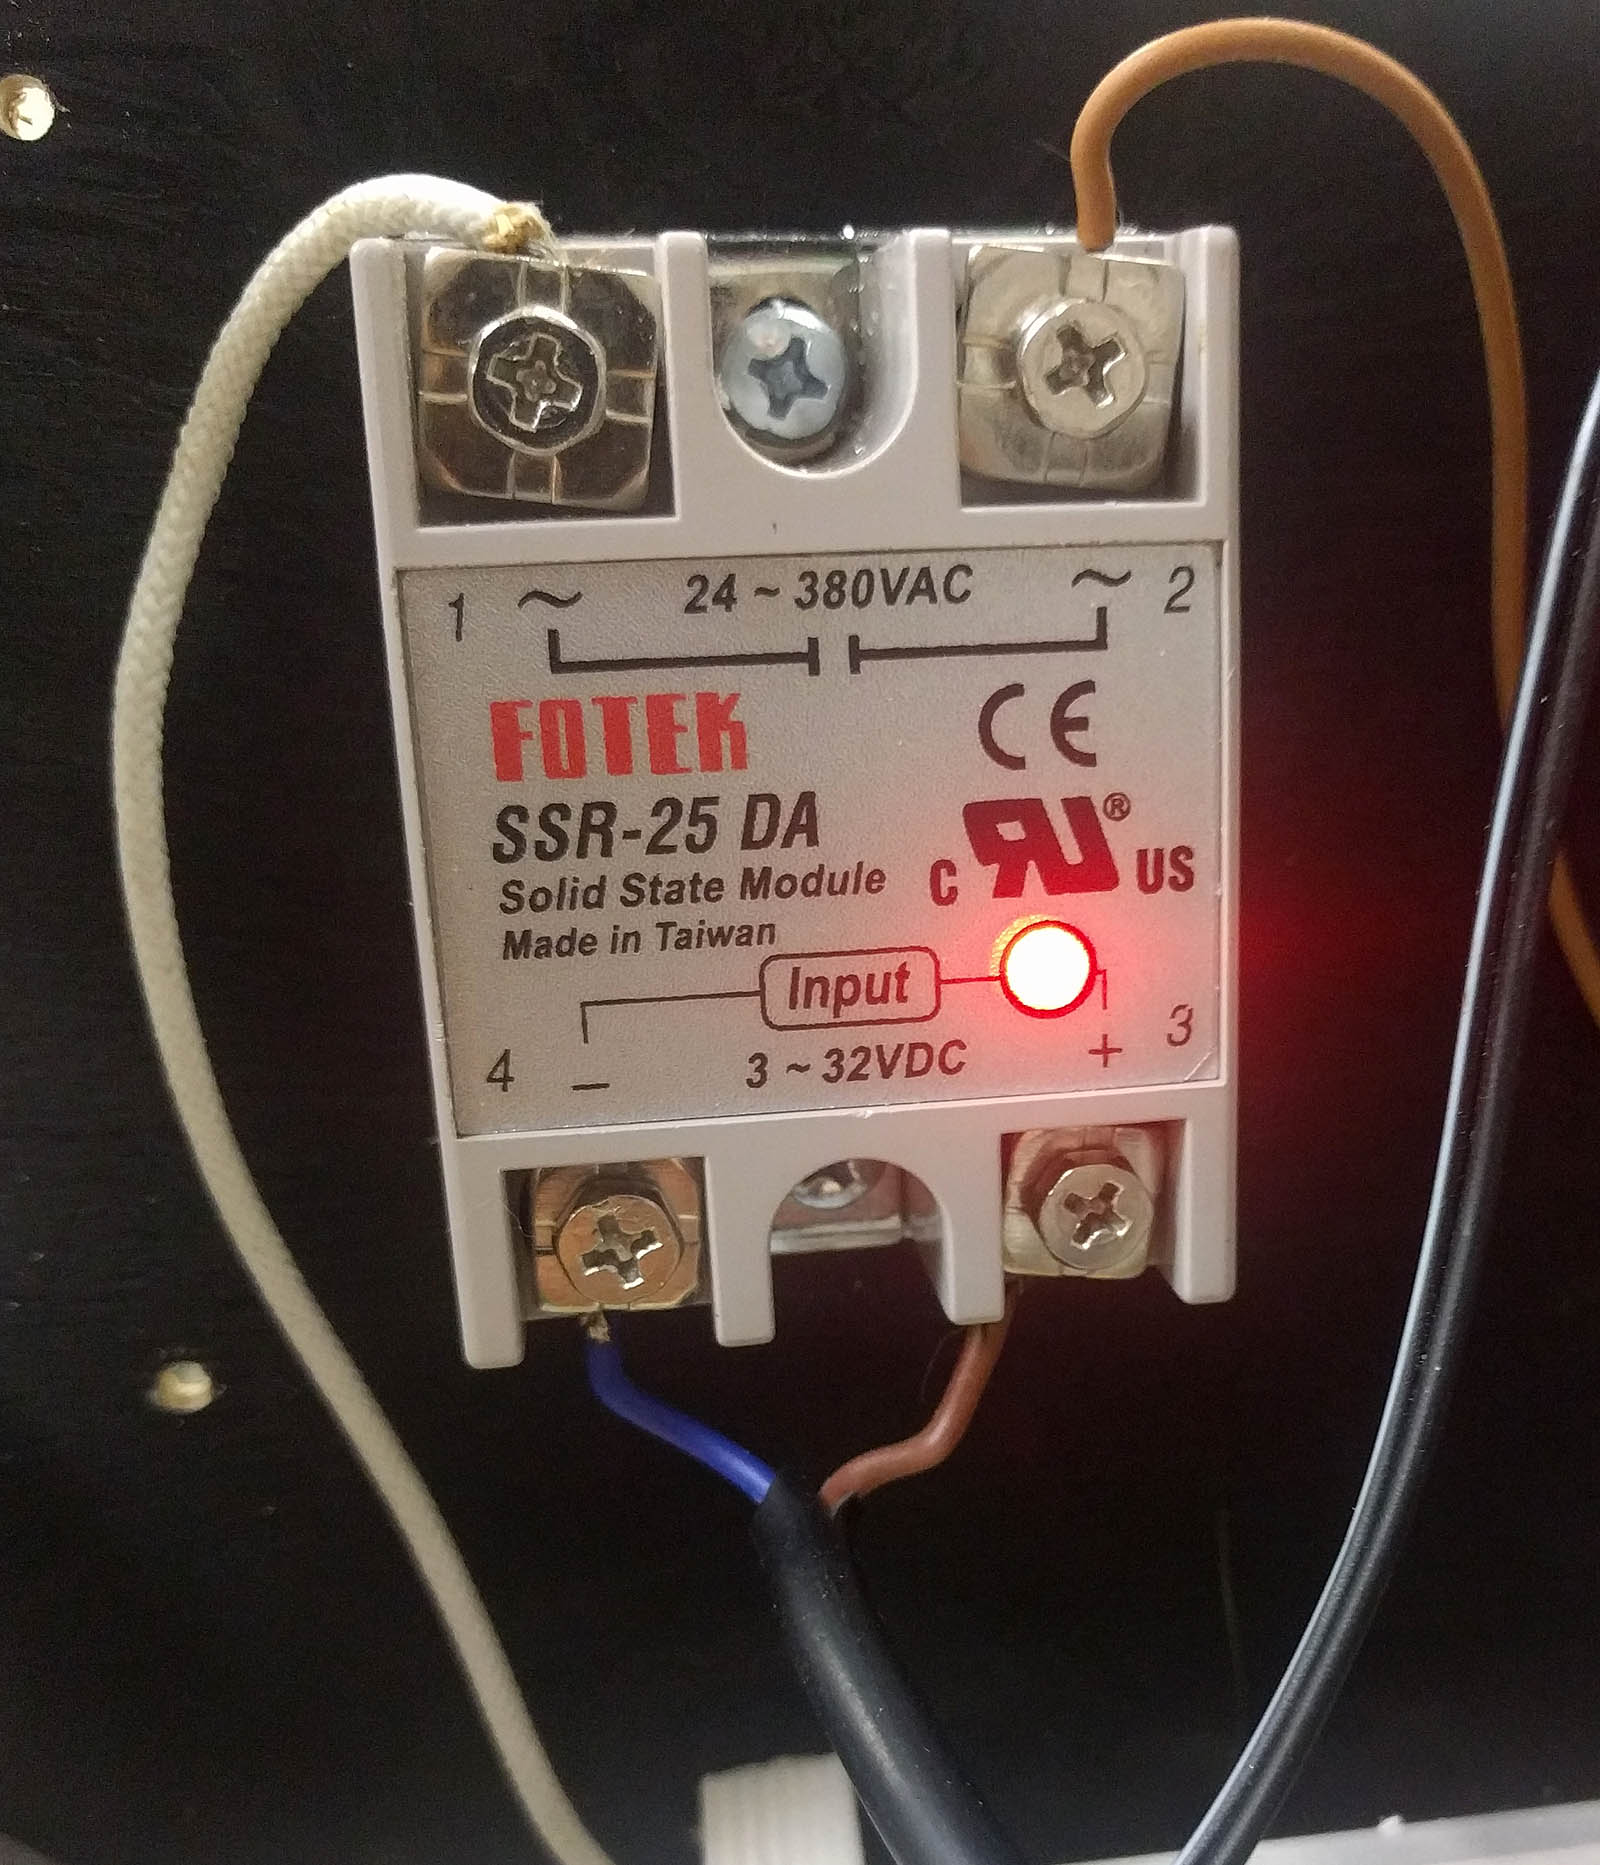
I am using Octoprint running on Intel i5 18.04 Ubuntu server. I happened to had a few very nasty serial port mid print disconnects. I had to switch to short 1’ USB cable from SKR kit (grrr… VERY unconvenient) instead of 5’ long USB cable I used initially. I also split 220V supply - the board and nozzle heater are powered via the UPS now, and SSR feeding bed heating pad is powered from a separate wall socket. No more disconnects for now…
UPDATE: got another disconnect today after 5 hours of printing. very bad… My server and Octoprint installation are almost out of suspicion since they worked with my other printer flawlessly for many hours. Can be a PS problem?
My firmware settings can be seen here: https://github.com/v0v/Marlin
Only “SKR-1.4T-DD-no-BLTouch” (this stands for SKR 1.4 Turbo board with direct drive extruder and with Z-axis end stop, no BLTouch probe configuration) is updated to my actual settings.
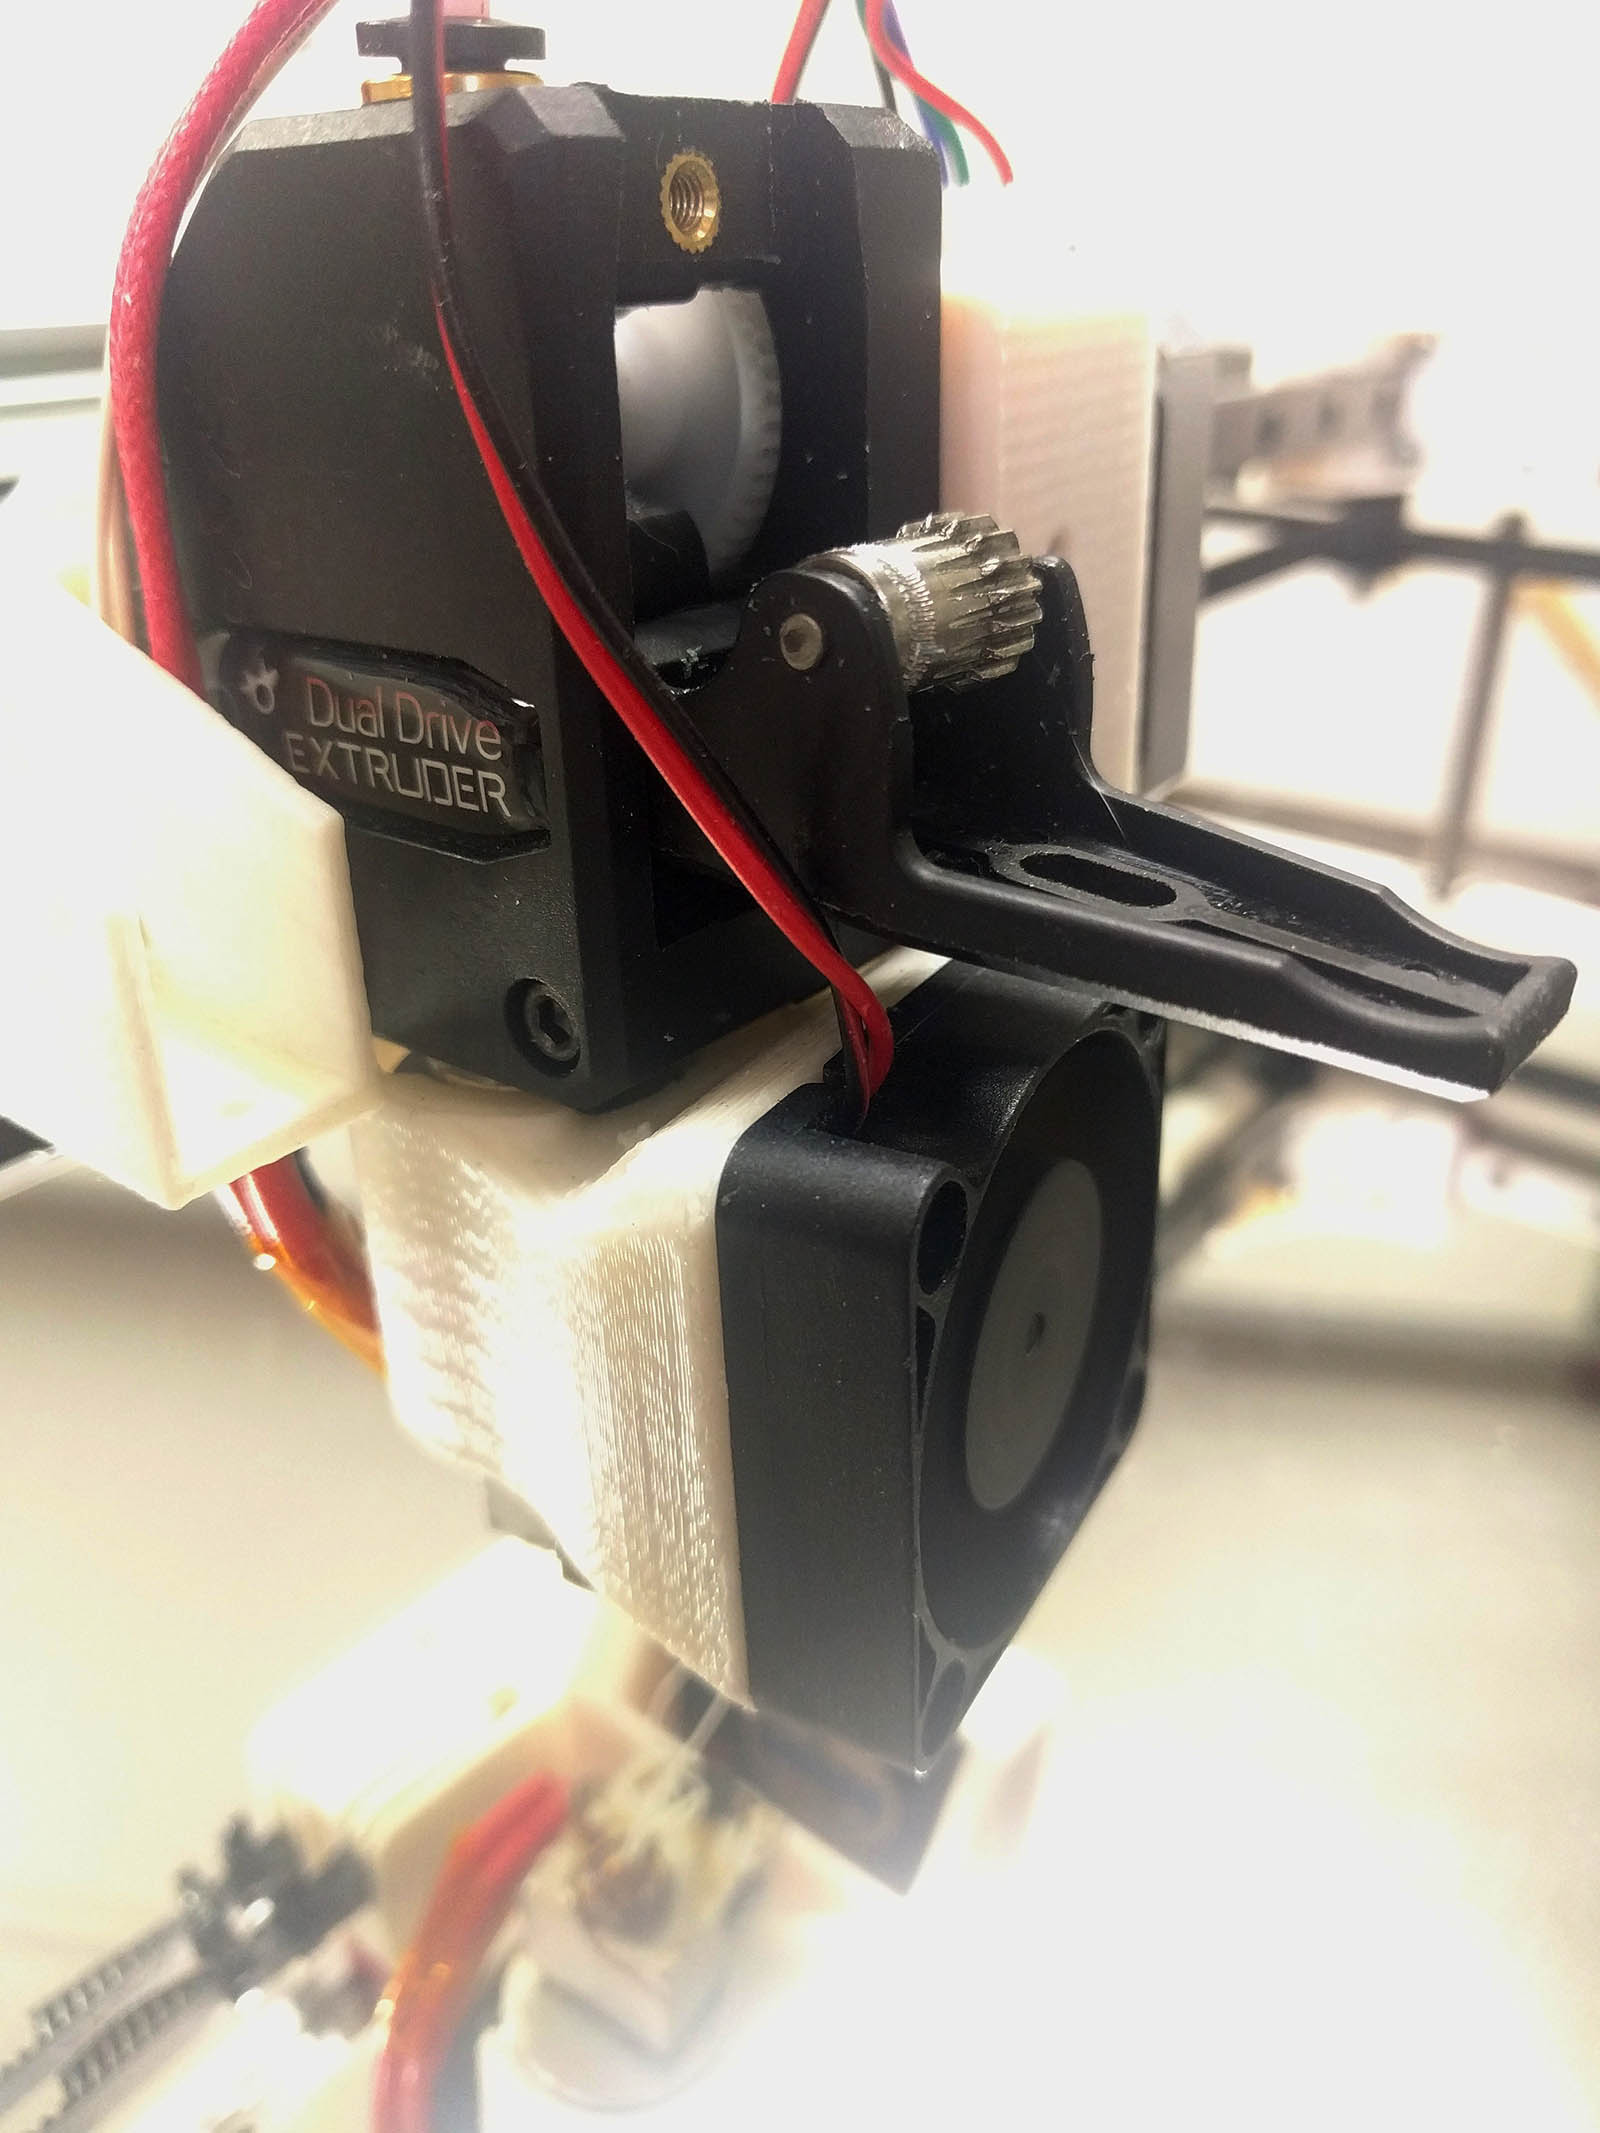
I am using E3D V6 chinese clone with 4010 cooling adapter for 4010 fan from Thingiverse.
Unfortunately, it does not fit the v2 of Stewart’s Direct Drive Extruder mount. So, I am using v1 version. After I made this photo, I removed the BLTouch mount adapter on the left because if was acting like a X-axis stop. Will have to reshape Stewart’s v2 mount if I decide to stay with the direct drive.
Extruder is correct size. The fan housing is 5 mm wider on the left side, but is also higher. Again, I have 4010 fan here. Possibly, if I use 3010 fan housing it can fit.
In any case, you need a lot bigger top “decolletage” to open a hinge with screw like on my photo.
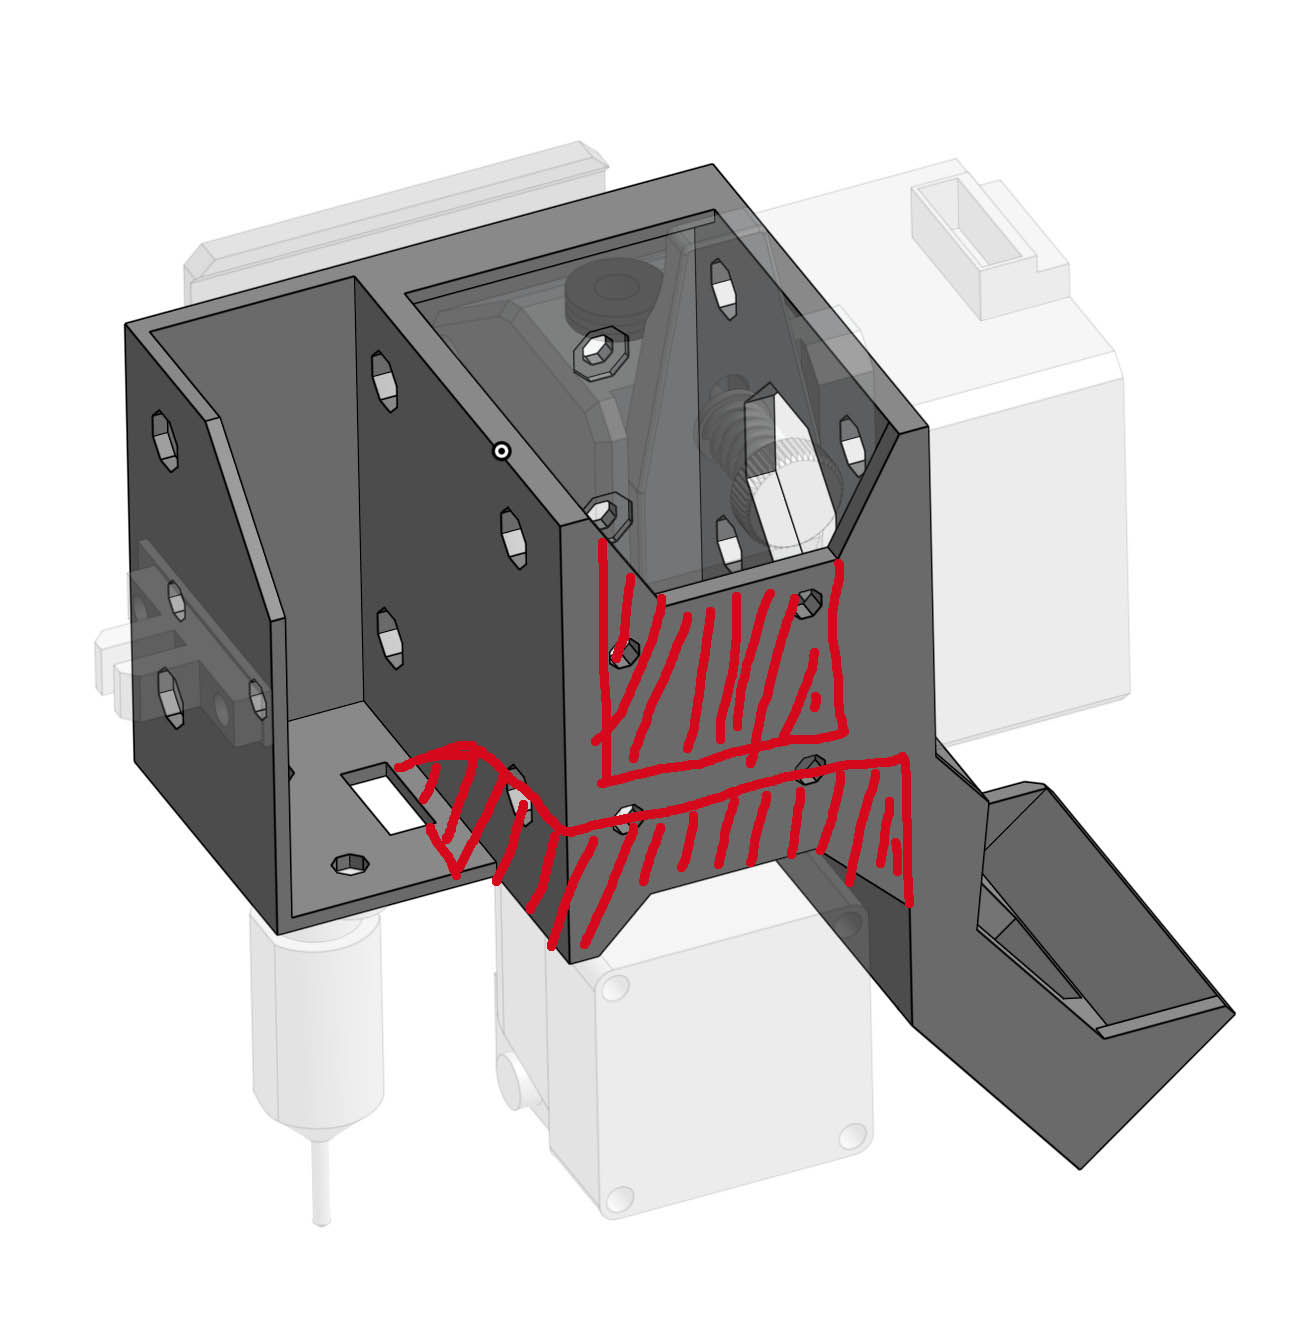
I cut extra plastic from your v2 design and here is what I got (did not make a photo when assembled, unfortunately):
LOL. Thats why I still have v1 installed
But… after removing we can add some plastic. This brace has space to be a lot thicker. And you can extend it to the very left wall.
I was really struggling with this problem for some time. 1-2 disconnects per day can ruin your efforts completely.
I changed EVERYTHING.
I was only able to improve the situation after I changed the OctoPrint server. My old battle-proven setup that flawlessly worked for months was not working with SKR board in a proper way. It is hard to understand why. My only clue is that my old printer’s UART to USB chipset was recognised by Ubuntu as ttyUSB, while SKR’s chipset was ttyACM. Different linux drivers, can it be the reason? Who knows…
Said that, I am using my old MacBook Pro as an OctoPrint server now. No disconnects for a few days.
I had to abandon Direct Drive.
Not because of its concept (actually it was printing nice, at least at some low speeds), but because my Dual Drive Extruder was not working OK.
I got something like this part from AliExpress few month ago:
I tried it in Bowden setup, did not like the prints and put it aside. Now I tried it in a Direct Drive setup.
I like the way Direct Drive prints. But… this extruder (at least, the one I got) sucks. It stucks too often, a lot more often then my simple one gear extruder. And it takes time to disassemble and clean the hotend. Not to say that it ruins your print.
So, may be you can share some positive experience with Direct Drive extruders? May be something more simple and reliable then this Dual Gear one? Or better designed?
I have another printer with the E3D hemera and I like that a lot too. It is very well made. I haven’t pushed the speed on that printer, so I’m not sure if it’s a good match for the grid bot. But if I have more trouble, I’m going to try that next.
Did you try the Bowden set up? Stewart has more hours of printing than I do (by a healthy margin) and likes the Bowden.
Frankly, I never had prints with a quality that one can consider fine. Because of poor mechanics of my previous printer, cheap filament, low skills, etc, etc. I am trying to improve it with GridBot now.
I never used Bowden with Linear Advance before and I feel that many Cura’s settings are not compatible with LA. Should I switch to other slicer?
On the other hand, Direct Drive looks conceptually easier for me. May be it is a misleading feeling on my side.
Obviously, I need to learn a lot and I just did not make my mind which way to go - Bowden with LA or DD.