could be firmware config or wiring. does the bltouch test/cycle when powered on?
It does test cycle when I power up. I did check wiring a few times and have been trying multiple Marlin settings for the last couple of hours. At this point, I’m out of ideas.
It is working now. When I did my last wiring check, I actually must have pulled the sensor cable just enough to not work any more. I fixed that and I just successfully did a full x y z home.
Now I probably need to tweak the offset between the BLTouch trigger position and the nozzle position, I assume?
yes. there are various ways to do this depending on your firmware. the XY offset is dictated by the CAD model. the Z offset requires manual tuning.
I think I’m ready to go now. Z probe is tuned. I successfully ran the leveling.
I hope to get a first test print going before I go on vacation on Saturday 
What’s the best workflow for submitting prints to the printer.
I am running the gridbot control software on a raspi. Can I connect kiri:moto directly to my printer? Do I need to send files?
With my other printers I am using a bunch of different approaches. One with cura/octoprint. One with cura/USB conection. One with Chitubox and files on a thumbdrive.
Here I would like to give Kiri:Moto a try.
if you are running the GridBot software on a PI connected to the printer and it’s setup properly, then the printer should show up under Grid:Local devices in the export dialog when enabled under preferences.
Yes, that’s my setup. I will give that a try tomorrow.
Btw, I had to change the probe x offset from -30 in your Marlin config to 30 in mine. Not sure why, because my bltouch is in the same location as the CAD.
But anyway - it seems to be working fine.
First of all, sending from Kiri:Moto to GridBot worked great. No problems there.
I found that I had to adjust my extruder steps quite a bit. I did that and was almost ready, but eventually something got messed up in my e3d v6 - complete blockage and I broke the thermal tube when I tried to resolve it. I must have messed up during hot tightening the heatblock to the heatsink or something.
Anyway, I ordered a new e3d v6,but putting it in won’t happen until I return from vacation in about a week.
In the meantime - any suggestions what else I might have to tweak before the firsts successful print?
I think I have the probe setup fine, all offsets tuned and now the extruder steps adjusted.
the heat break is the weak spot. so you have to be really careful not to over-tighten it or accidentally bend/break it when replacing the nozzle. I have a ton of E3Dv6 clone parts lying around for just such an eventuality.
Good call. I ordered another genuine e3dv6 and two more clones and some heat breaks as backup. So I should hopefully be good to go when I return end of this month.
I assembled the entire model and my straps do not come close. Can you tell me how tight the extruder moves without electricity, after tightening the belts? And how do you check the belt tension? On one of the forums, I found a way to tune with a guitar tuner. In the 50 hertz range.
Returned from my trip yesterday, replaced the hotend after wrecking the other one and - yay, it’s printing now.
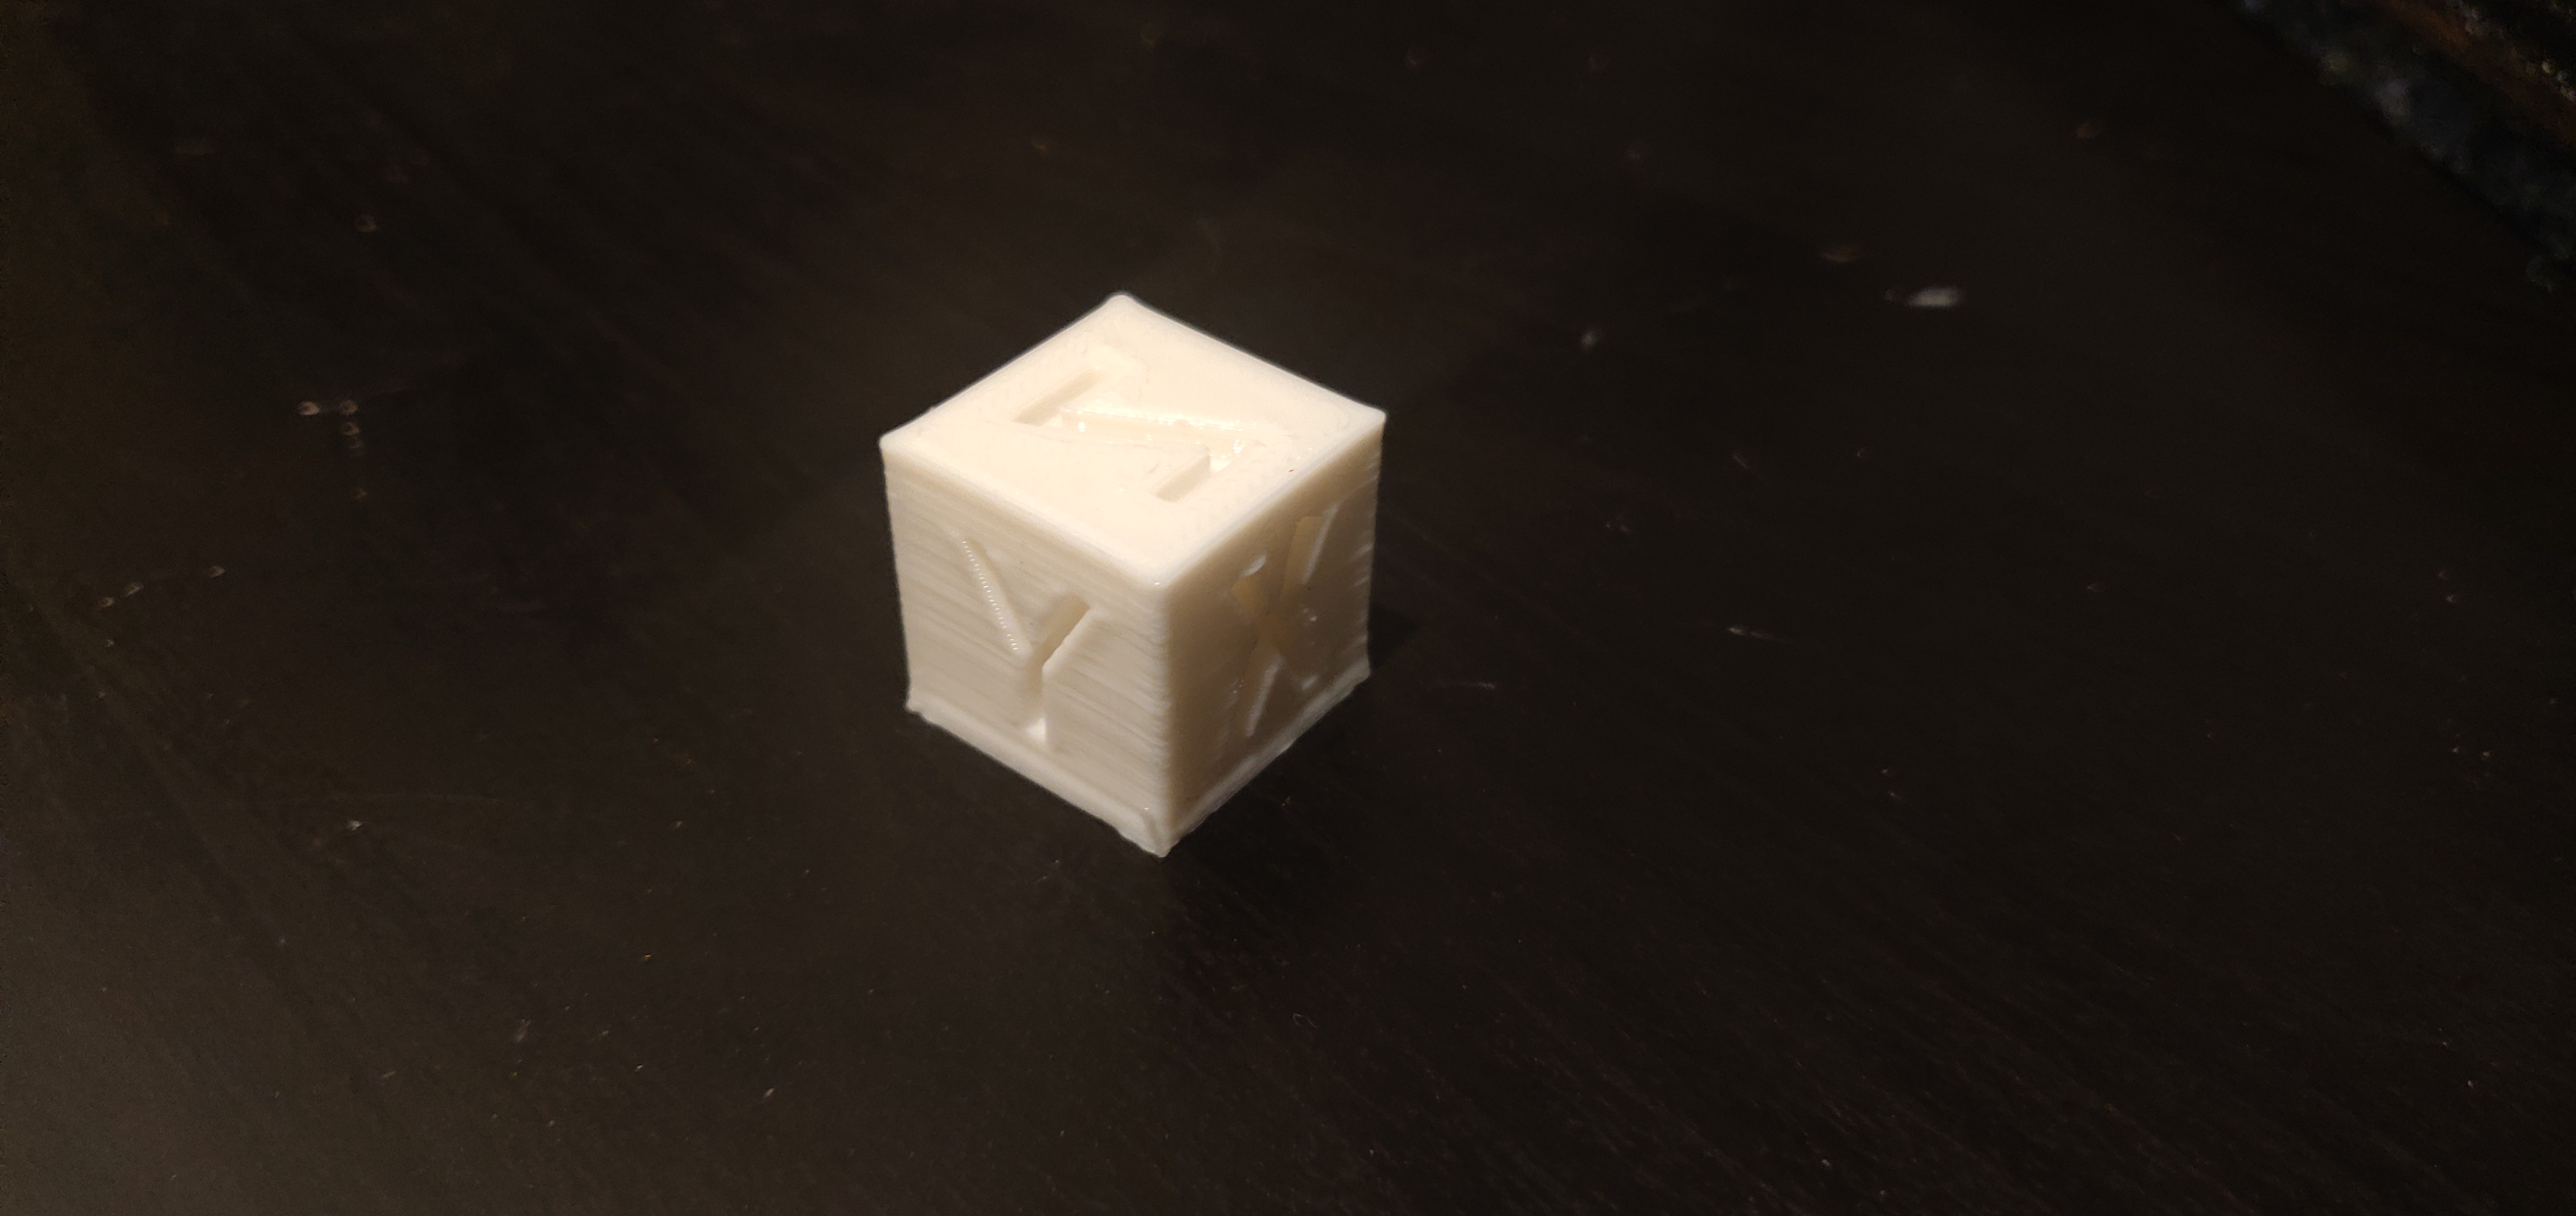
First layer was perfect. x/y dimensions seem to be perfect. But I’m having issues with severe layer separation. So it looks like the z-steps aren’t correct?. Not sure if that’s something I need to tune on the printer-side or on the slicer side? I think I did use the same threaded rods from the BOM.
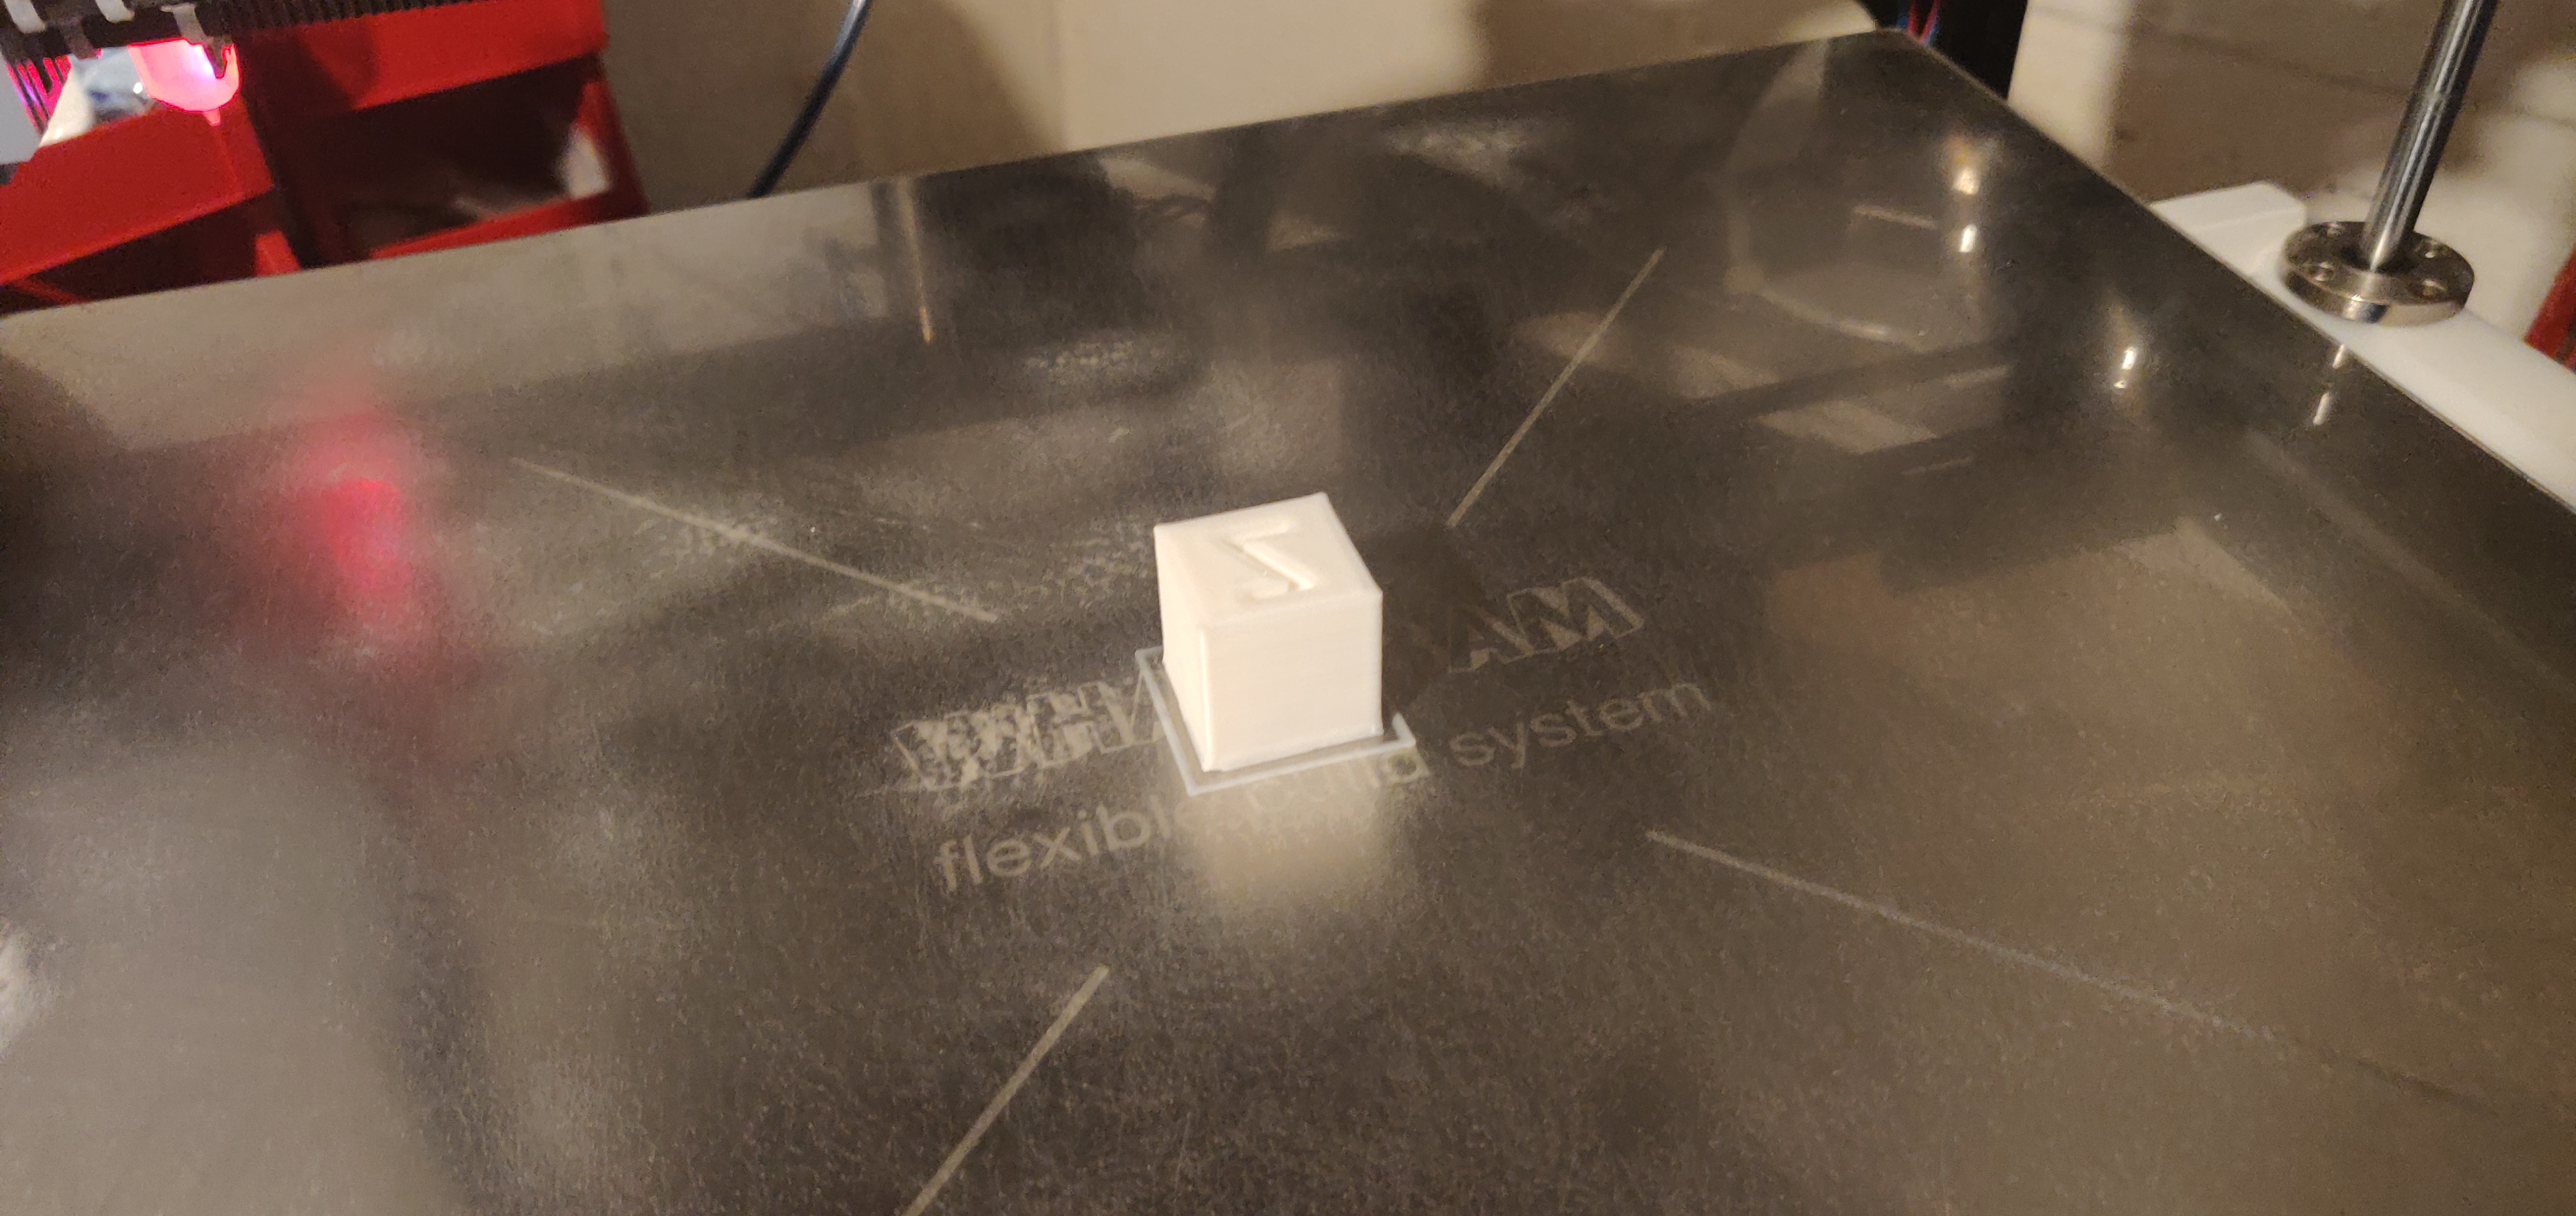
Anyway - an ugly first print, but IT’S A PRINT.
have you verified z steps so that a 10mm movement actually moves 10mm? if so and you’re still seeing layer separation, then it’s possibly: under-extrusion (profile or device setup error), a slipping extruder, poor quality filament, or some other blockage in the filament path.
No, I have only adjusted the steps for the extruder to make sure it extrudes the right length. I’ll do the same for the z motor. X and y seem fine
That was it. My value for the z stepper was exactly twice of what I needed. I cut that in half and the print that’s running now is looking very promising.
Except for the fact that the model was mirrored, this (almost) first print turned out pretty good. Going to have to invert x and/or y to fix the mirroring issues, I assume. Or check if my printbed origin is configured properly.
1 Like
moving the origin around can’t cause mirroring, only rotation around the Z axis. so that’s odd and the first i’ve heard of such a thing.
I’ve only ever had mirrored prints on a Delta printer before. Maybe my homing position is the reason? It’s rear-left. I read that front left or rear right is standard.
rear left is normal for gridbot. it only affects z rotation. it will not cause mirroring
Hmm, that’s strange. I cannot find anything that’s not as it’s supposed to be. Everything’s homing/moving the right way.
Anyway - I just wanted to try a few changes to see what happens and do another print, but when I wanted to load the filament, I was stuck again somewhere in the heatbreak. Probably the same that happened a week ago. With the bondtech extruder, I cannot really load by hand, so I need to use the E+/E- jog to let the extruder load. Last night, I did unload before I cooled down and turned off the printer, so I assume that should be alright, but something must have messed up anyway.
I guess I won’t be printing until I replace things again.