Hey,
I’ve been battling z banding forever it feels. Whilst my corexy no longer is a Gridbot, it still has the z axis and bed solution from it.
I’ve been thinking about a belted z axis for quite a while, but haven’t been able to settle on a solution yet (perhaps with a worm drive to help the bed to stay up when powered off).
I was wondering if anyone has any other ideas for a z axis that doesn’t require buying stuff for a lot of money, like most more advanced/popular printers require?
I’ve tried anti wobble mounts, lose tops on screws and a lot more already.
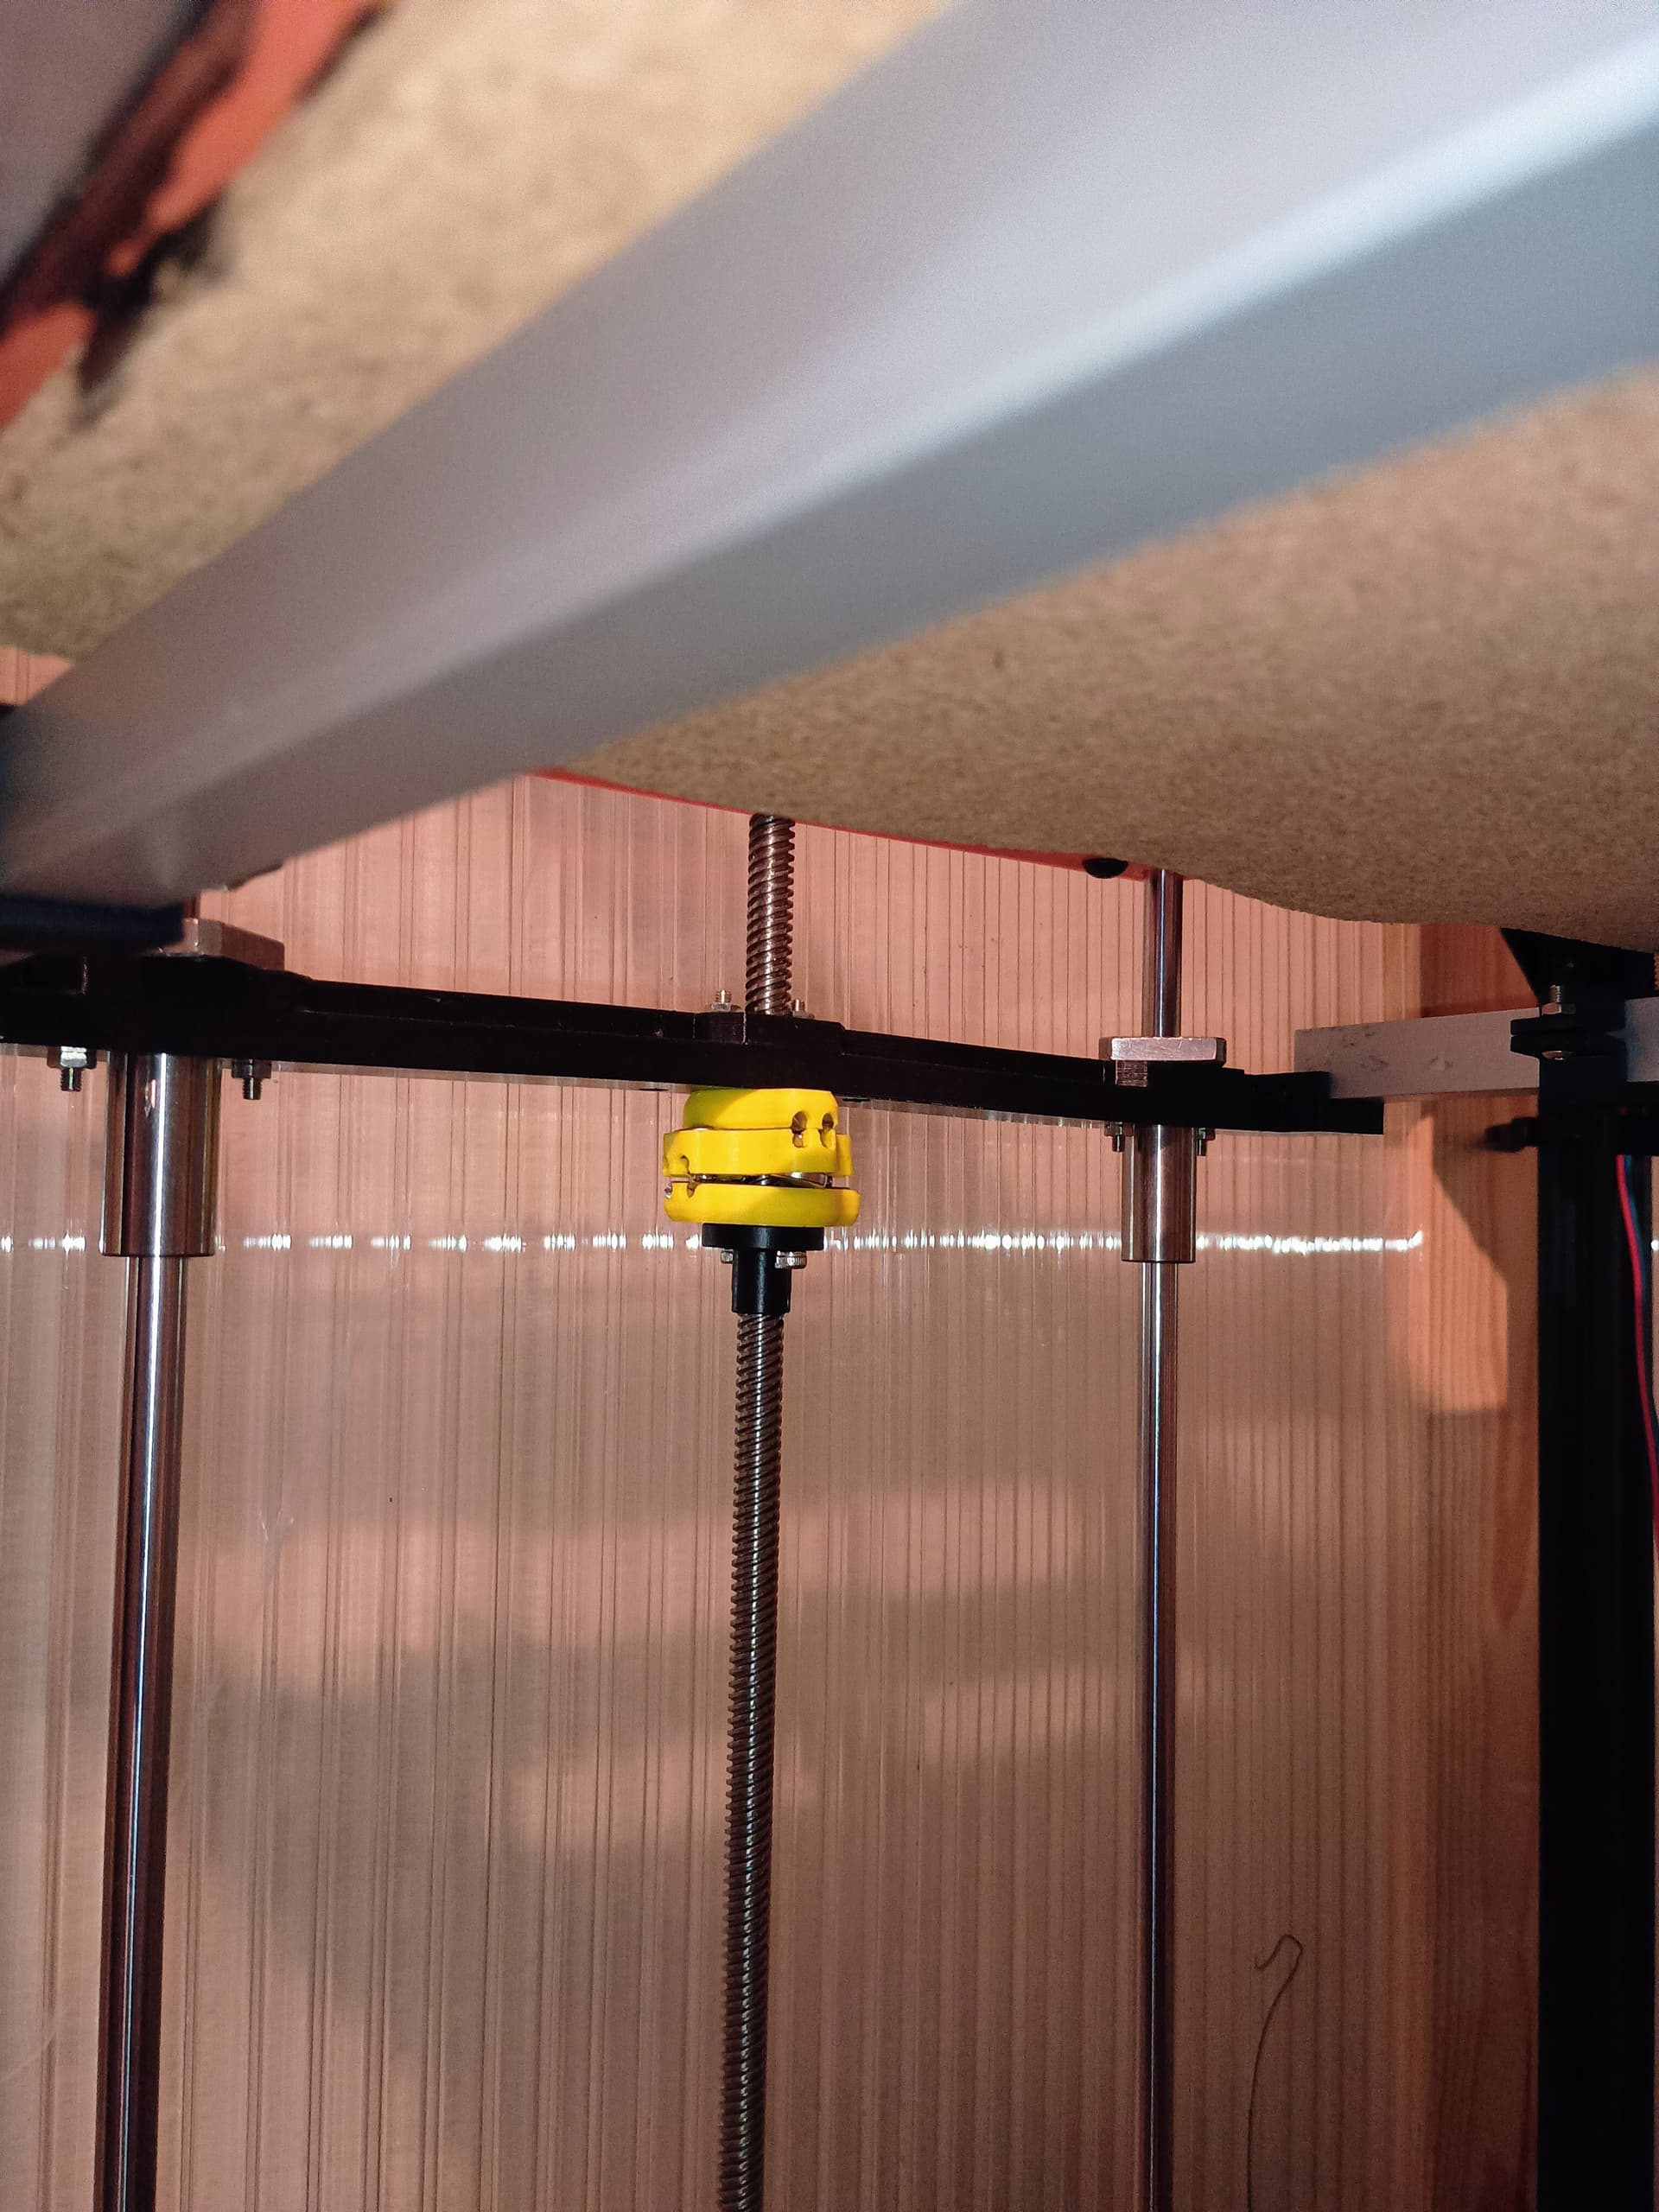
Reopening this discussion, I finally got the correct belt to have a single stepper, so I decided to follow strictly the original project and use the small ball bearings under the z screws. I had severe banding (I could see visually that the screw was moving up and down on each turn), due to the bottom of the screw being not flat. I changed the setp a little bit by adding a 3d printed “washer” between the pulley and the bottom bearing in order to have the bottom of the pulley pressing on the bearing and not the screw resting/pushing on the aluminum extrusion.
It seems to work a bit better that way but not perfect. I was wondering @stewart how you intended it to be setup ?
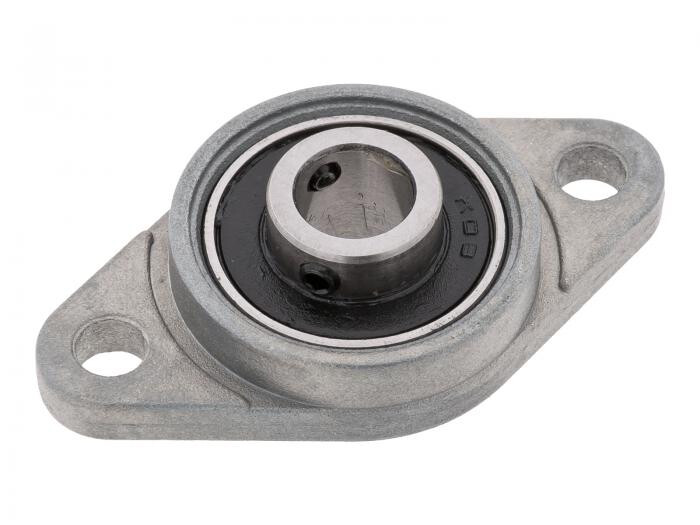
My Z screws are retrained at bottom with a 608 bearing at the bottom and more or less completely unrestrained at the top. I didn’t get the z banding completely under control until I made/printed a “cookie” so that the screws can move freely in both X and Y direction, probably 6-8 mm in either direction (or more, can’t really remember).
Unless you have perfectly straight and probably very expensive, lead screws the last thing you want to do is contstrain them even more.
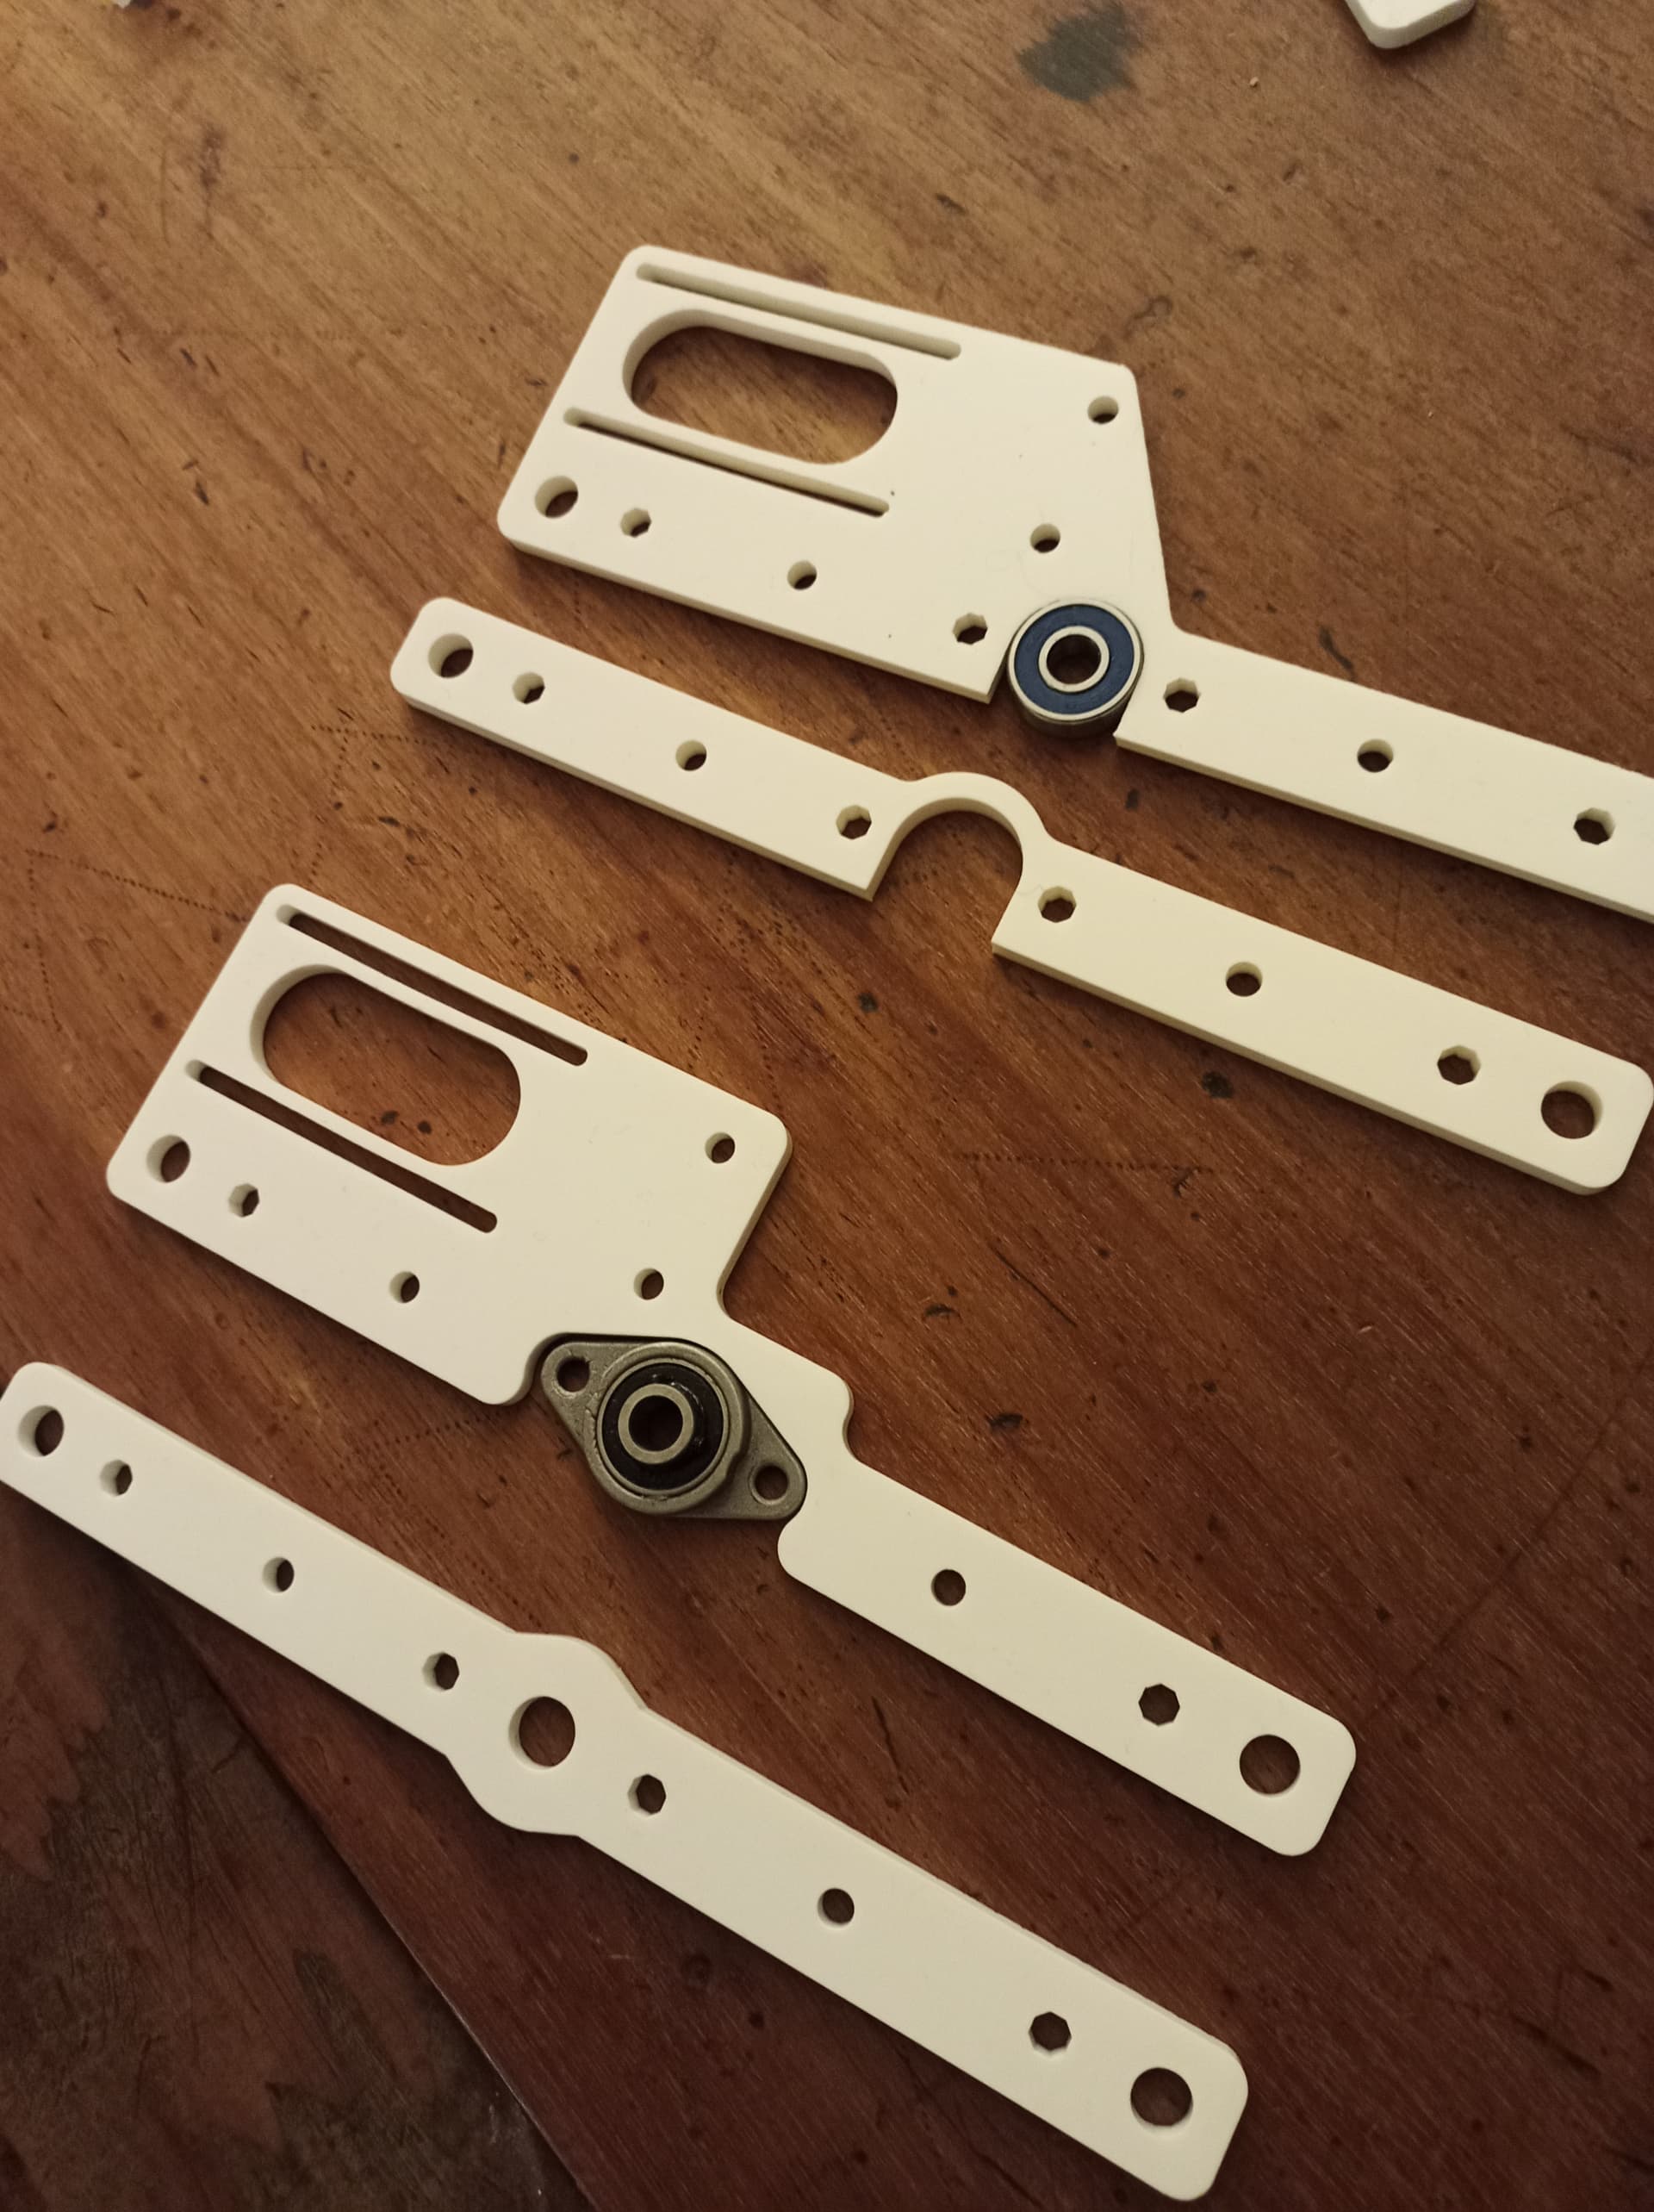
If it were me, I’d print one of those without parts sticking into each other, to remove the risk of printed parts rubbing on each other. On mine there is no printed parts in between the printed parts, only ball bearings. But if they worked before they probably will again.
It’s a bit hard to see here but I can’t really take it apart and show you without having to set up a alot of things again after.
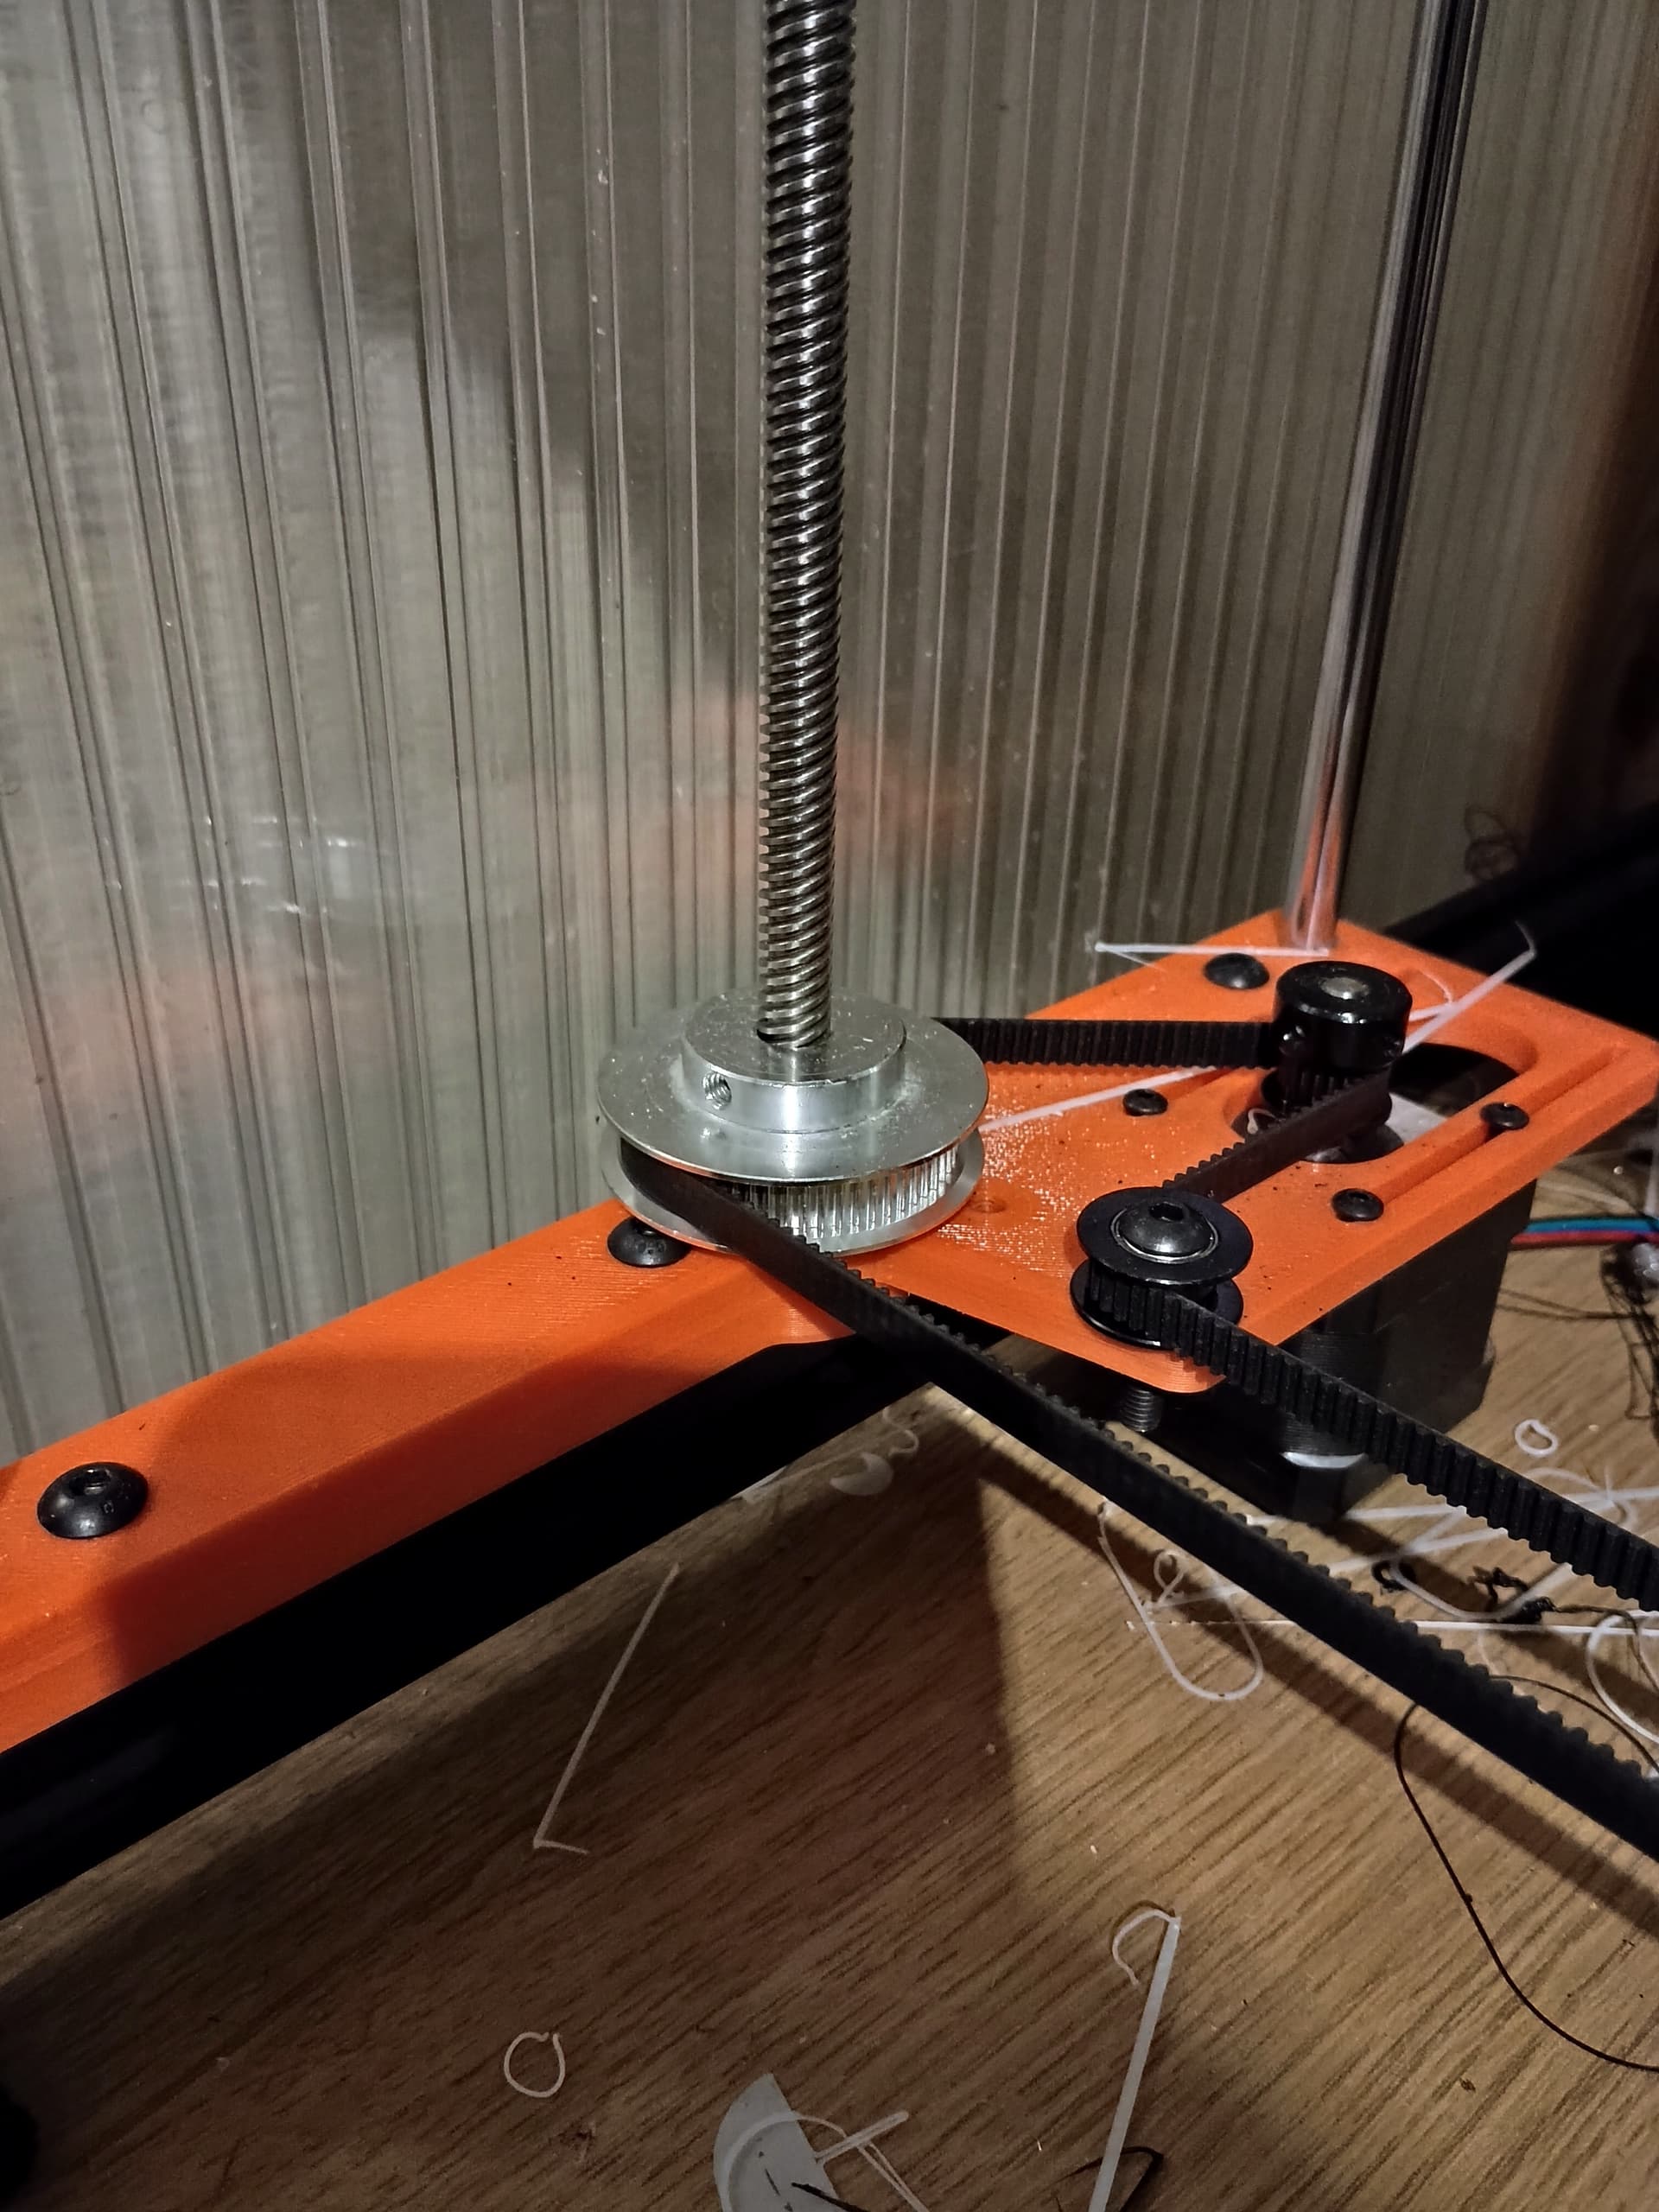
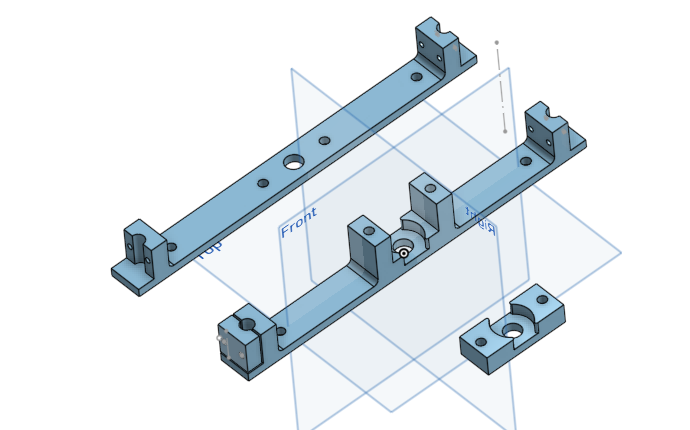
Under the large pulley there’s a small printed washer and under that theres a 608 bearing integrated in the top part where the linear rods are mounted. I remixed they original part to fit the bearing instead of the smaller pulley. I tried finding the original cad with the changes but I haven’t been able to unfortunately.I use the larger pullies because my bed weighs a lot and it also helps the motor to keep the bed from falling when unpowered.
As I mentioned, the washer is printed. Can’t remember the measurments, but something like 1mm in height and 2mm wide. Just enough so that the bearing and pulley don’t touch.