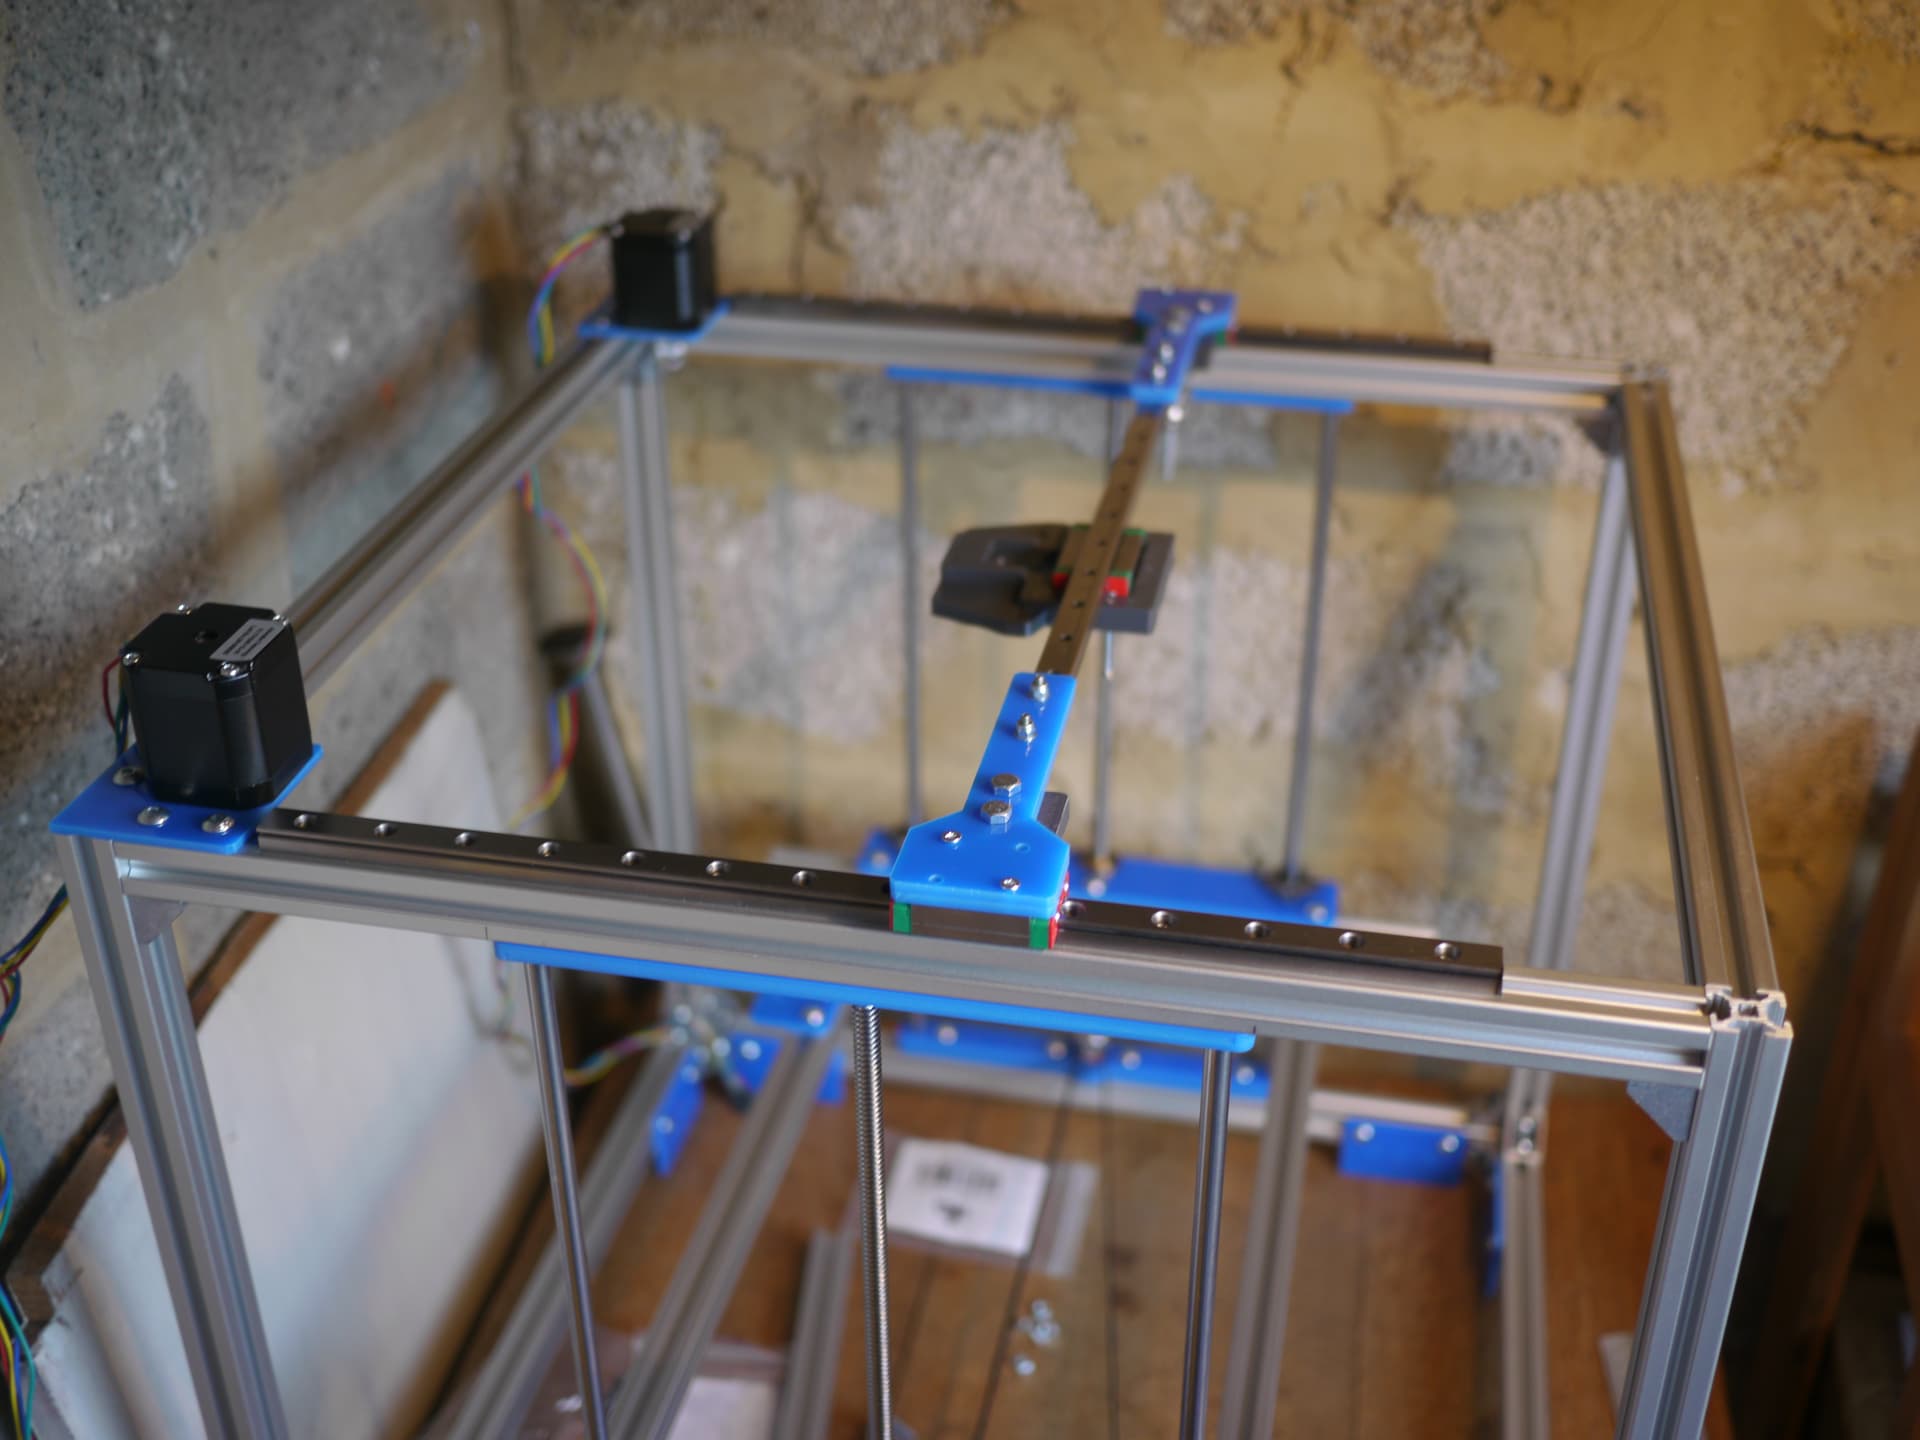
laser cut parts are great : acrylic is heat resistant, rigid, quick to cut. I had some 3mm thick handy so that’s what I used. I doubled all the parts that were 5 or 6mm in the cad. I think it would be better to stick to a single thickness, like all parts in 5mm. I don’t know which thickness is most common
I built the bed support using extrusions, it’s simpler imho like this and I don’t see side effects. I added some small laser cut parts to attach the bed. This way any hole pattern in the bed can be used. Here I have a bed with 24cm spaced holes in each corner.
It could be simpler to have longer extrusions to avoid the support plates in the bottom. I replaced them with simple screws directly “taped’” in the extrusions. I’ll 3d print small foot to be added to the screws.
I was suspicious with Klipper, but it’s great. I have it working with a 10€ ramps 1.6 board. You don’t need a powerful board with klipper.
My motor current was too low, I upped it to 1.2 amps and now I have faster moves.
Belt tension is hard to do correctly, I still need to find a way to handle this without wasting tons of zip ties
It would maybe ease the work if there were “ends” on the frame to help square the gantry.
No need to source all the various screw lengths, only the screw that go in the extrusion must have the correct length. This could be simplified imvho
I didn’t source enough hammer nuts, I had to remove some corners. They say “don’t cut corners”. I did
I bought low quality rails, I might have to replace them, it’s a shame. Don’t be too cheap on rails, you deserve good quality material when DIY.
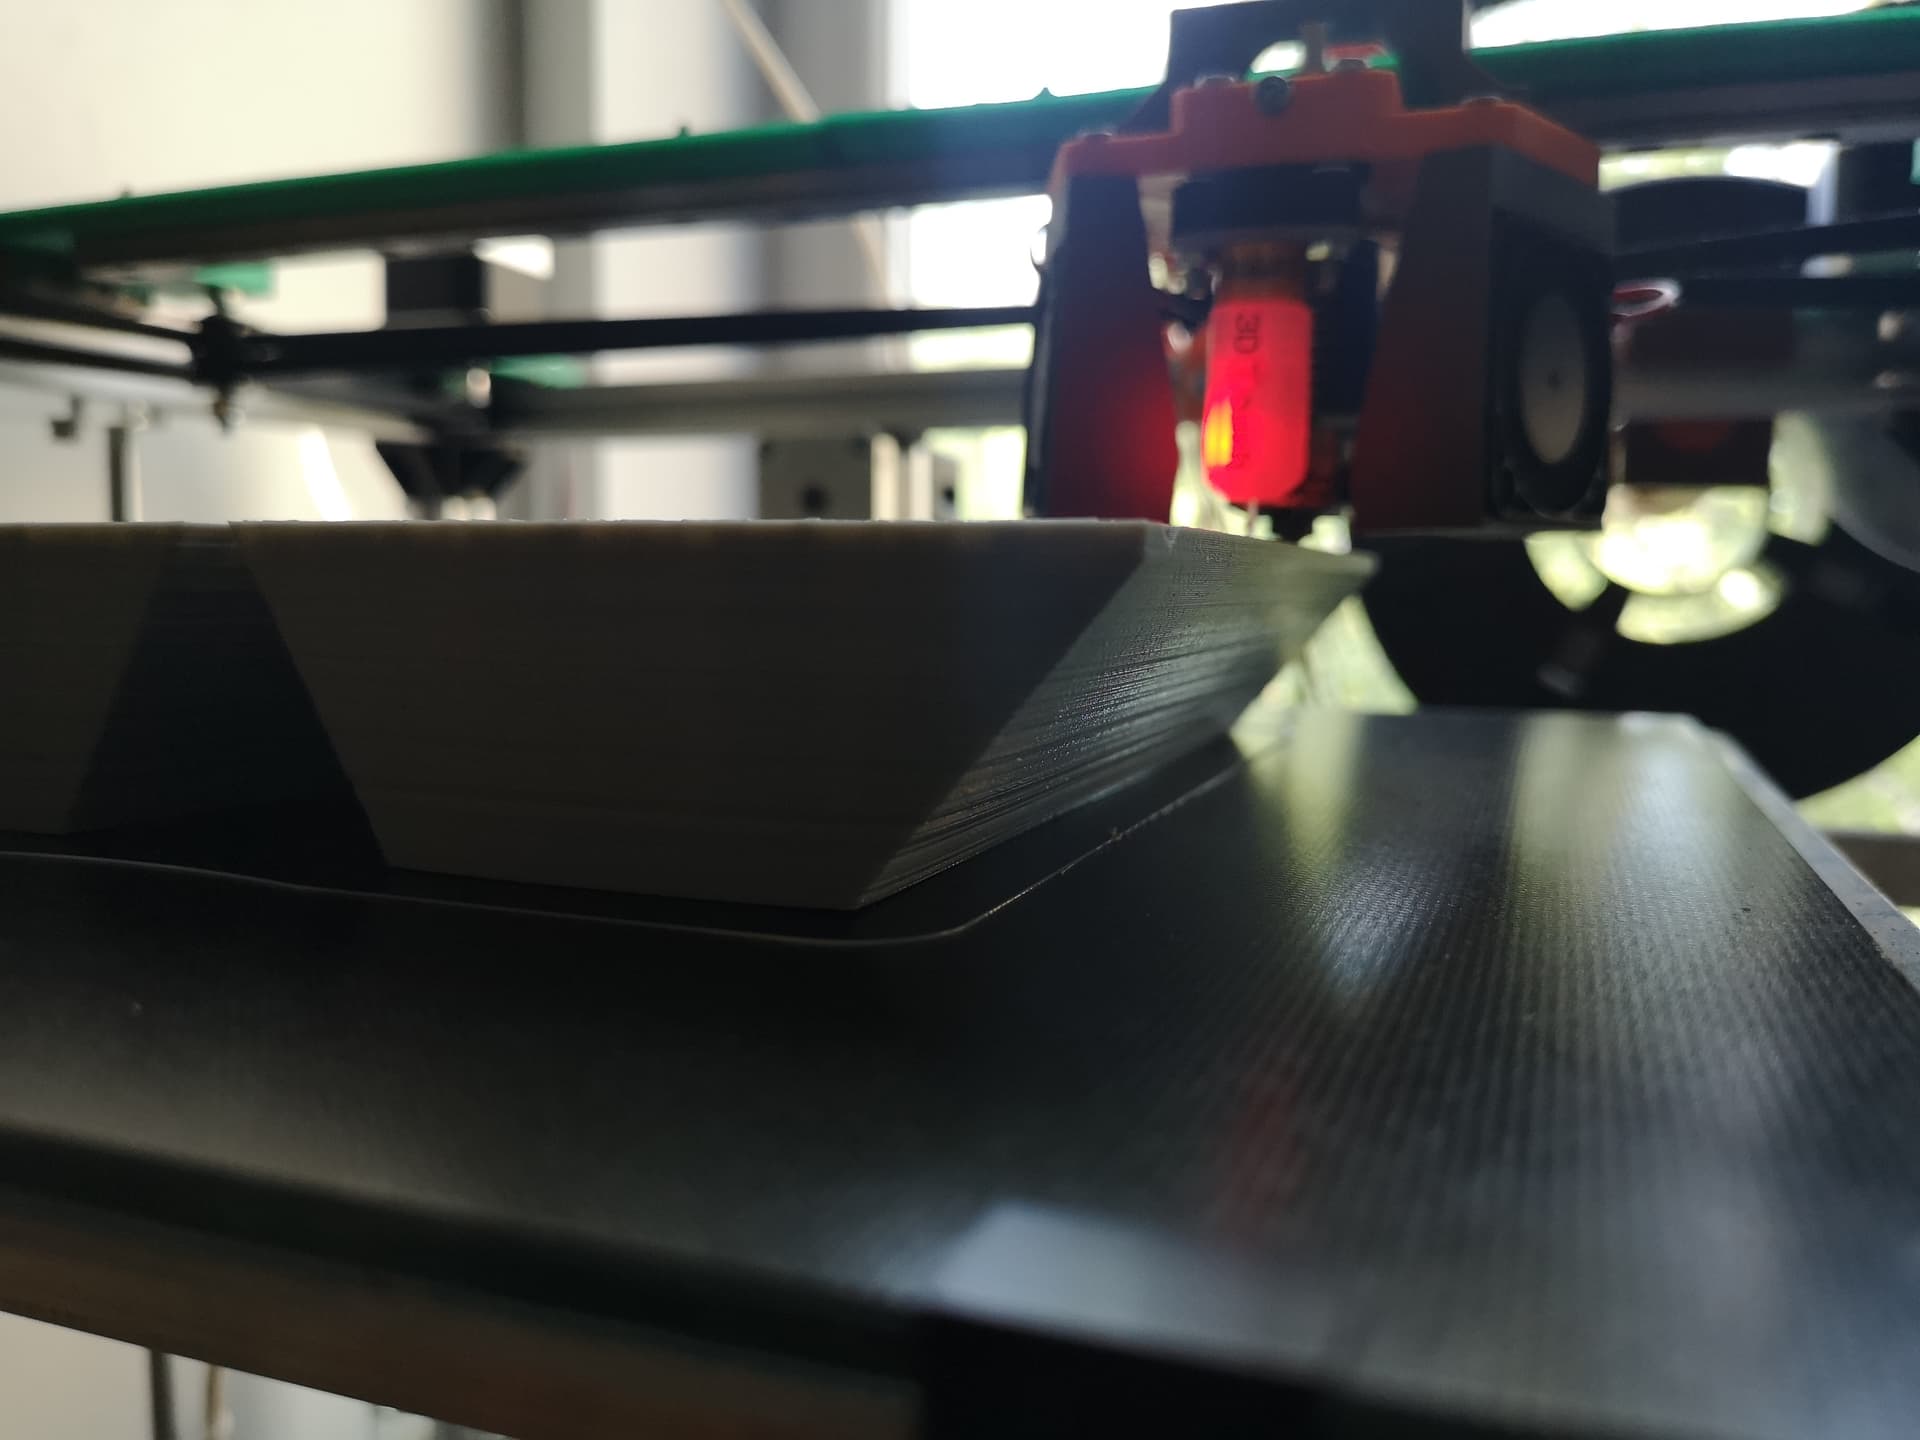
And today I finally ended up printing my first cube. Here is the second attempt to check if too fast works (meaning steppers are correctly setted up in klipper). A bit silly, but I’m so happy to have my first corexy printer made with my little hands
Just a quick (and late) reply to your concern using maaaaany zip ties. I had the same problem and I’ve tried quite a few different solutions. I ended up going back to keep it simple, these ones works very well for me:
And its really easy sliding them back to change tension. I usually mark the folding point with a marker pen so I know how how many “teeth” I tension.
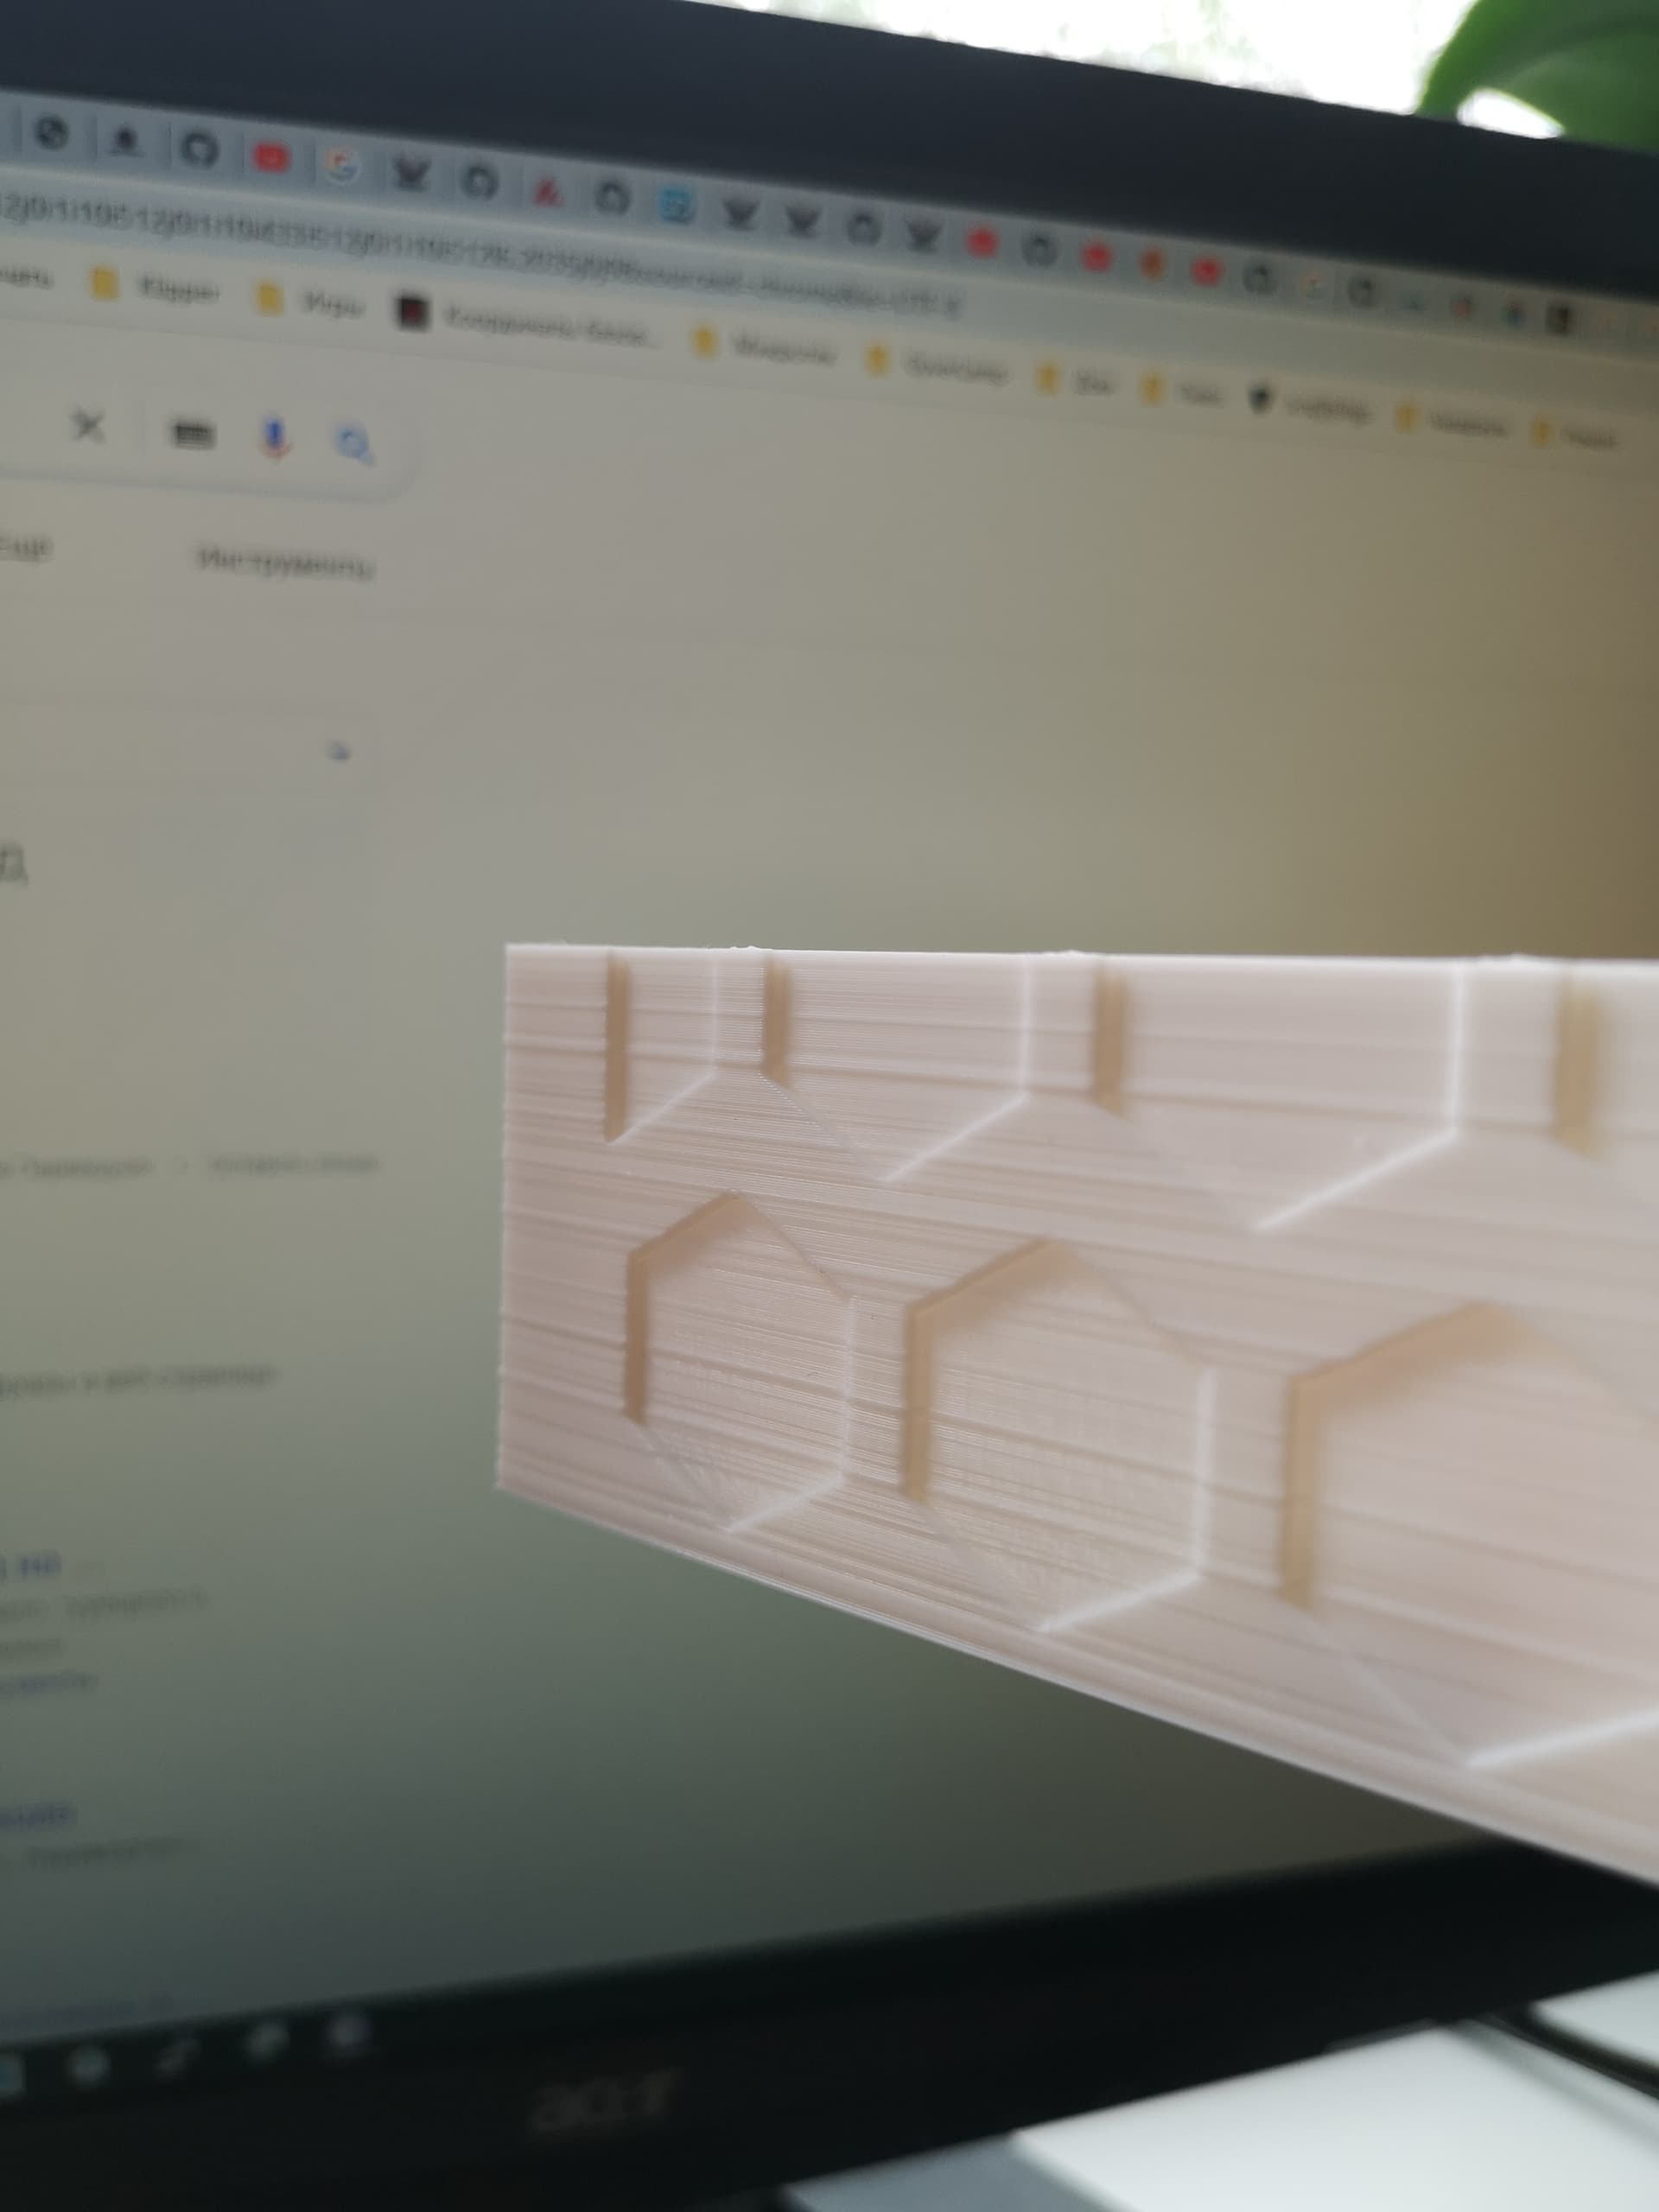
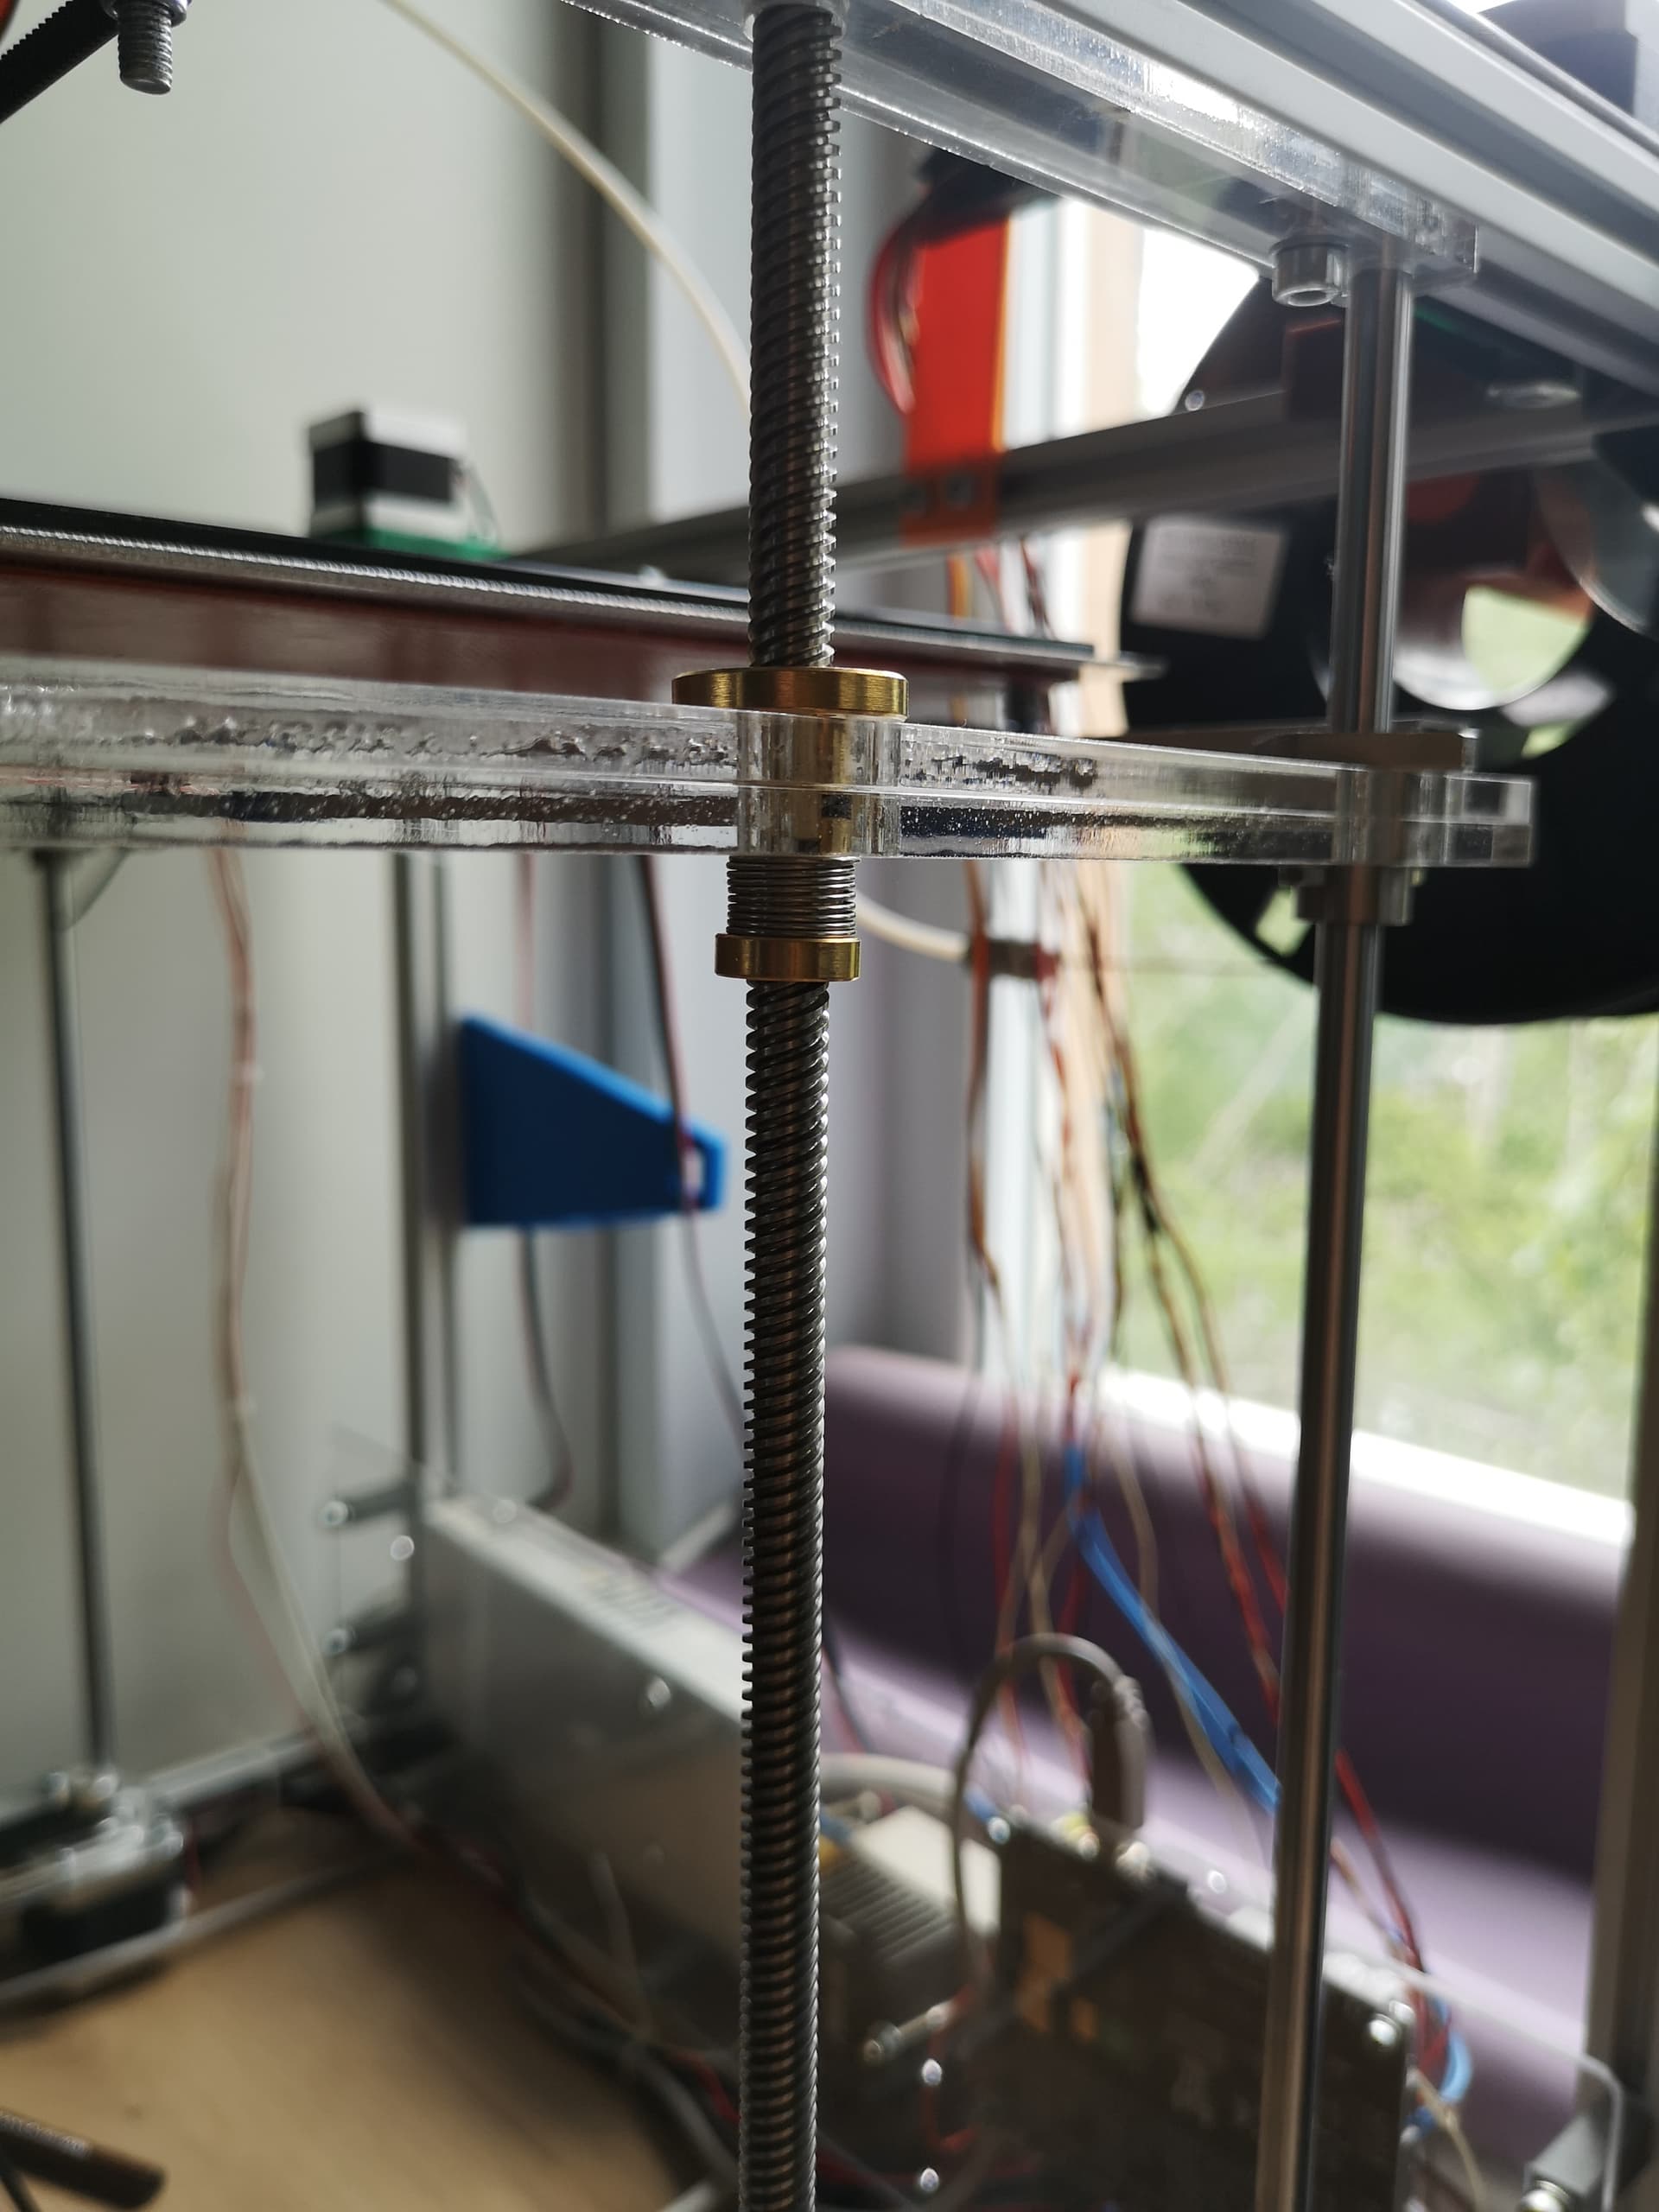
The height of the layers fluctuates all the time. I put backlash-free nuts, nothing has changed. I want to ask how you dealt with it?
I’m thinking of replacing the lead screws with ball-bearing ones.
Random thought: tape a flag to one of the Z screws and watch to see if the screw actually turns through the same amount of rotation for each Z step. For a Z range that should have constant layer height.
I’ve build over a dozen of these and the only time I’ve seen anything like that, it was when bed heating was set to bang bang instead of PID with tuning.
I have seen something like this with belt printers, too, when extruder steps were not accurately calibrated.
Thank you dear. Indeed, when I last calibrated the PID, I did not remove the # in the settings.
Yesterday I calibrated again, turned on the PID, the layers became smoother, but ripples still remain.