Hello!
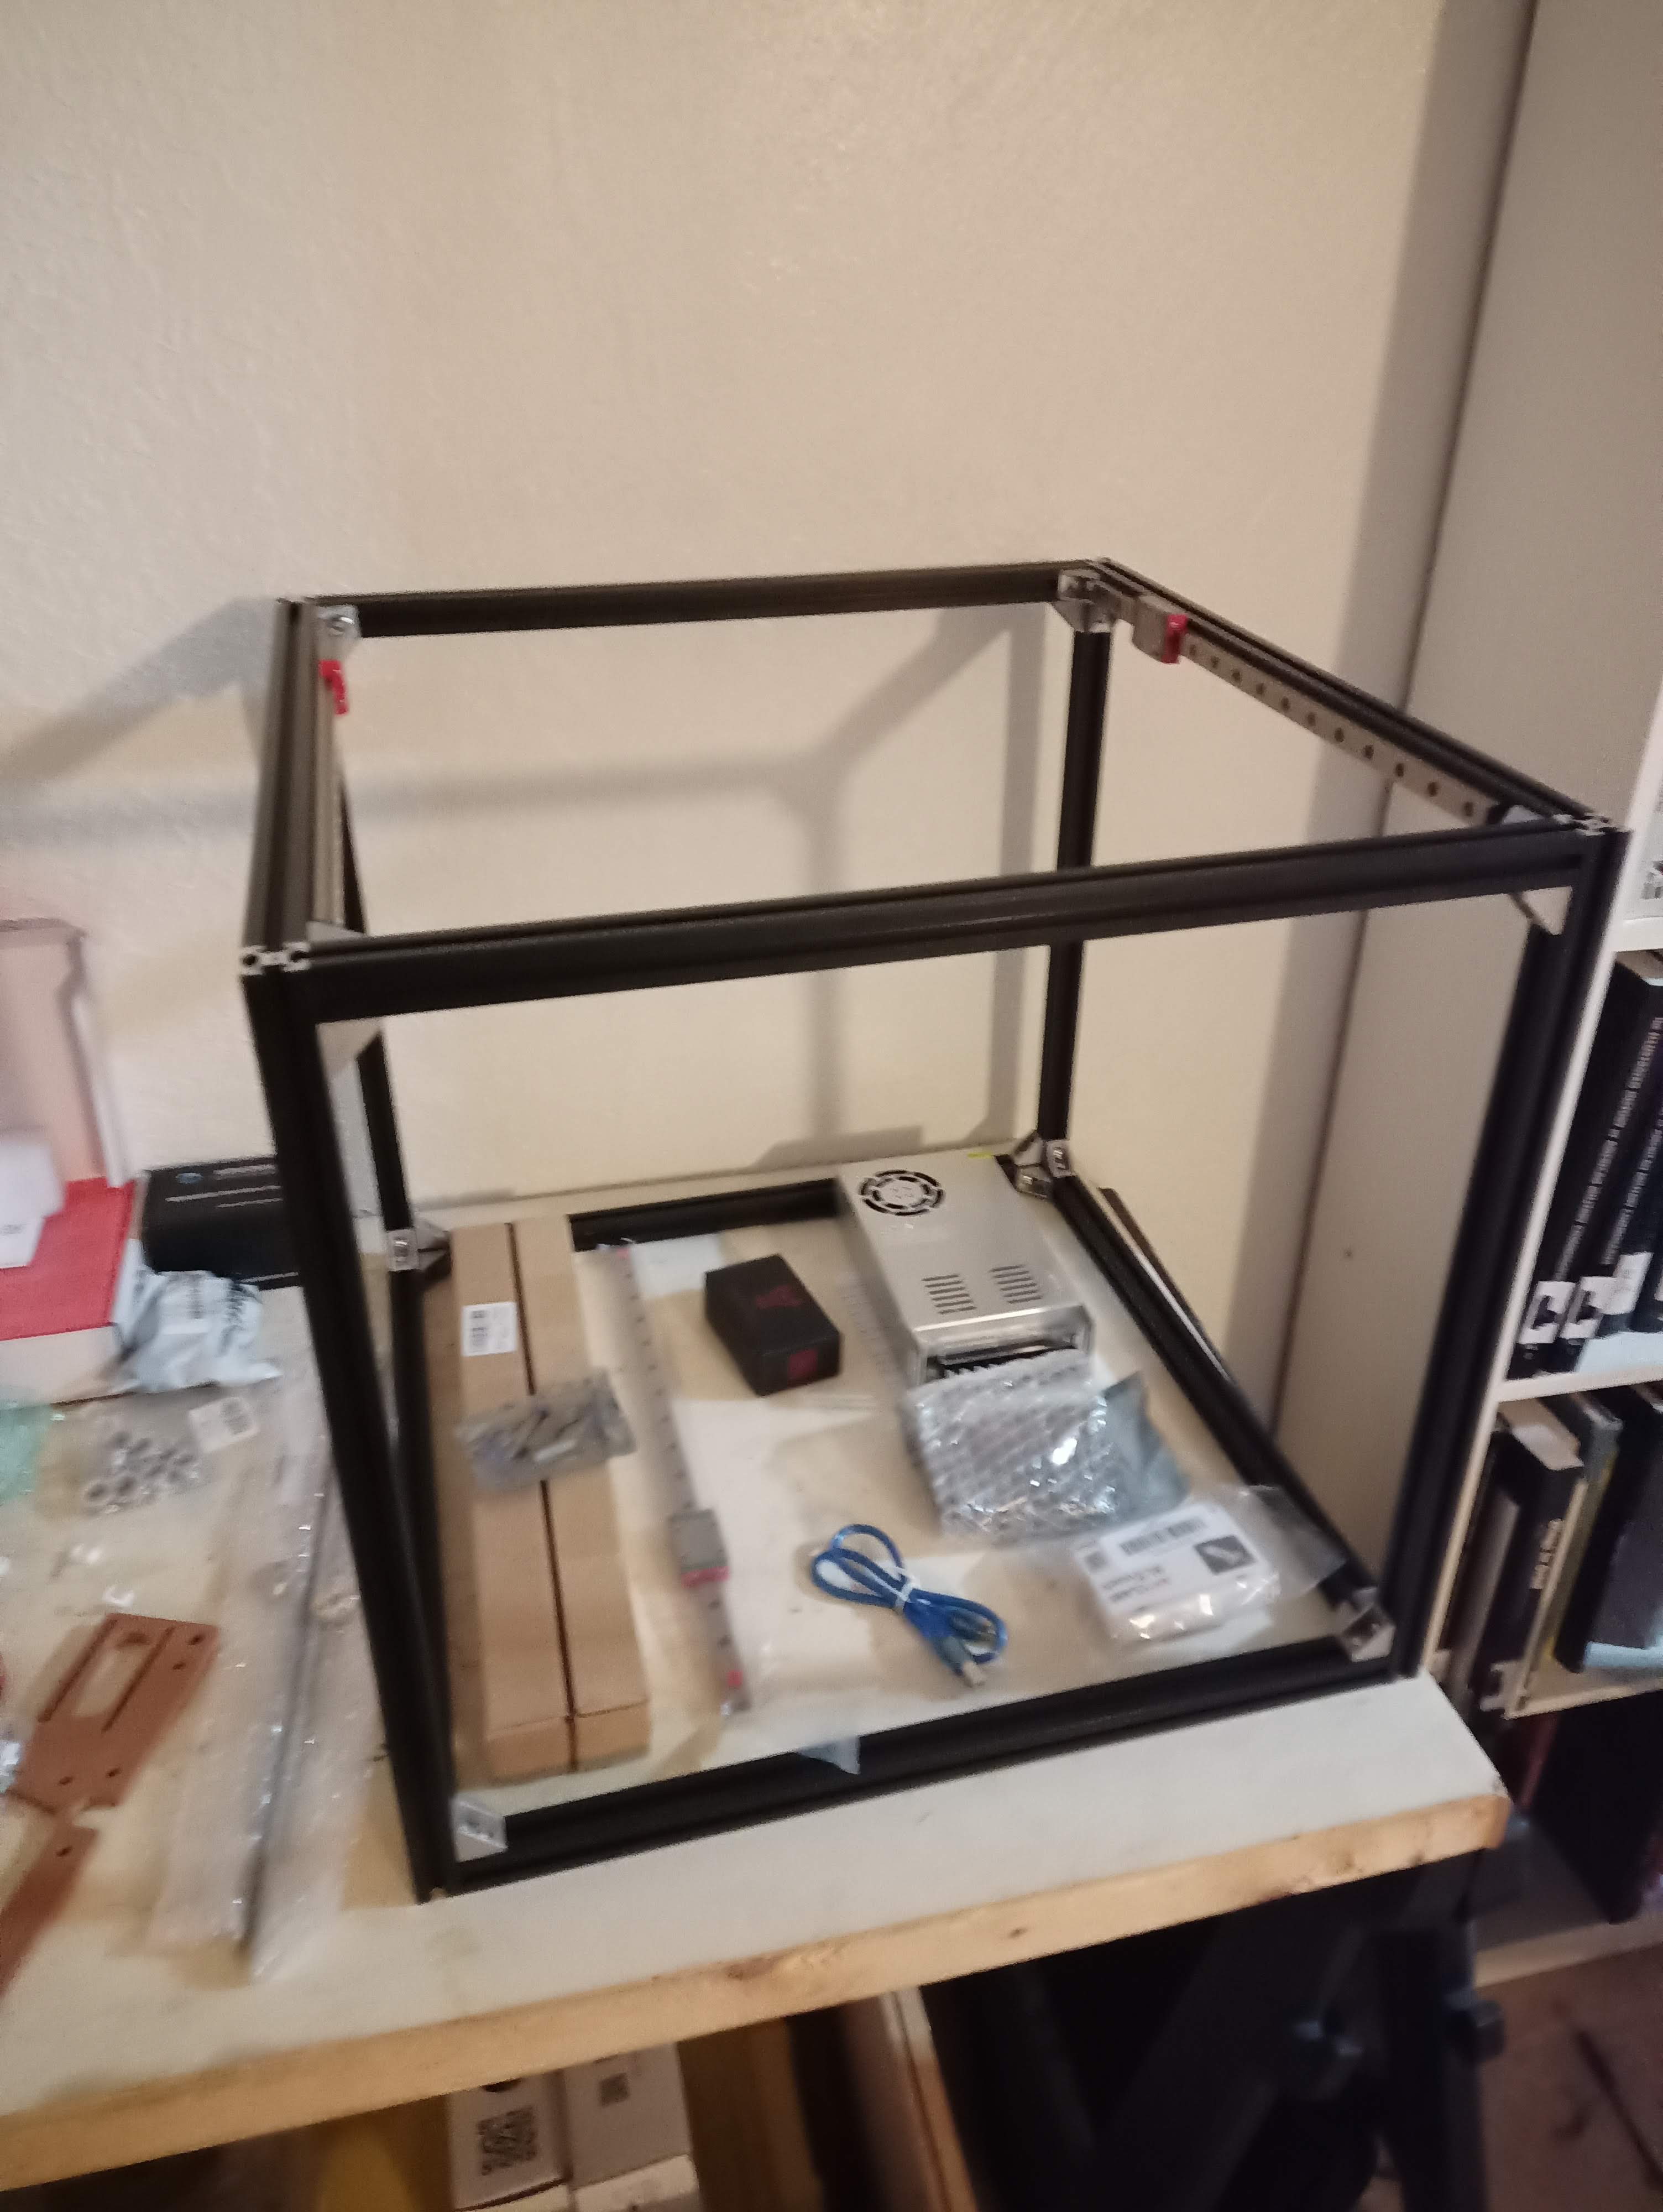
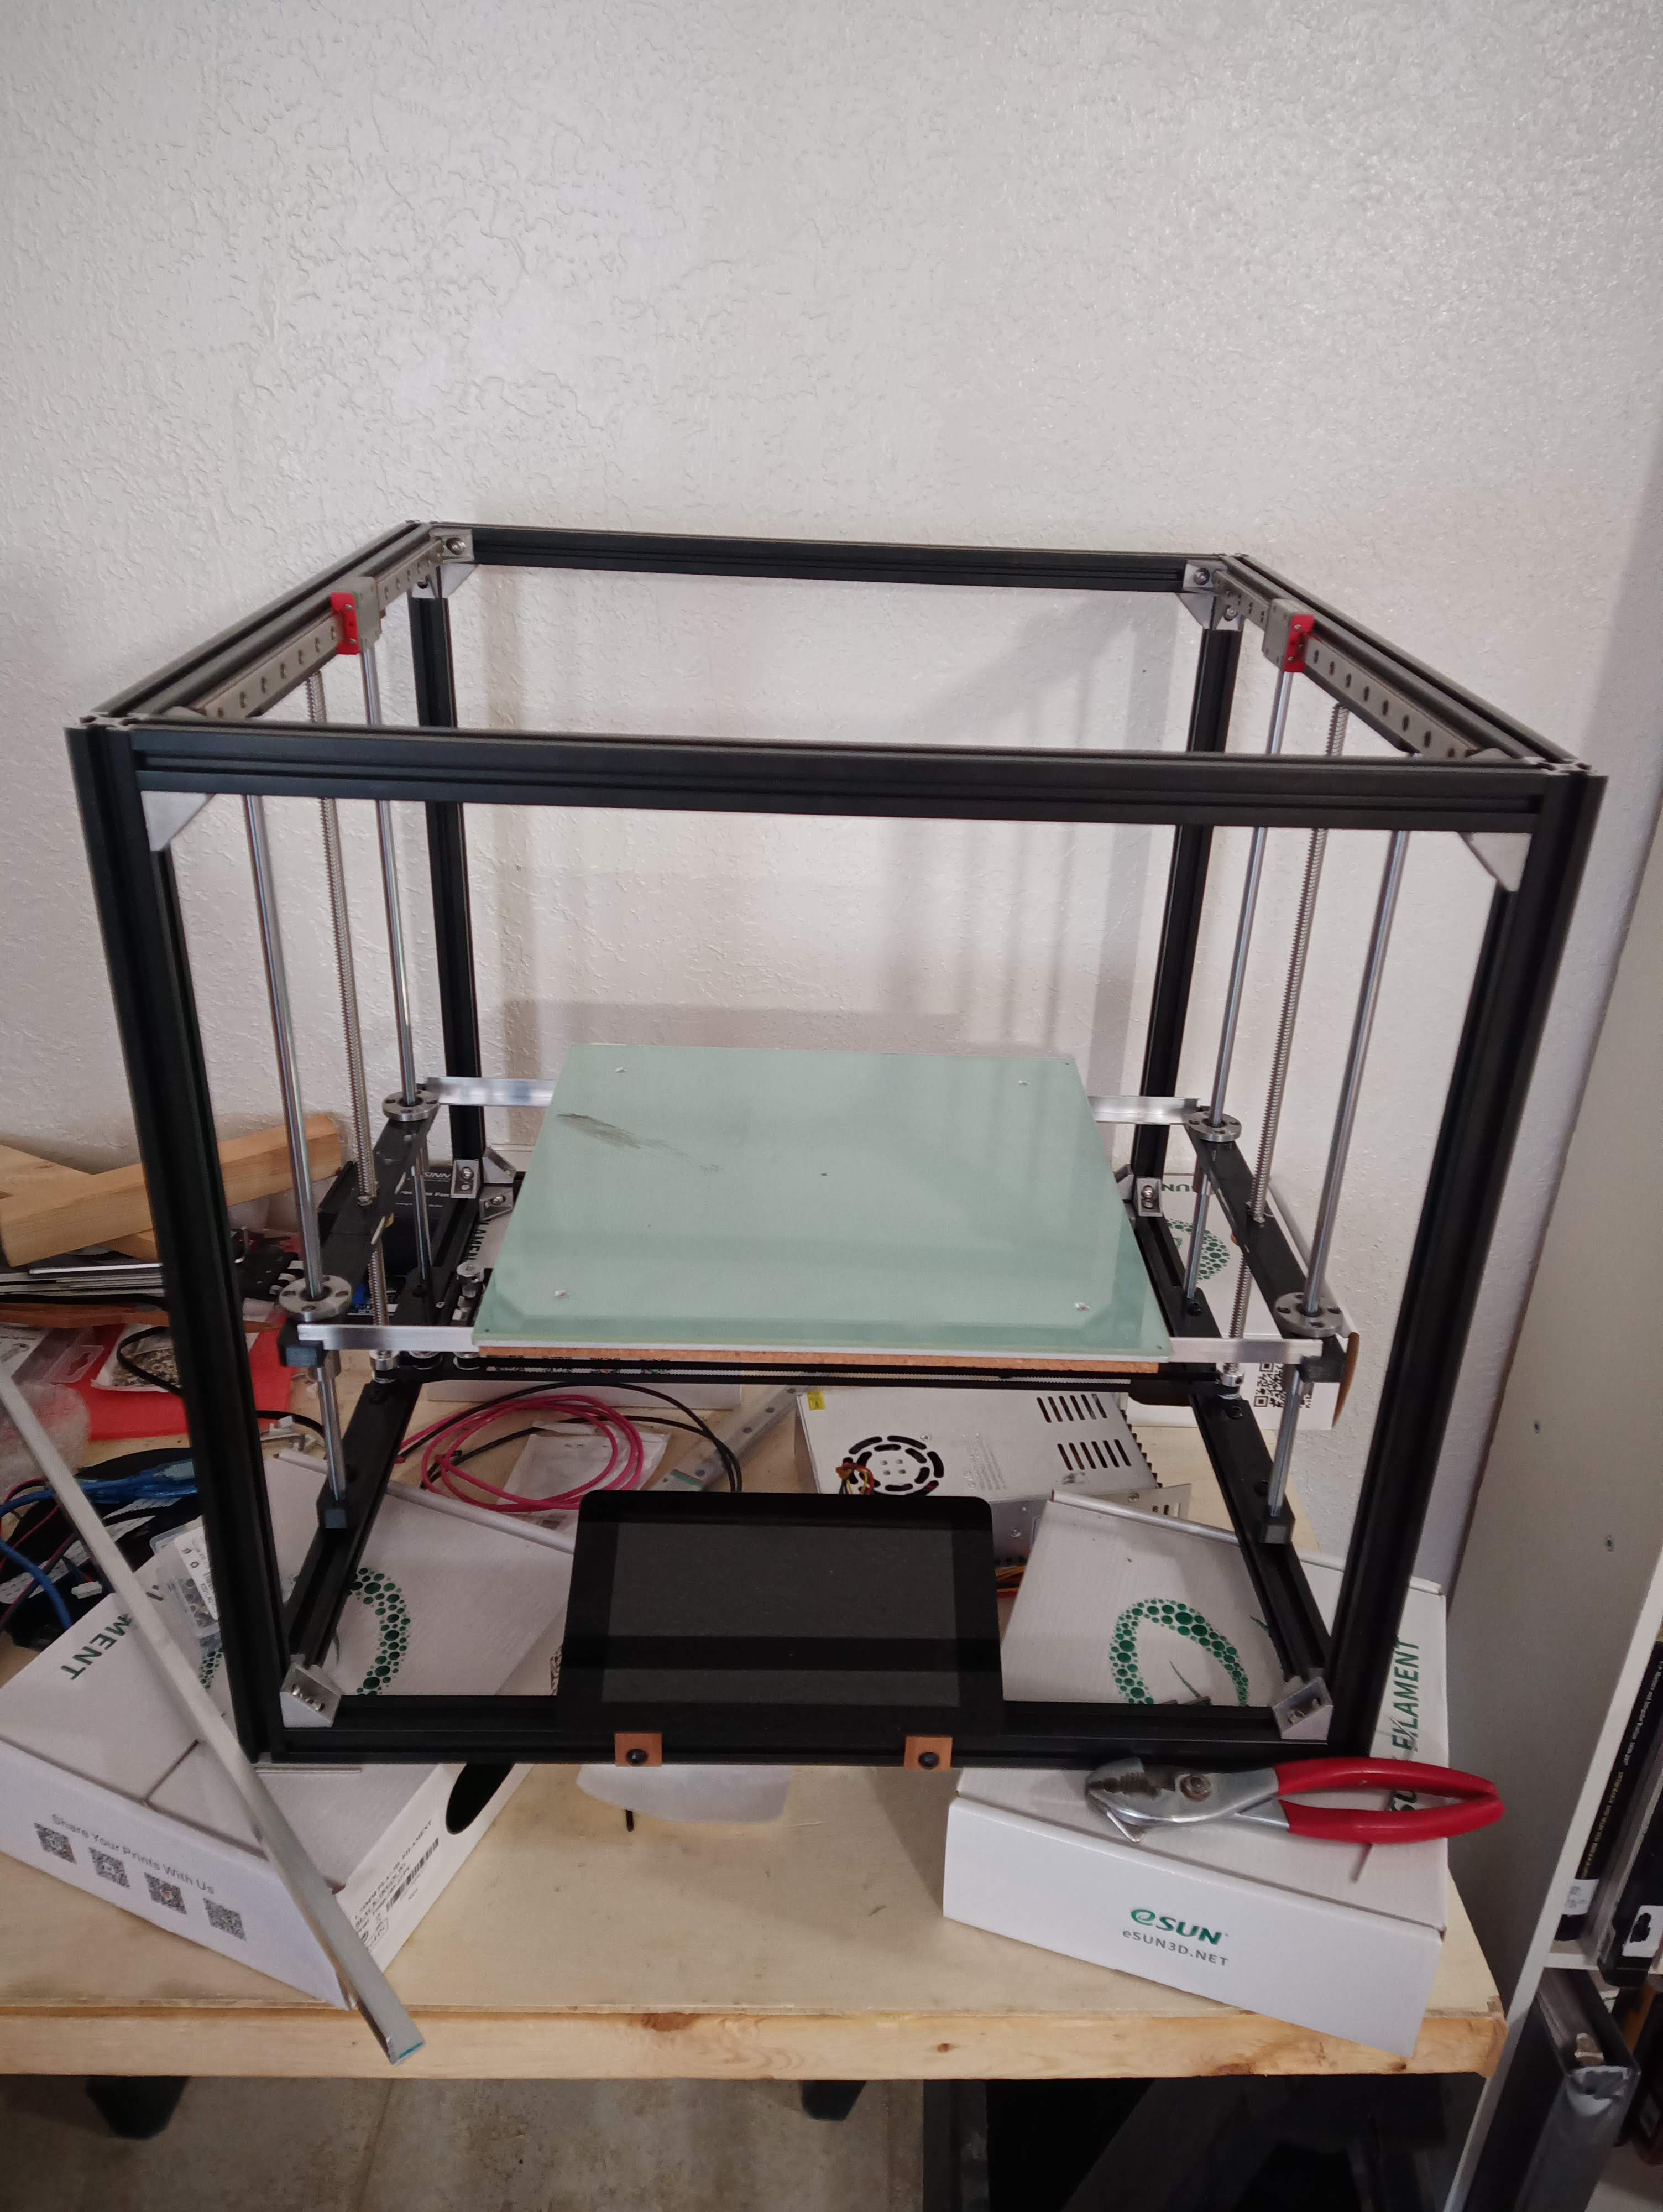
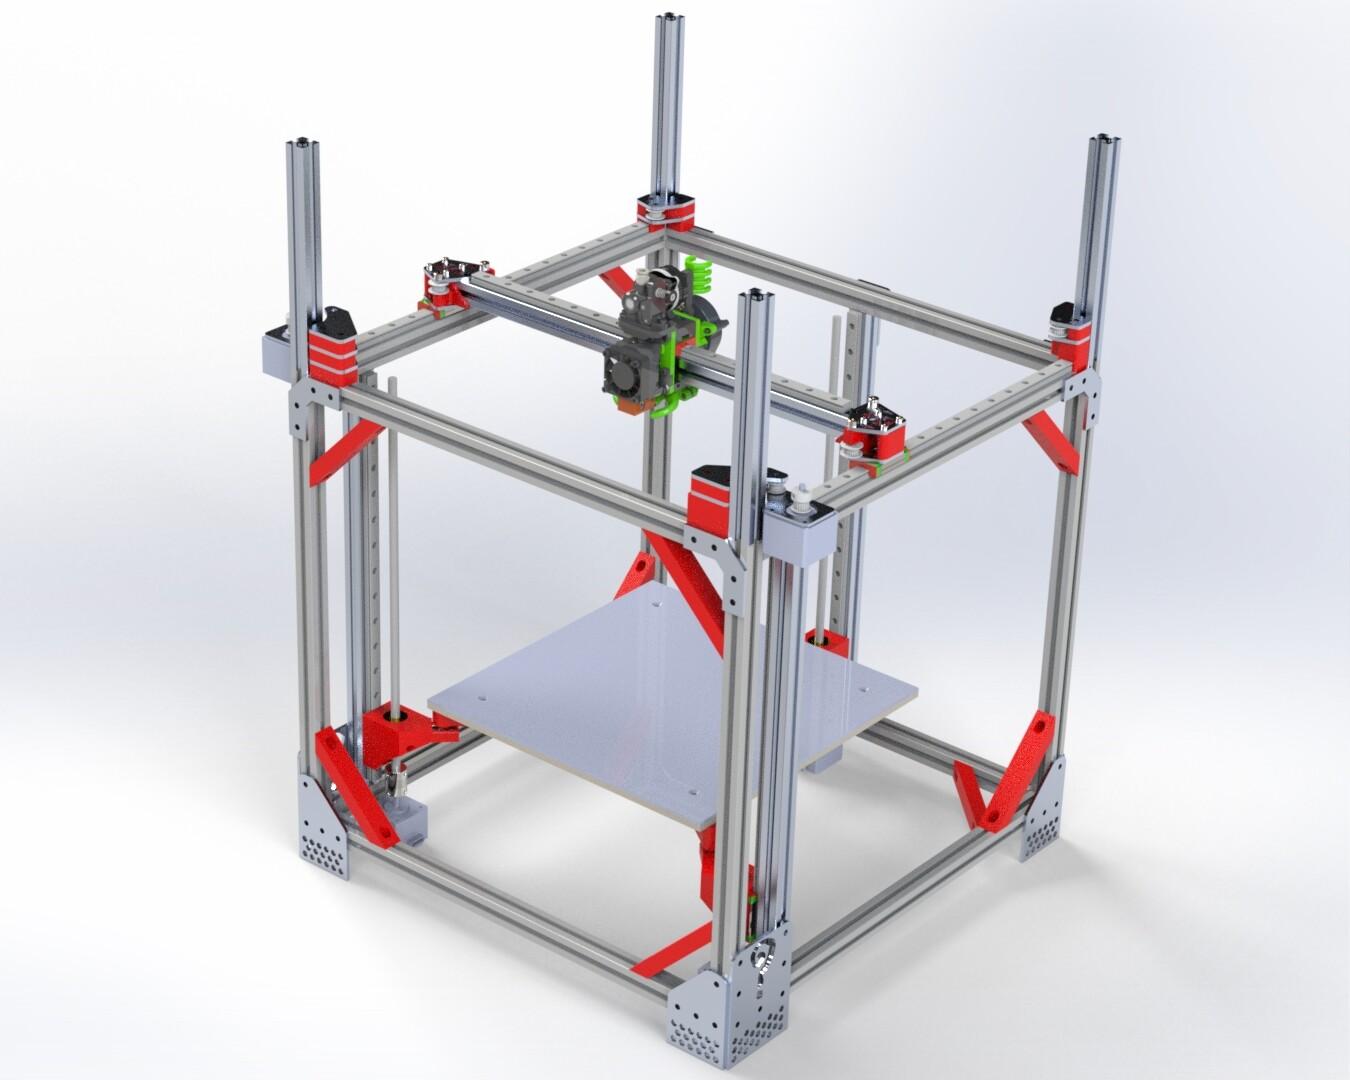
Stumbled across this build while looking for a marginally cheaper railcore alternatives, and decided it fit my needs nicely. However, I know myself well enough to know that I can never leave a working piece of tech un-upgraded. With that eye for feature addition until failure, would there be any reason I couldn’t use a Duet 3 to run everything instead of an SKR 1.3? Pictures of the worlds messiest desk for build progress.

Hi @sigfried! Nice progress on your build. I see no reason you can’t use a Duet 3 board to drive this. Is there specific functionality you were worried about?
Thanks for the reply @stewart. I wouldn’t say I’m worried about functionality, just trying to head off any potential compatibility issues off at the pass. This was originally going to be a down the road upgrade, but I appear to have already killed the USB port on the SKR 1.3, so it’s getting expedited.
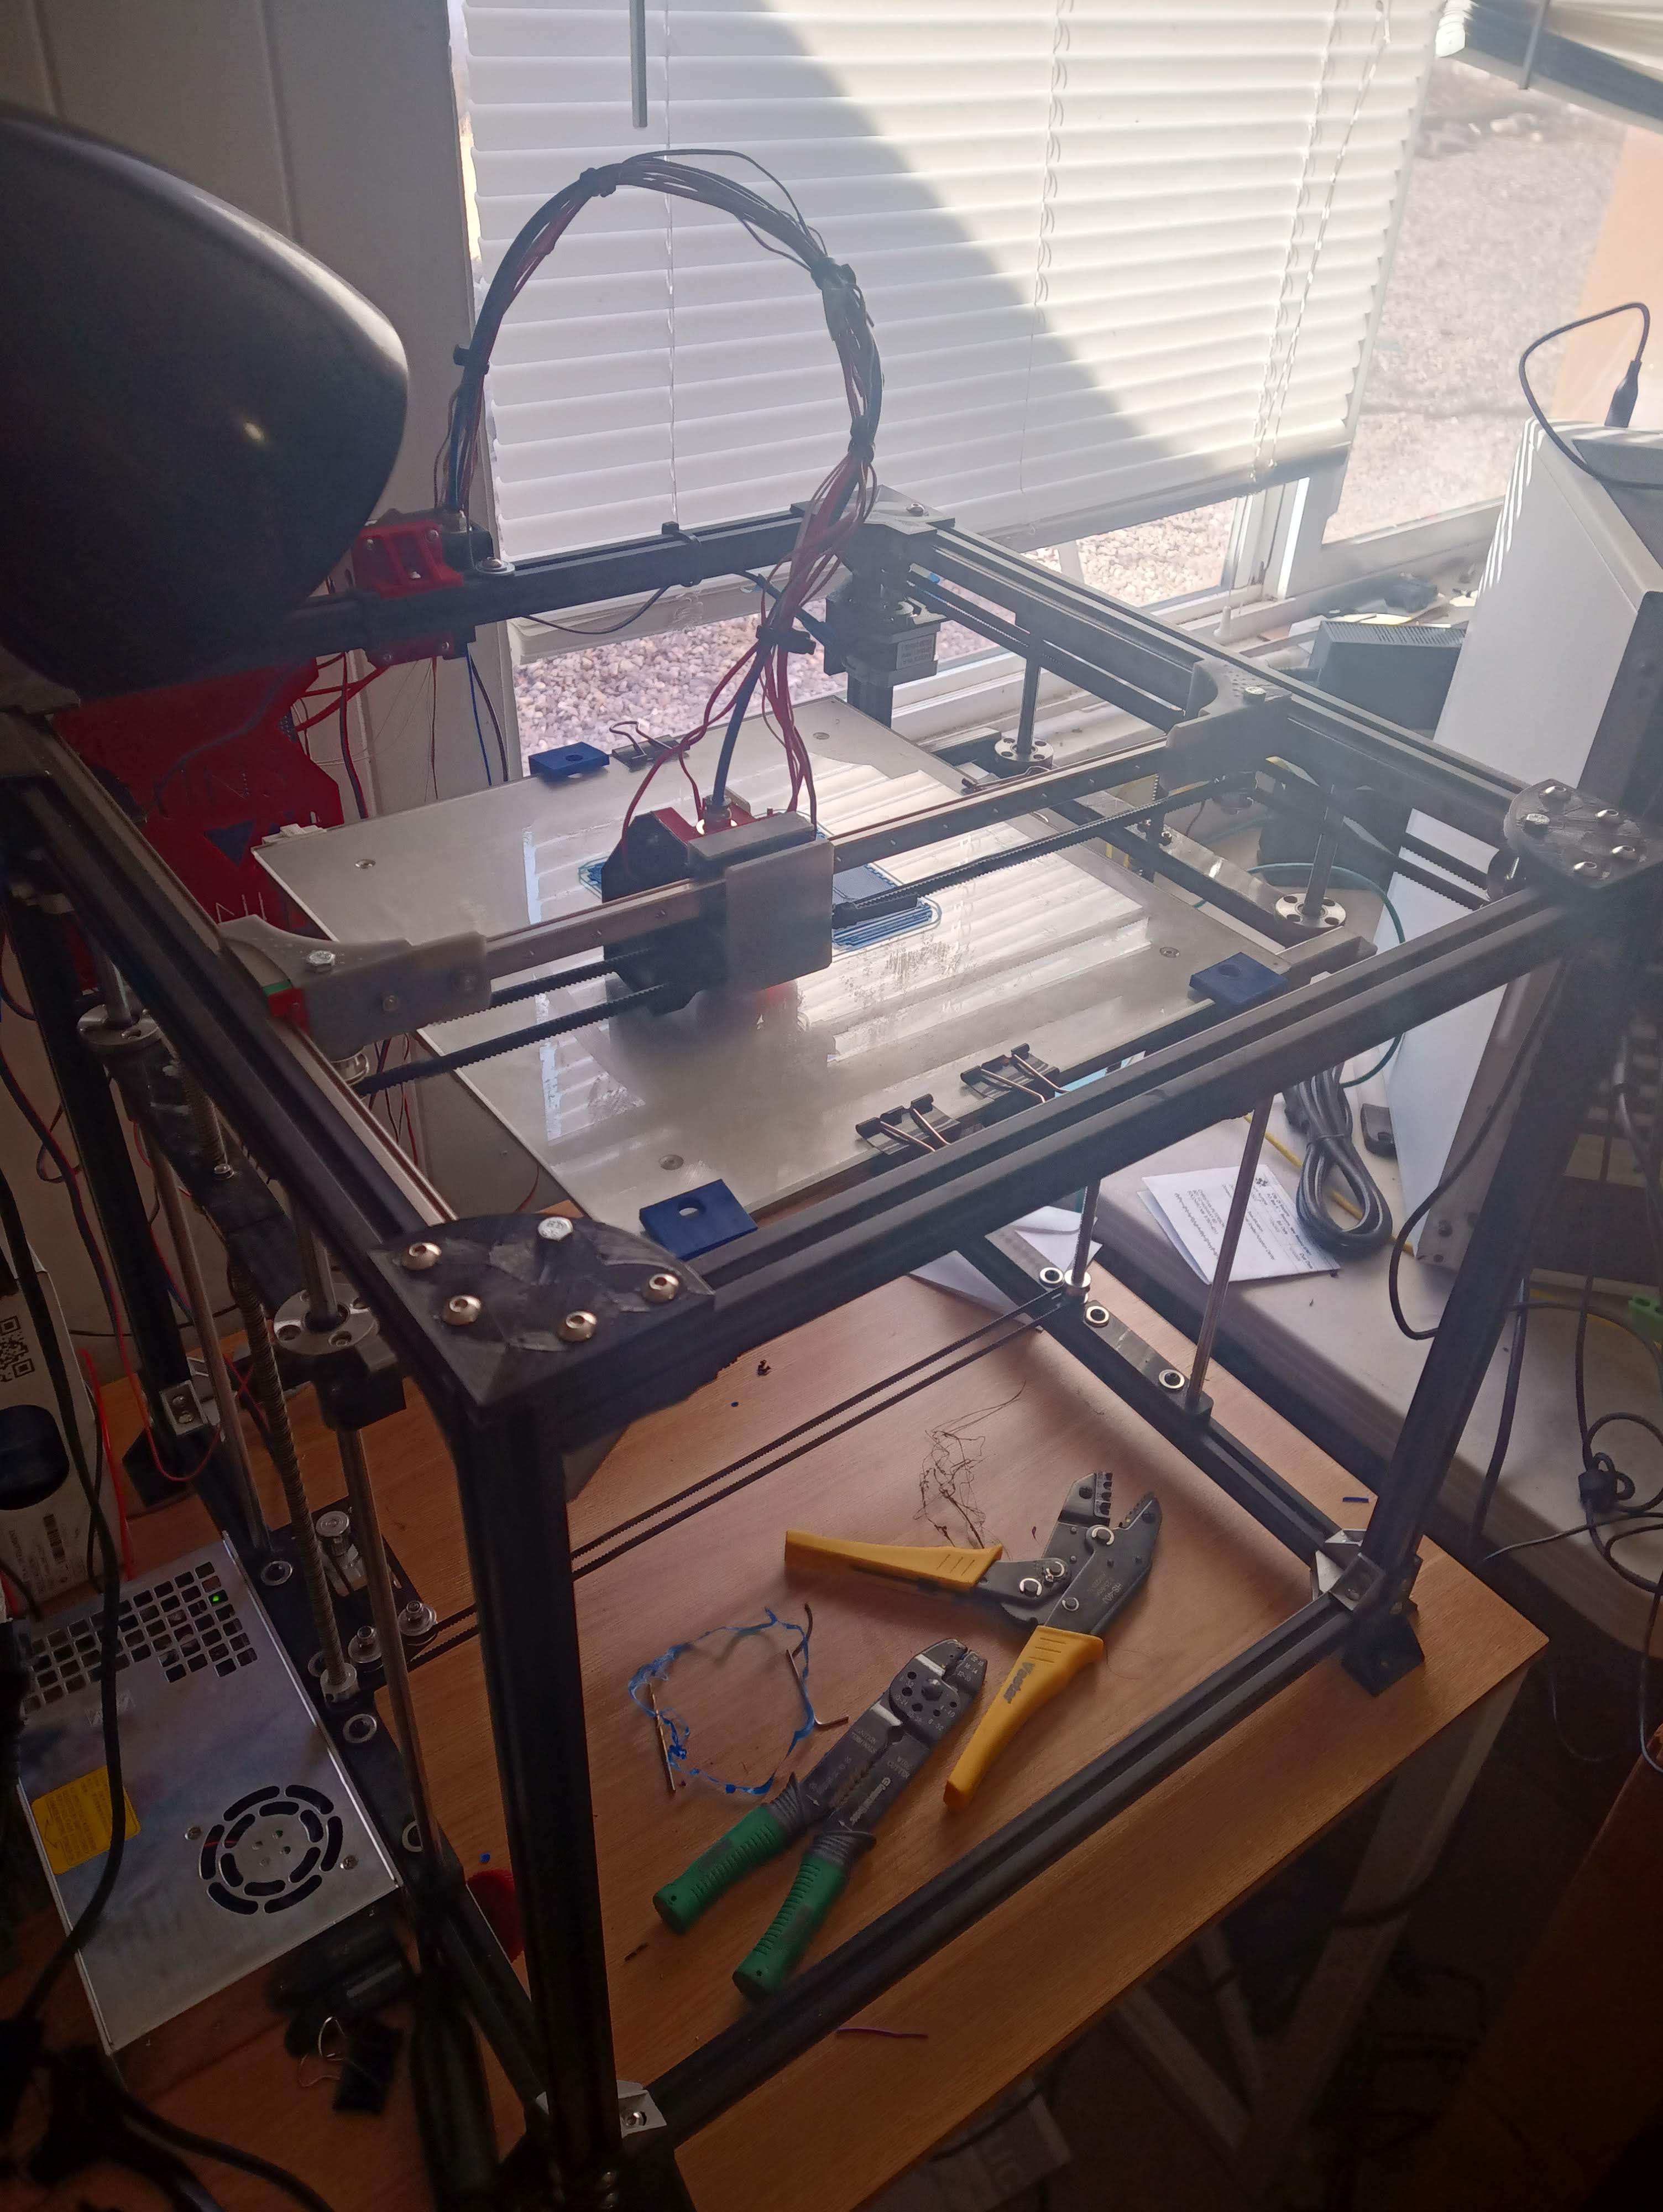
Duet board is in and mostly attached. Movement seems to be functioning, though I had to significantly up the current going to the z stepper to move the bed without skipping. Still trying to get sensorless homing working how I expect it to, and many steps have been needlessly lost pushing the hotend carriage into the walls. Touch screen and pi both fell victim to the Duet web interface, so I guess the ender is getting a cosmetic upgrade out of this as well. Hoping to get first extrusion and maybe a first print this weekend. Will add pictures as I hide my criminally bad cable management.
1 Like
Well, I did promise more pictures, though the cleaned up cable management never did actually happen. Still troubleshooting problems with the duet board, and had to improvise a slightly different bed leveling system because my glass build plate was larger than my heated bed. ABL has been a godsend, because how I have the bed mounted 100% wouldn’t work without it. Working on a 2020 extrusion frame for the bed so I can move towards a true bed leveling solution, but like most works in progress these days the parts are stuck in shipping. Printing like a champ though.
1 Like
Thanks for the update. Great to see your progress!
Hey,
I realise it’s been a while since you posted this, but I have some questions.
What did you do with the built in screws in the bed plate, are they attached to anything?
Also, was Duet a good choice? I’m waiting for my Duet 2 wifi atm.
Cheers!
Hey Alex!
I love the Duet board, RepRap firmware has been really good to me once I figured out the ins and outs. You could probably replicate the experience with klipper, but the hardware on the duet boards is also really nice, which certainly helps.
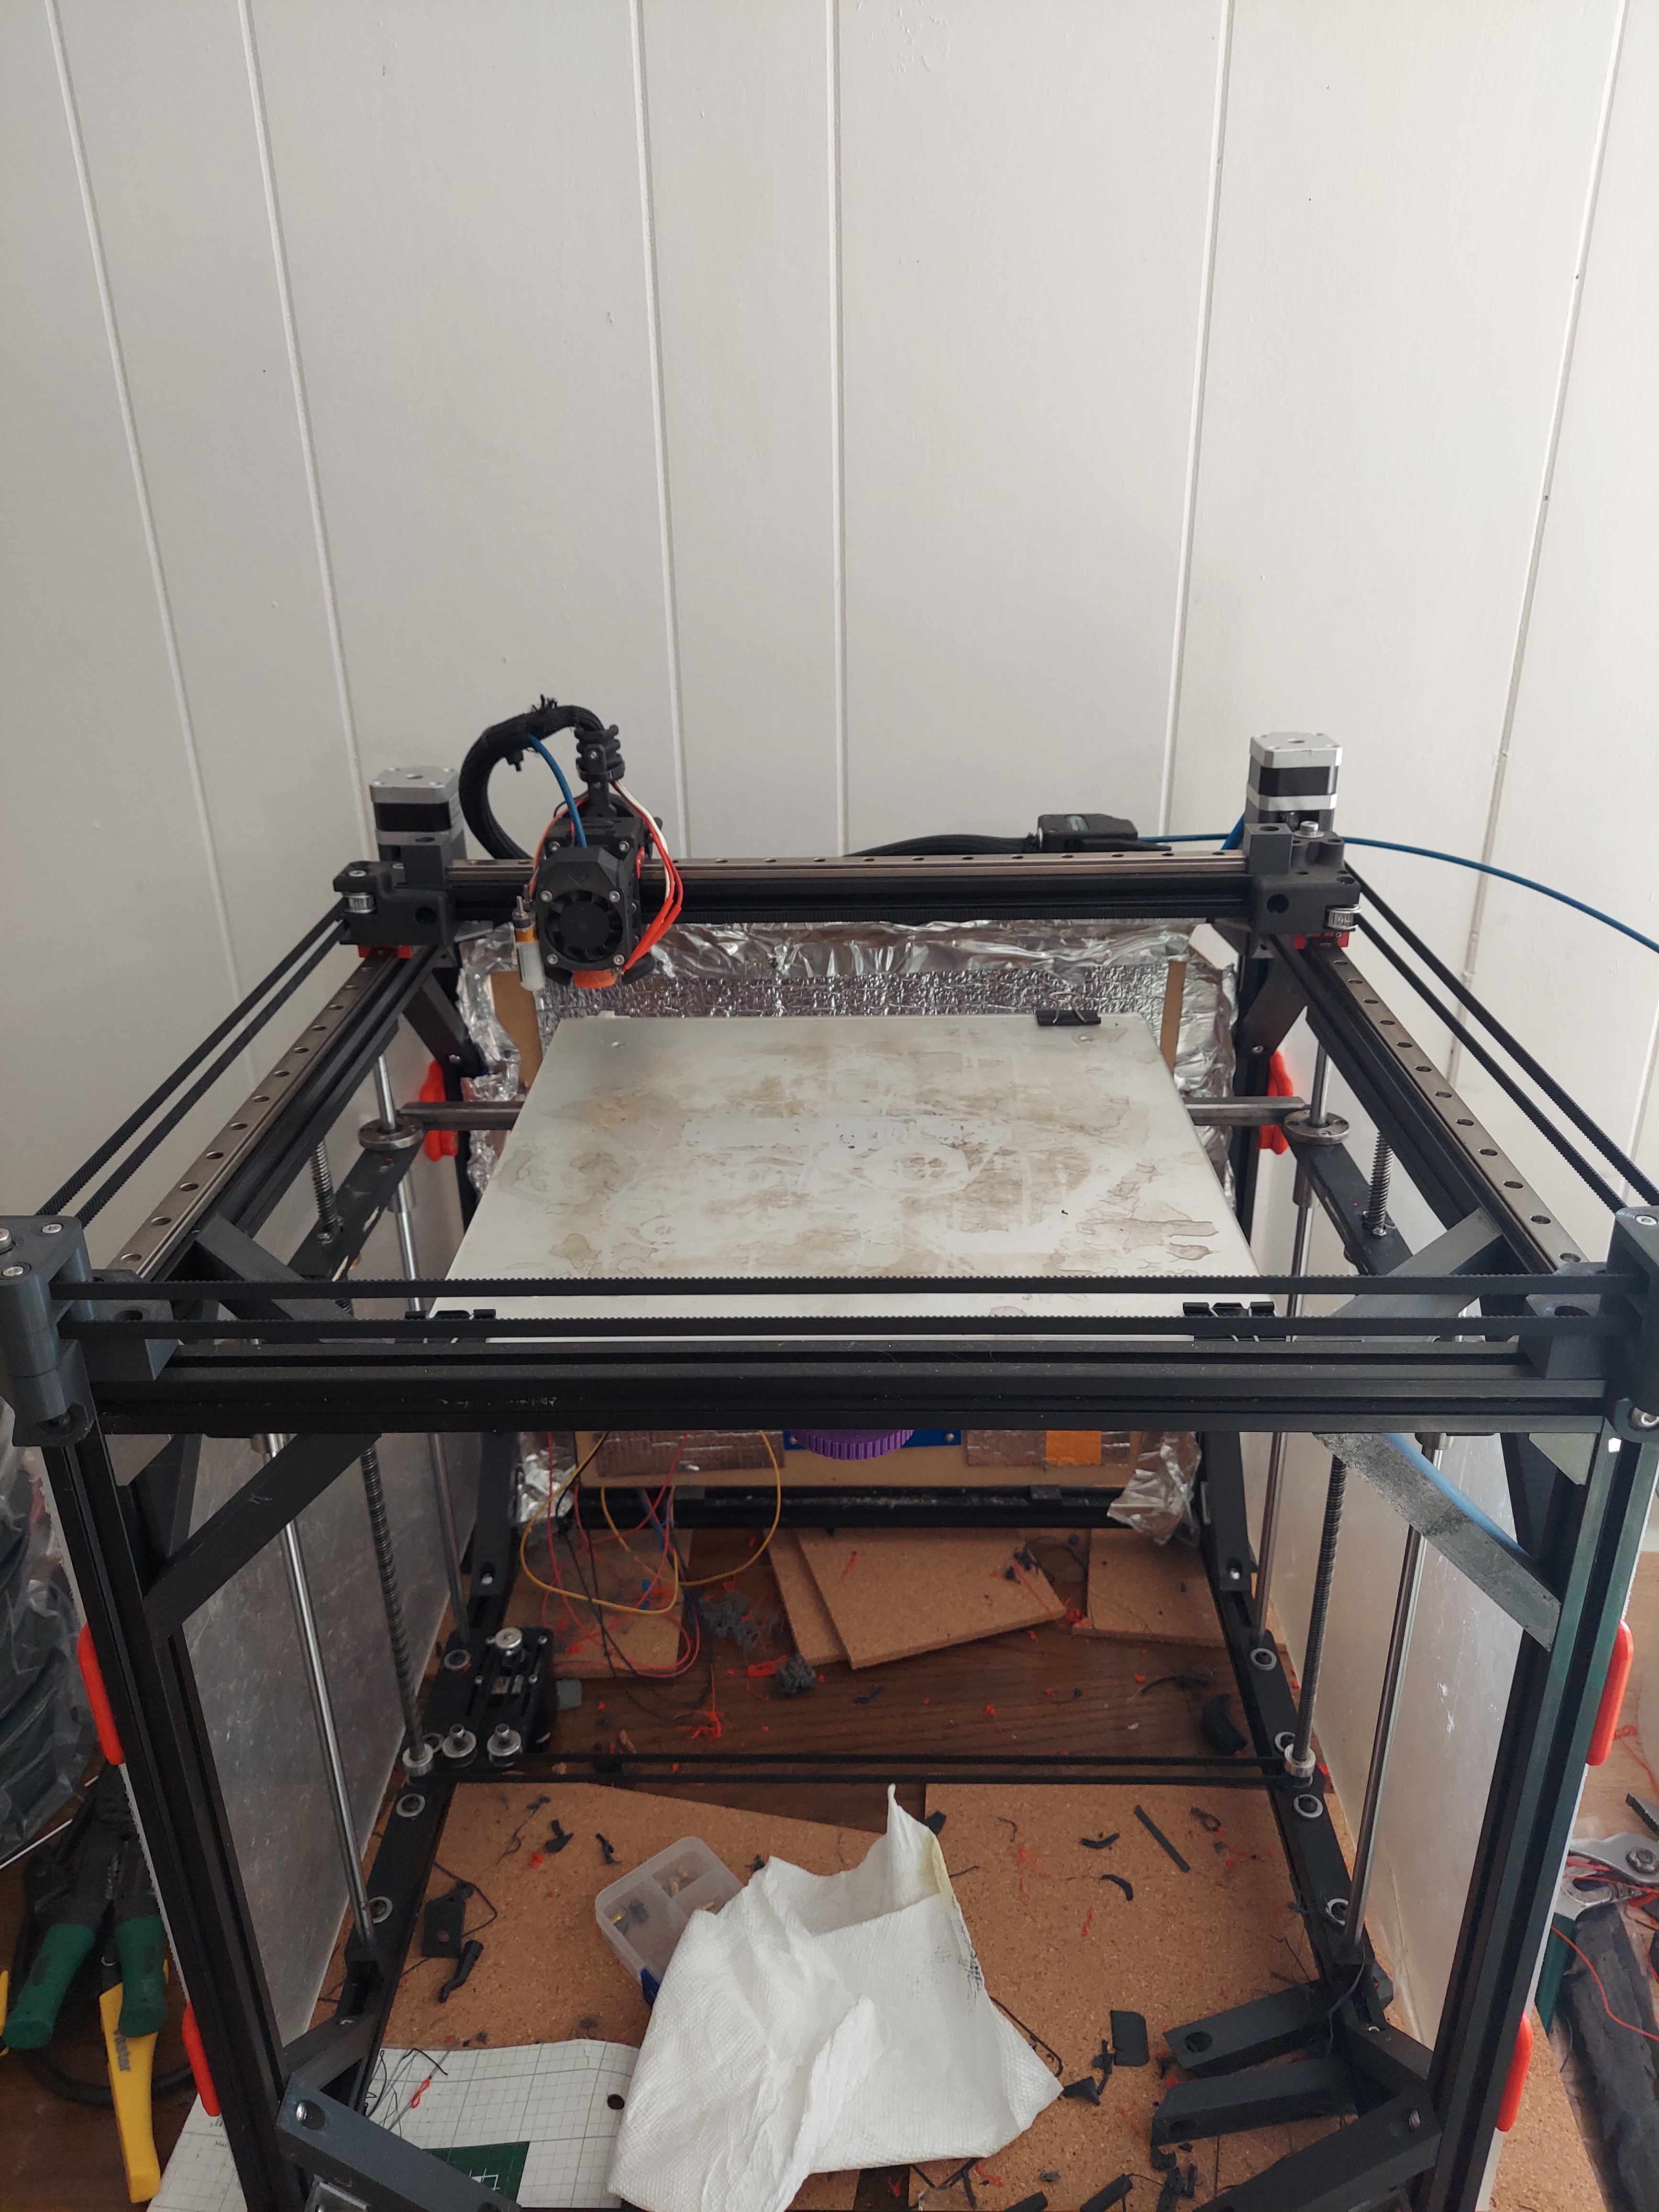
My bed solution has adapted a couple times since I last posted, and will probably change again. Currently the heated bed bolts to an aluminum extrusion undercarriage and then attaches via leveling feat to the cross members. The z axis is one of the few things on my printer that is still mostly original gridbot.
I don’t have any great pictures of the bed at the moment, so hopefully this will do. Ignore the gnarly wiring, that’s been cleaned up (a little).

Feel free to ask any other questions, even if I’ve strayed pretty far from the base gridbot I’ve found it to be a great platform for experimenting and tweaking.
Thanks! That sounds great!
First round with reprap for me as well, we’ll see how that goes 

Please feel free to share your mods, especially if you feel that it makes the printer better somehow (or just because it’s fun!).
Also, thanks for replying to such an old thread.
I think this has already been changed in the most current gridbot iteration, but I’d strongly recommend using actual endstops over sensorless homing, which was the norm when I built mine. When I rebuilt the XY motion system to switch to the EVA modular carriage system for the hotend, I found that the stress on the X gantry mounts from repeated sensorless homing has caused them to deflect significantly, so an axis that should have been perpendicular was actually at about 88 degrees from the Y.
1 Like
I found sensorless homing to be unreliable and went back to optical endstops on all printers.
Glad that particular piece of advice is no longer relevant. What optical endstops are you using?
for optical i’ve used: https://www.amazon.com/gp/product/B077X8XL56
1 Like
Yeah, I was thinking about that earlier, but have already decided to go with physical endstops.
I have the same ones that Stewart linked, but will probably order some microswitches just in case 
And now I’m trying to get more aluminum extrusions from Poland, since the seller on Ali decided to only ship 6 out of 12…
Edit: and thanks so much for the EVA mention, I had not seen that before. Looks very interesting!
1 Like
in my latest 2.5 builds, I’m using these: https://www.amazon.com/gp/product/B088W8WMTB
2 Likes
Hi again,
the belt system(and X-axis) you’re using, where is that from? Or have you designed it yourself?
Thanks 
Hi, sorry about the long delay, been a while since I stopped in. It’s something I designed myself. I wanted a little more z height by putting the linear rails on the top instead of the sides of the frame, and needed a more rigid motor mounting solution, as my previous versions had warped under heat and time. I’m actually in the process of redesigning it once again to use aluminum parts from sendcutsend.
have you looked at the updated 2.5 design linked in the docs?
it makes this modification and others you may find beneficial.
1 Like
Interesting, I like the clamped mount for the v6 as well as the increase in cooling, that’s something I could never really get to my satisfaction with the original 2. I’ve deviated pretty far from the light of minimalism with my build as it currently stands.
Do I spot Voron inspirations? Looking good. It’s the journey, not the destination 