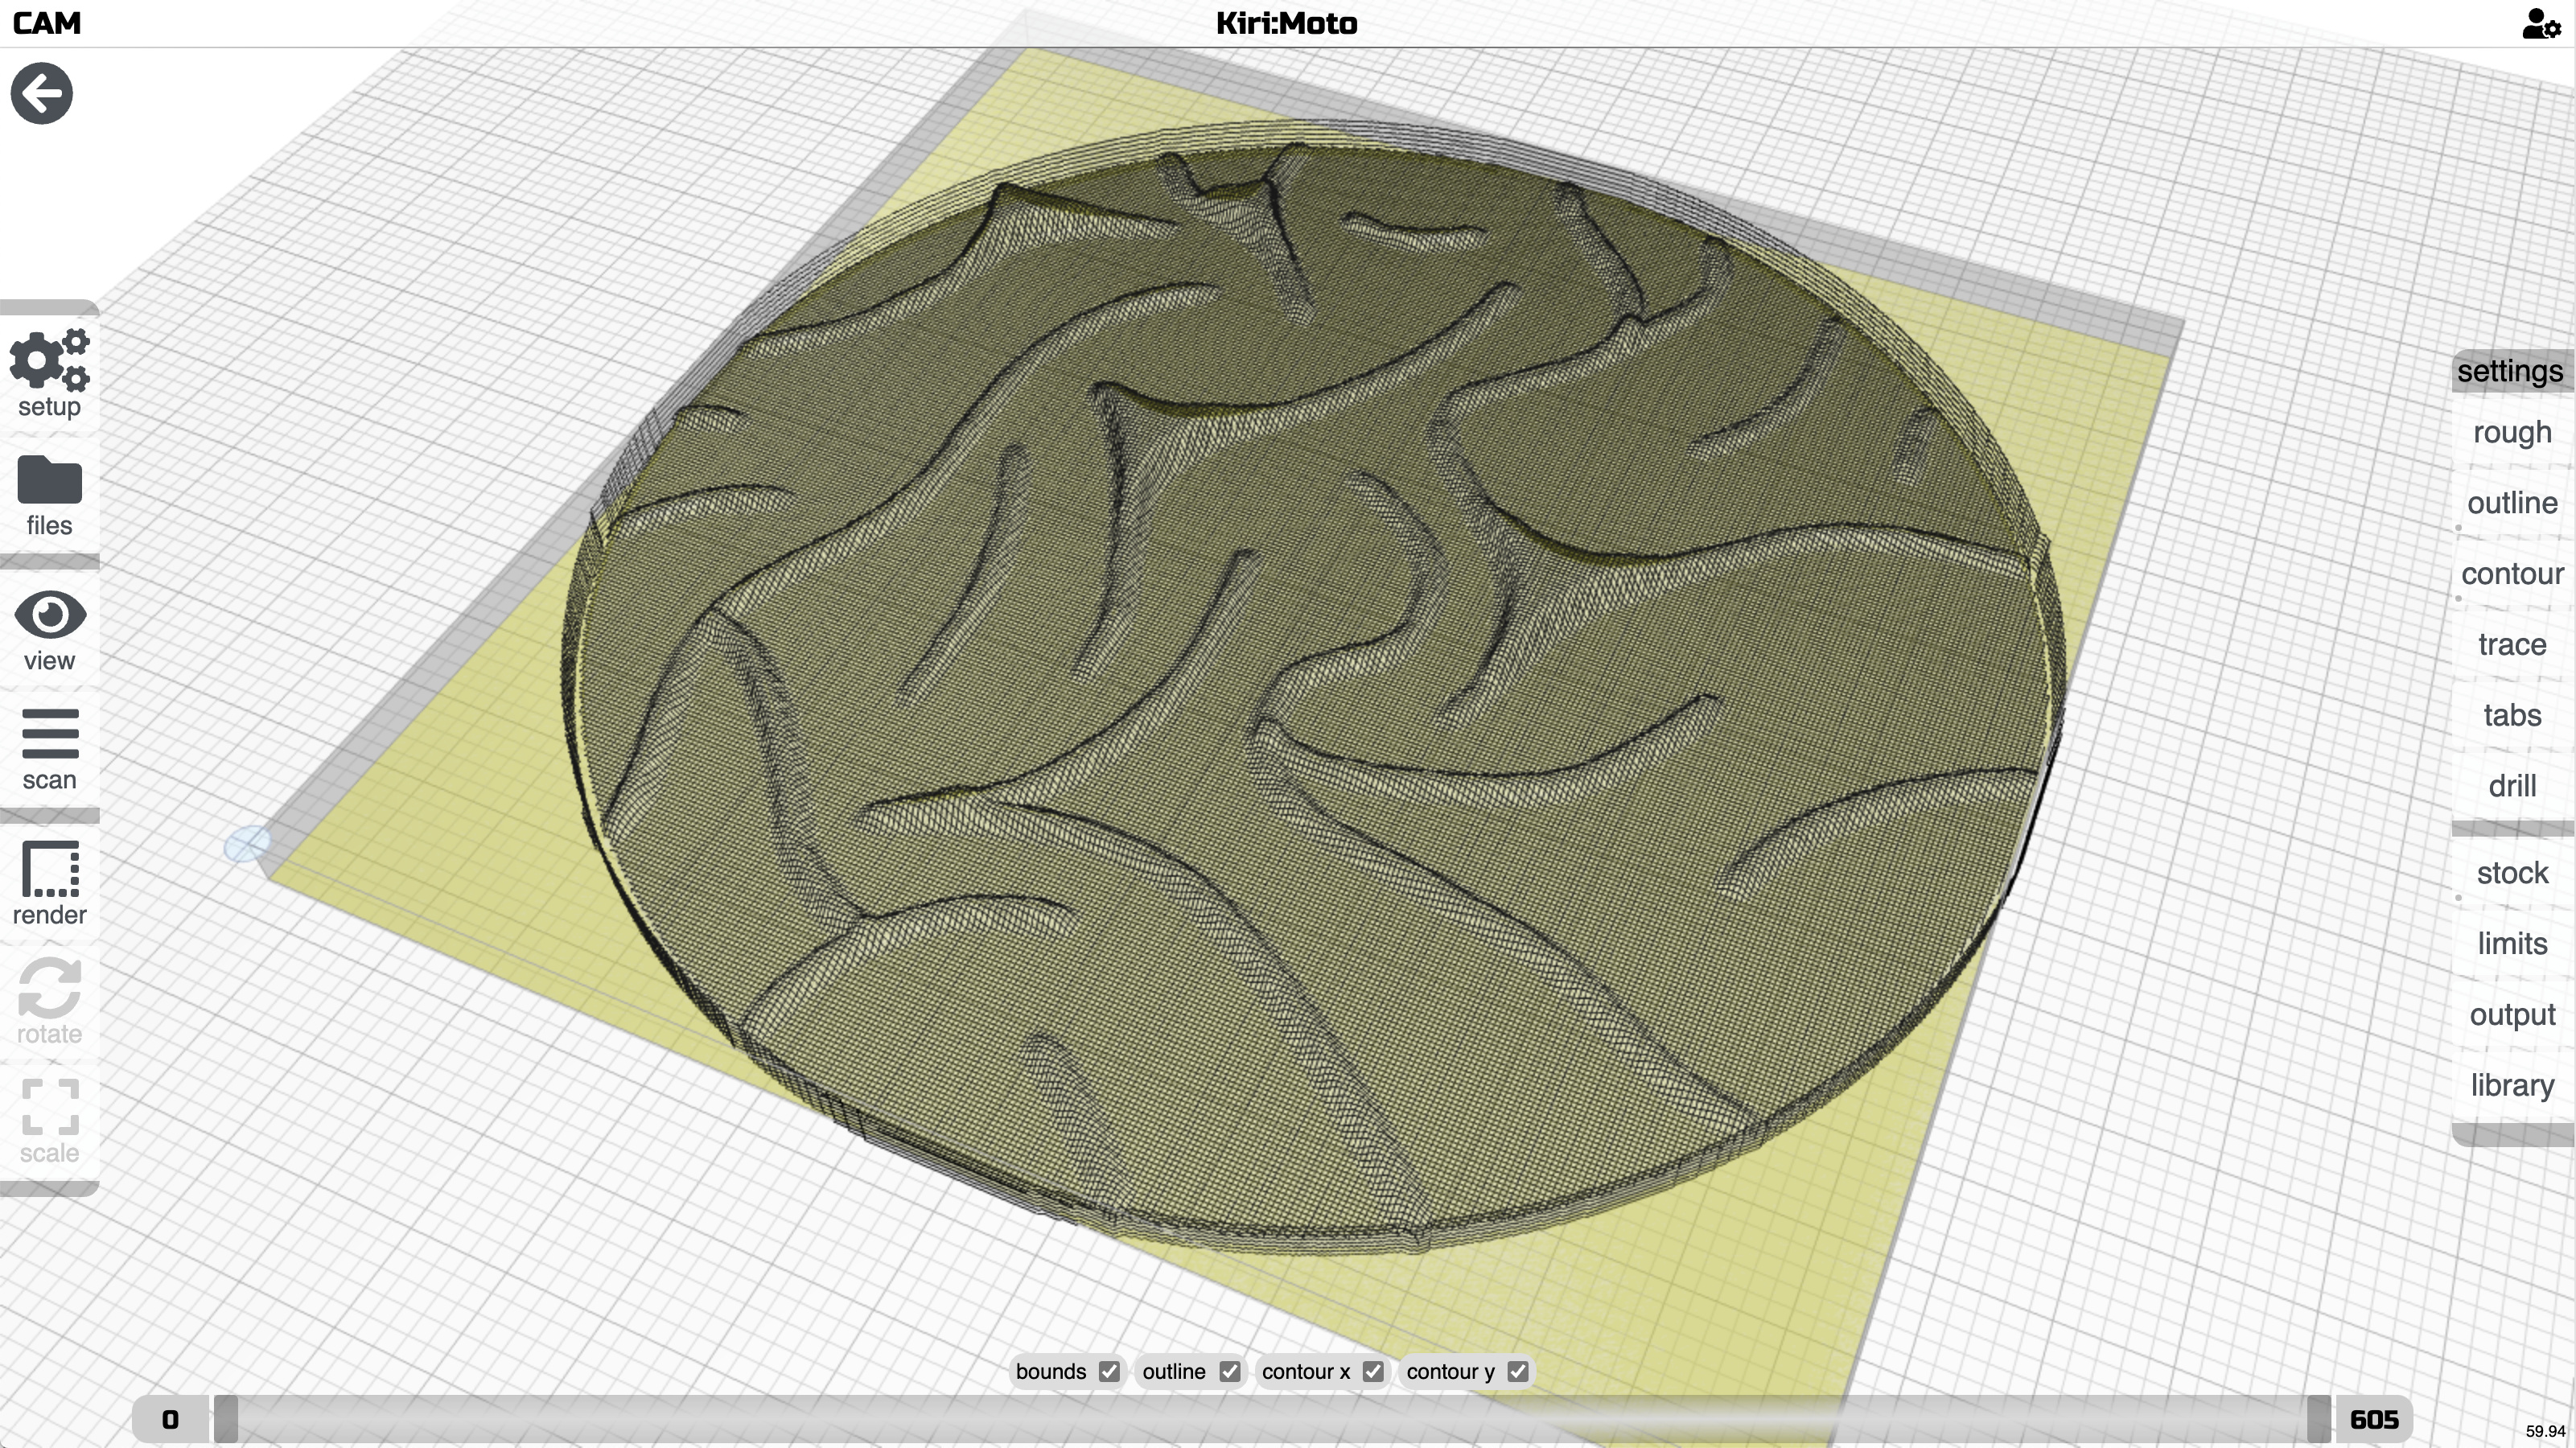
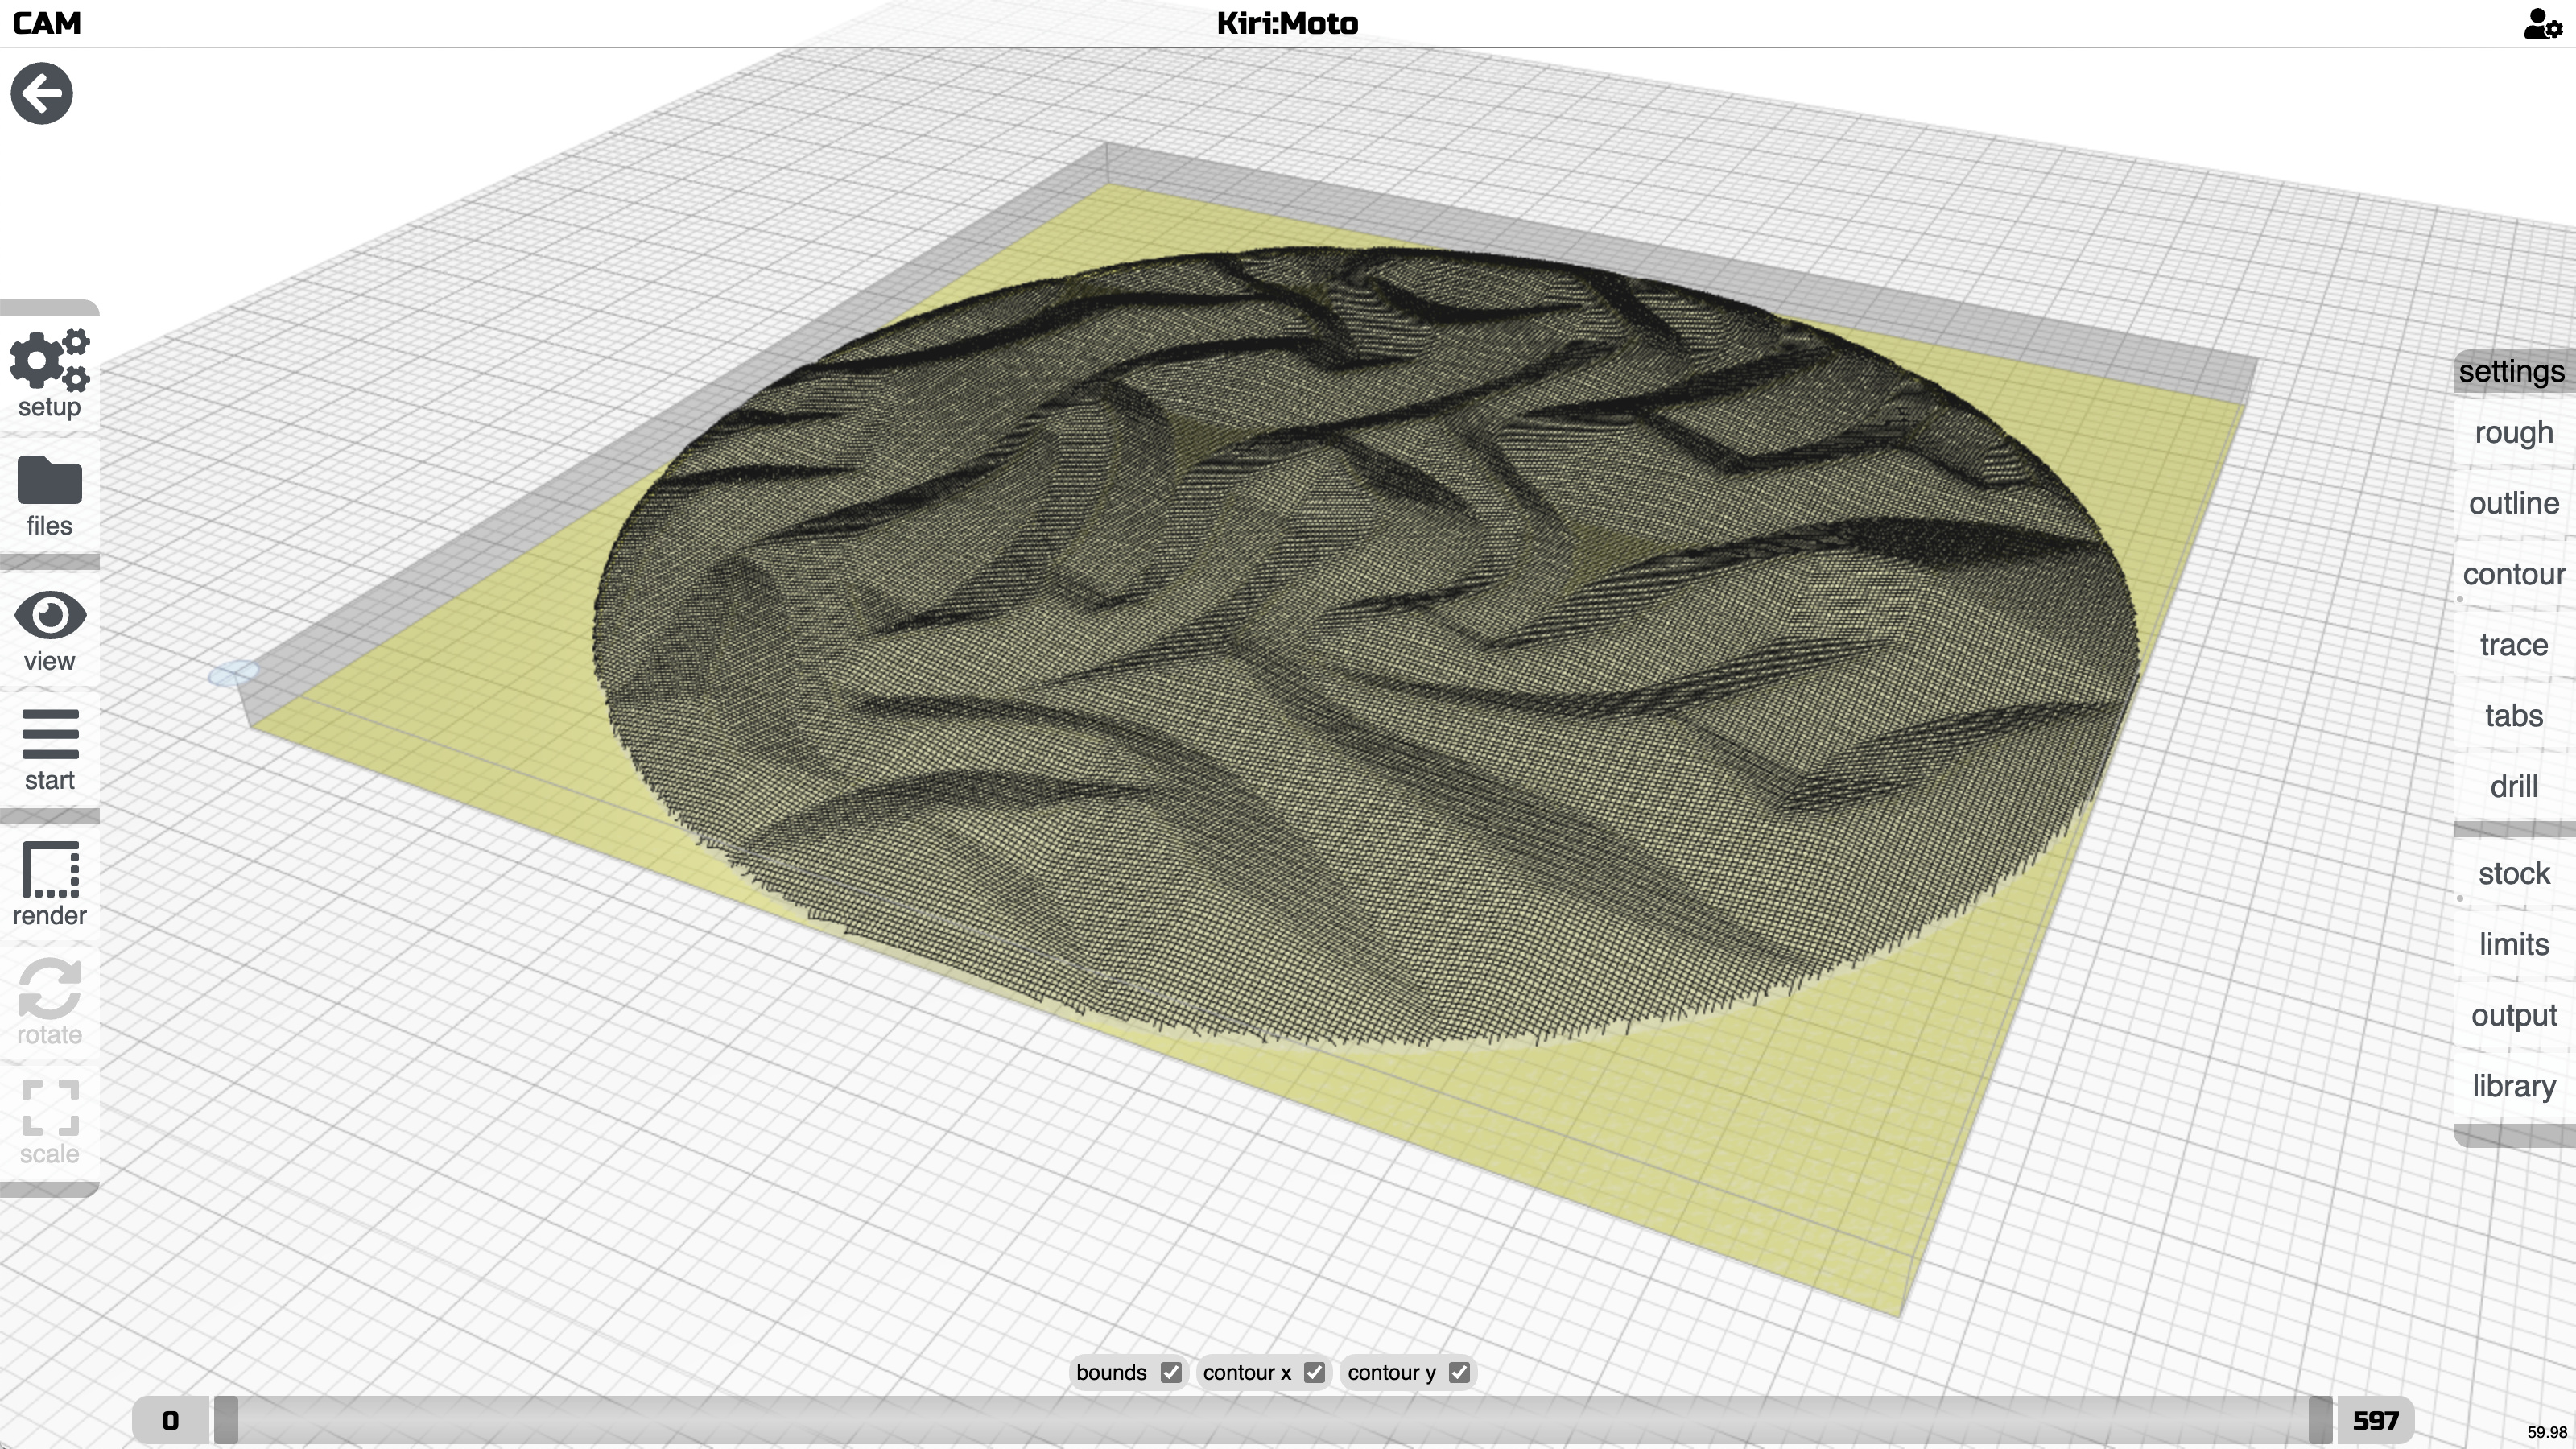
with the 2D image conversion, are there any thoughts on adding a depth option or somehow associating the max dept to the base thickness? I have near black and wight image but I only get a few mm of depth.
@DougL Yes, I will need to add an option to map alpha to 0 instead of 1. I will experiment a little more and if that works, I will push it in tonight’s update. With that change, you should be able to get the part you desire.
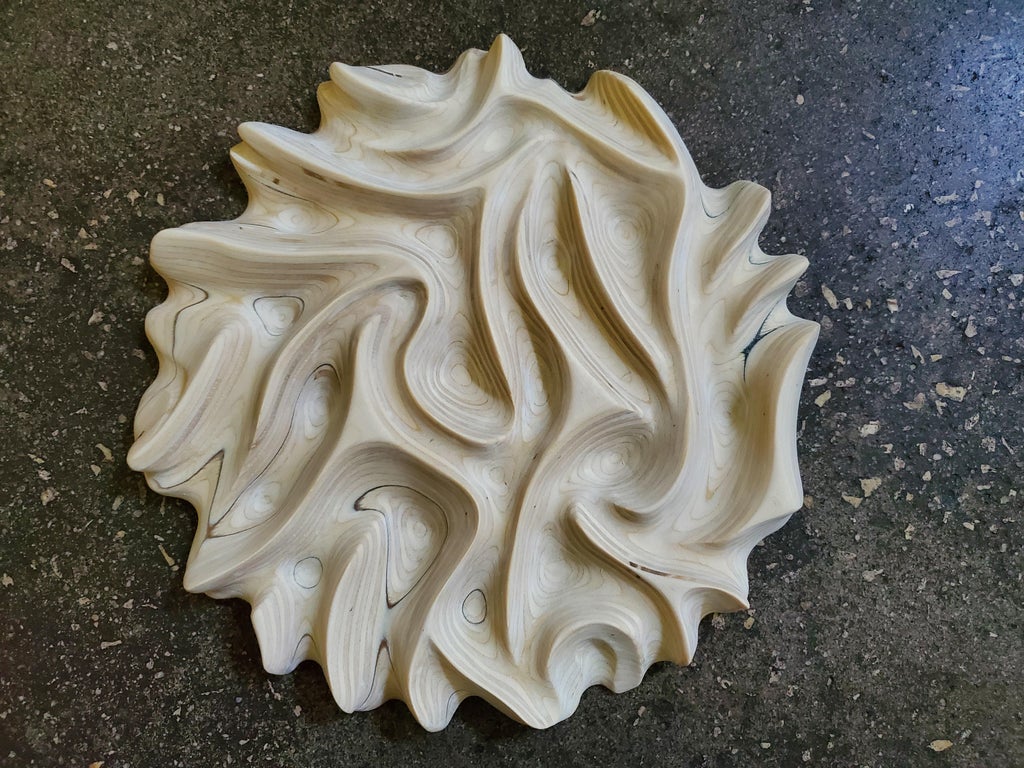
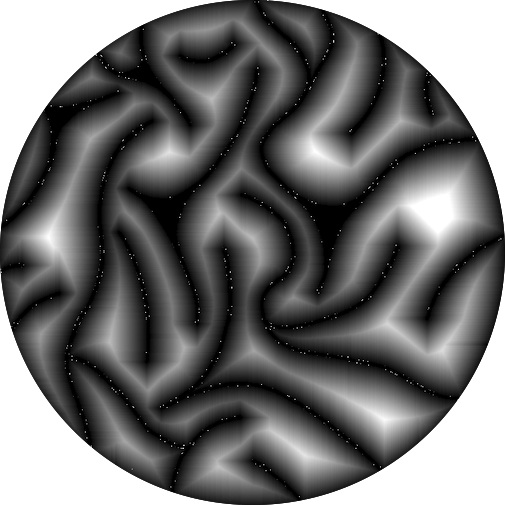
I played around with this after making the alpha change and got this. My takeaway is that this will require a little more image prep before importing into KM. I was unable to get blurring to achieve something like what you show above. How was that piece created?
@stewart is there a way to export the STL. I’m trying to get all the Shapeoko owners in the SD Fine Woodworkers Association to try Kiri:Moto but it’s a tough haul. The President of the org is open and once I get him hooked, he might add it to their training or even demo or offer to me to demo it. But for now He’s asked for an STL.
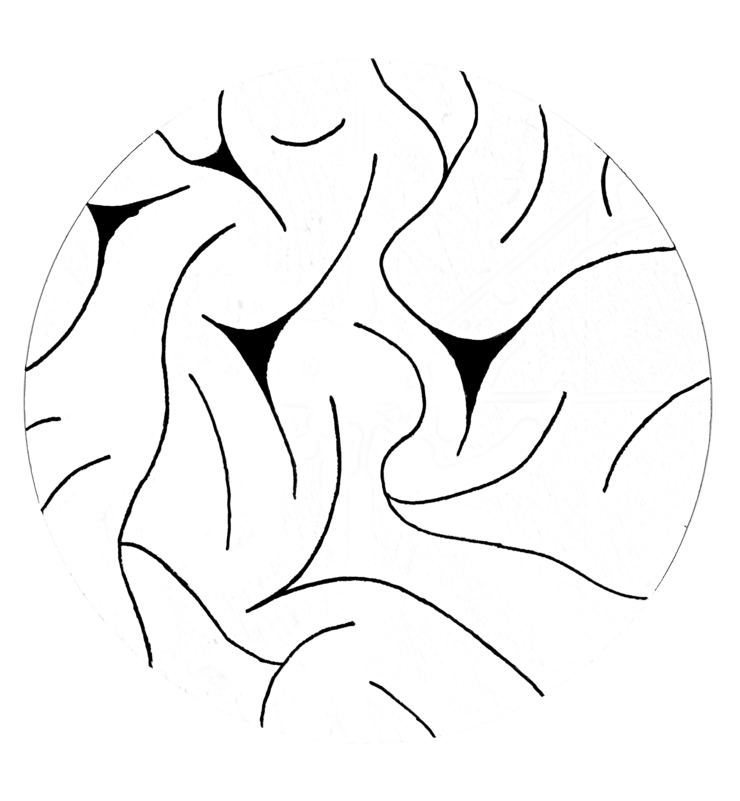
With the half dozen steps it takes in GIMP to take a line drawing to a height map I think KM could get some play with the creative types in the group too.
I’m running from github repo with the --dev option and was wondering if I was supposed to be seeing any changes like specifying the depth range or is that on your local copy and will be pushed to github later?
My thought was if black to white could be mapped to a depth less than the base thickness then we could add a base of 20 and set max depth to 15 and get some really nice deep effects.
Travis is now excited to try Kiri:Moto so I’m hoping to do a video chat with him to show him how easy it is to use GIMP to create the height maps. But I think he wants a way to make some deep contour lines with this technique and feature you’re adding.
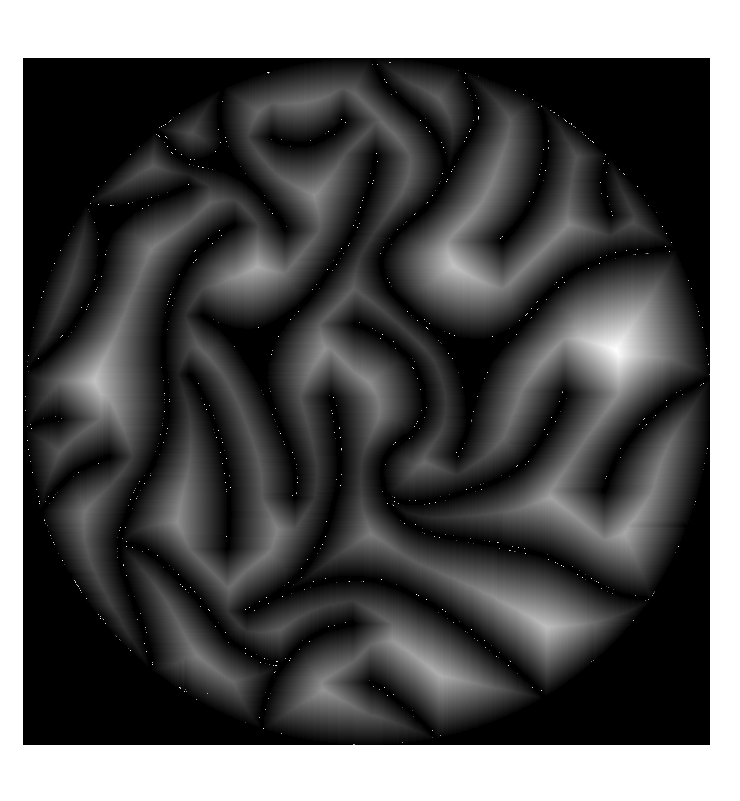
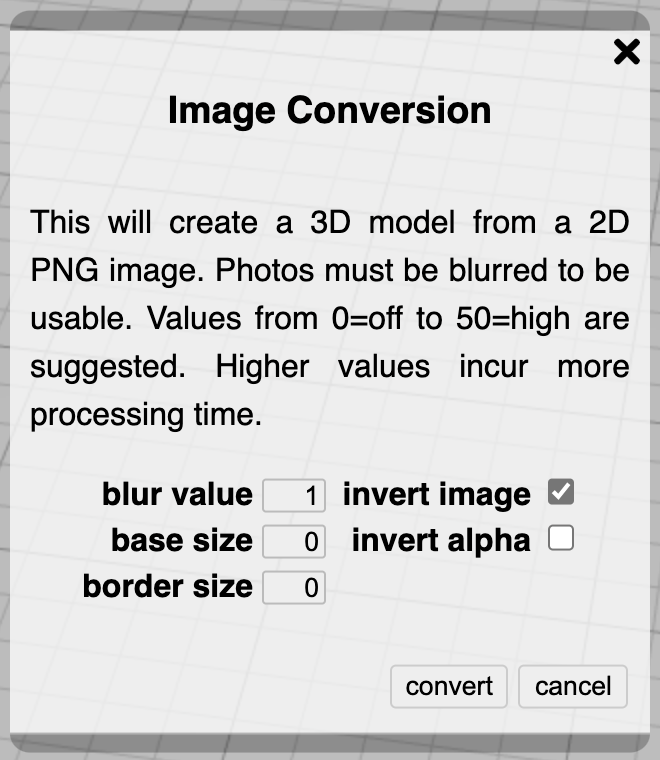
The changes I made are to the way alpha maps are interpreted and the formula for blurring. I altered your image above to so that everything around the center was alpha = 0. The white specks are messing it up a bit. Then I used these settings.
Yes, I quickly made the image with the black elements which were the original design elements but it left white spots. if those were gone, what would determine the measured depth from lowest(white) to highest(black) elements? I set a base of 20 and the max depth doesn’t change. It adds a 20mm offset which makes sense but was hoping there’d be something to set depth range unless blur is the intended use of that.
It’s not perfect, but you have to re-scale the part in the Z axis only after conversion … I could add more parameters to exactly control all of this. I was worried about feature creep. Like the fact that it currently fits / scales the import to the bed size. You have to re-scale anyway because of that. I just felt I could add parameters all day and didn’t know where to stop.
I’ll play with the scaling on the Z to see if it gets the effect I was looking for. It changes the base and frame dimensions too but with pre-planning they can be compensated for. I agree with you one limiting features and keeping it doing what it’s designed to do. On KDE they have different modes(basic, standard, advanced) which control how the user sees more or less details and controls. If KM doesn’t already do something like that might be something to work towards as more and more people start using the software.
I’ll play some more with what you have and see where I can go with it and post back. Thanks!
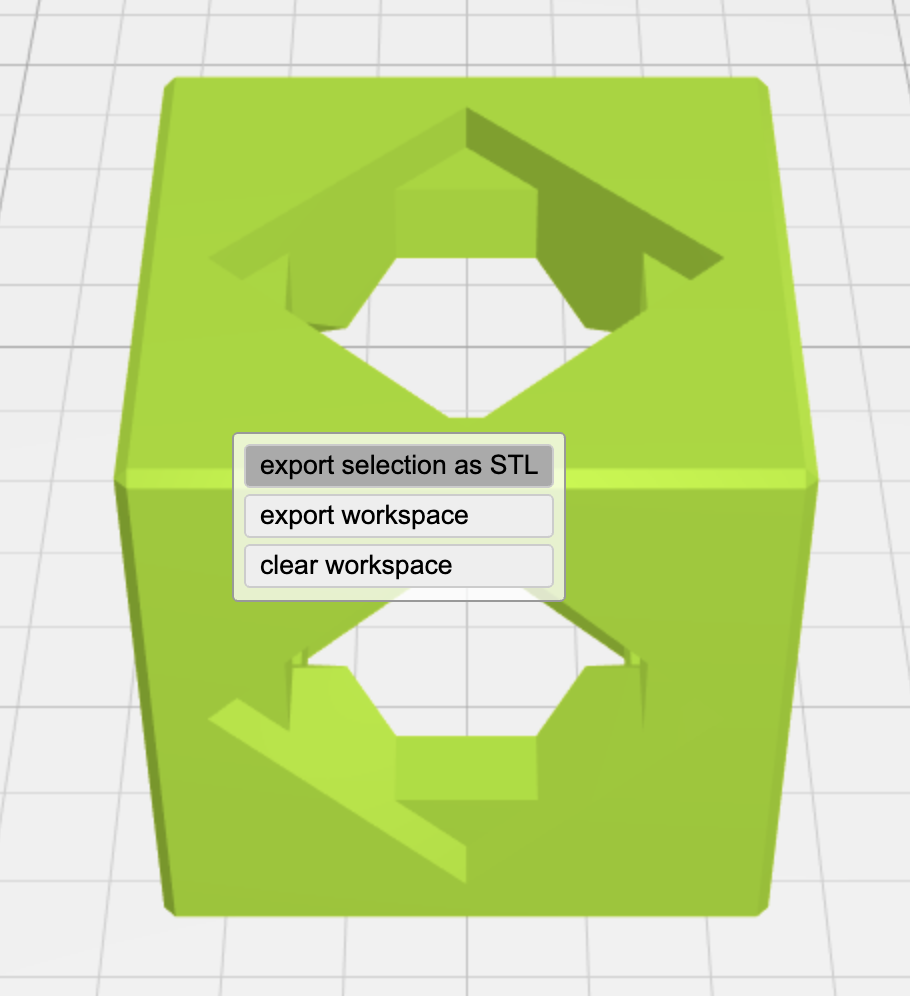
@DougL if you’re running out of local source, then I just checked in a right-click context menu with STL export. It’s got a cool feature in that if you select more than one object (or none = all objects), they will be exported as a group with the spacing in the workspace preserved in the STL generated.
awesome! I just tried it and it worked. There were issues with the model which needed repairing( I let Prusa Slicer/Slic3r do the repair ) but very cool!
It should export a model with the same faces / normals that were imported, just possibly scaled, rotated, and moved. Not sure how that would damage the model, unless two were exported overlapping. Or was this a model generated by the 2D to 3D image conversion?
It gets the job done so unless you want to promote it, you can flag it as a lower priority item and keep the higher priority stuff going. And you are awesome Stewart!