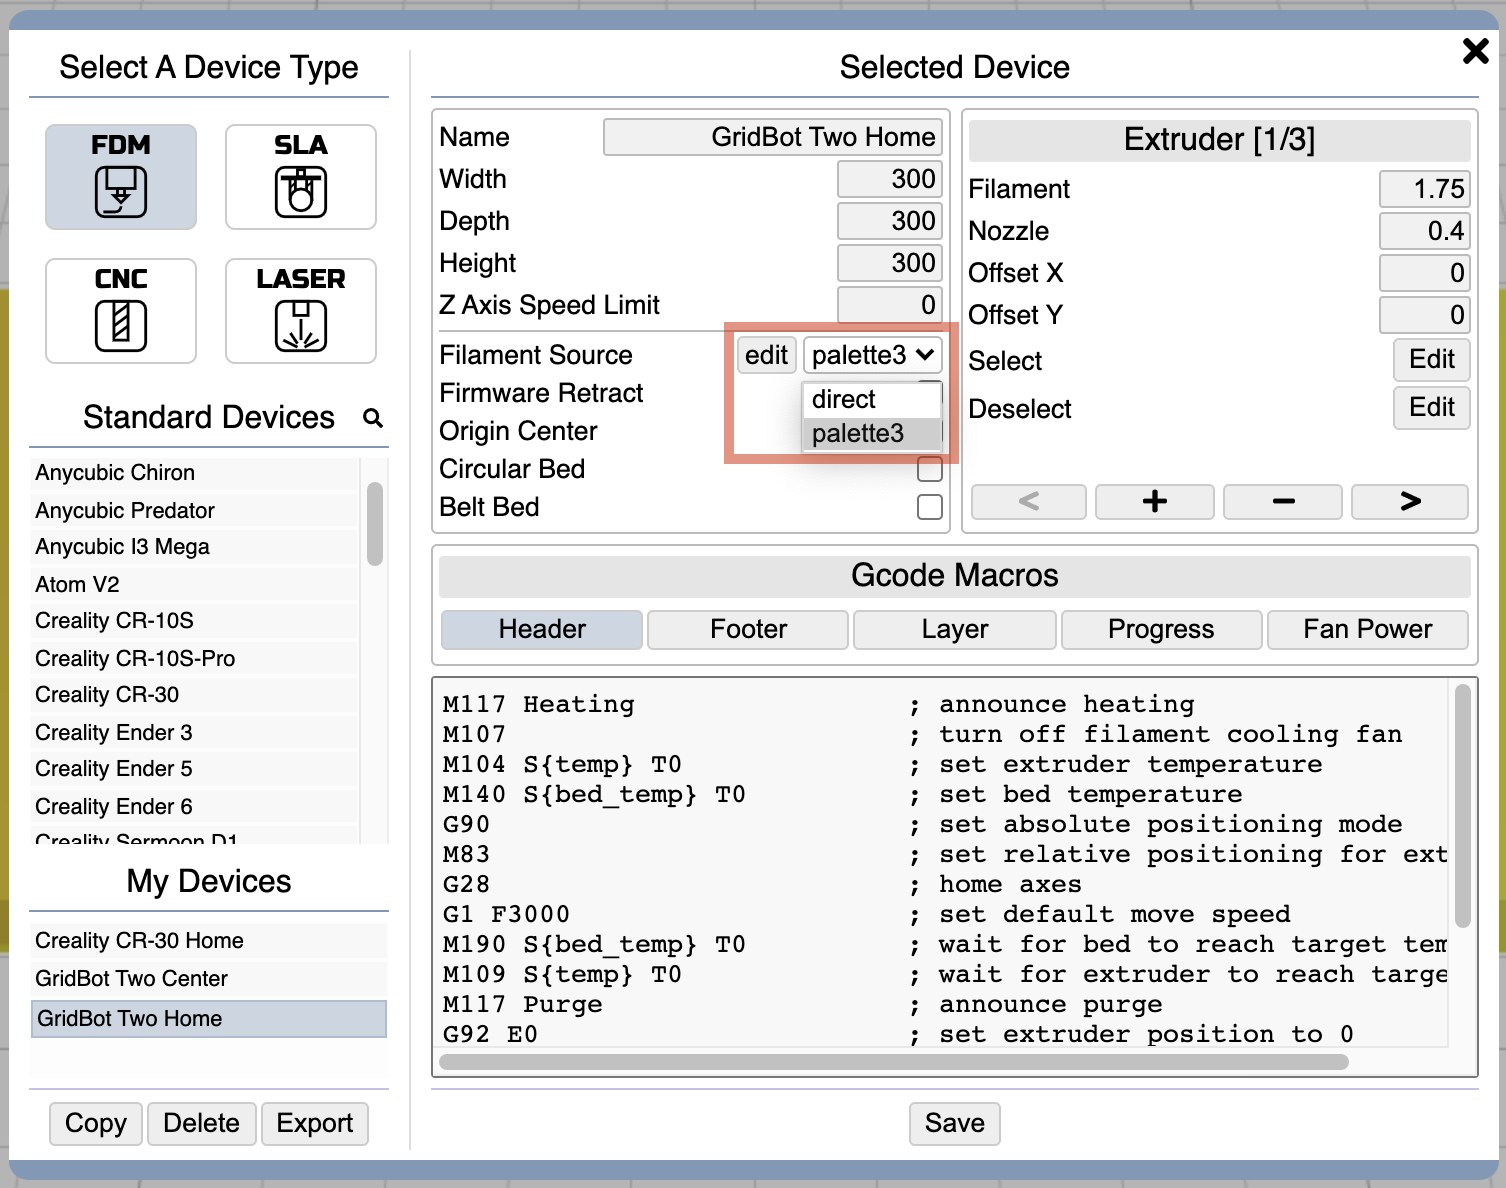
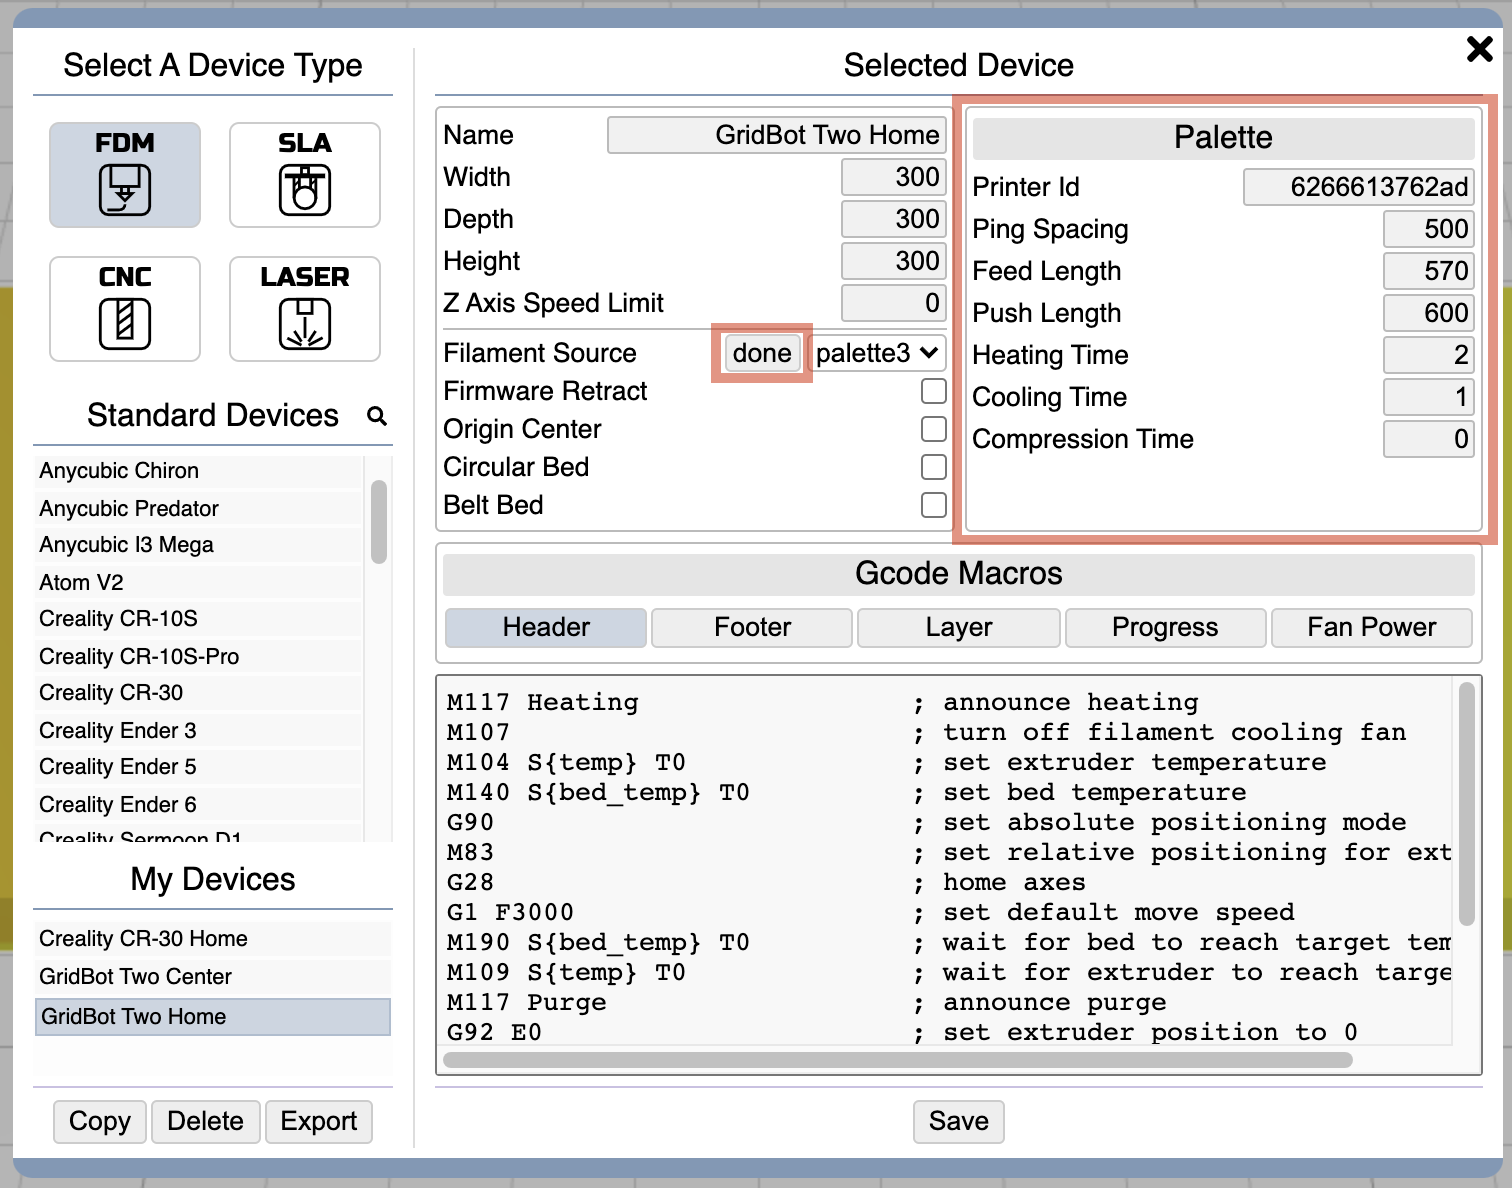
The development branch now has preliminary support for the Mosaic Palette 3 filament system. If your device is set up with multiple extruders (via customize device), then a new option for filament source is available. Extruders map to filament input drives on the Palette 3. After editing Palette settings, click the done button then Save the device.
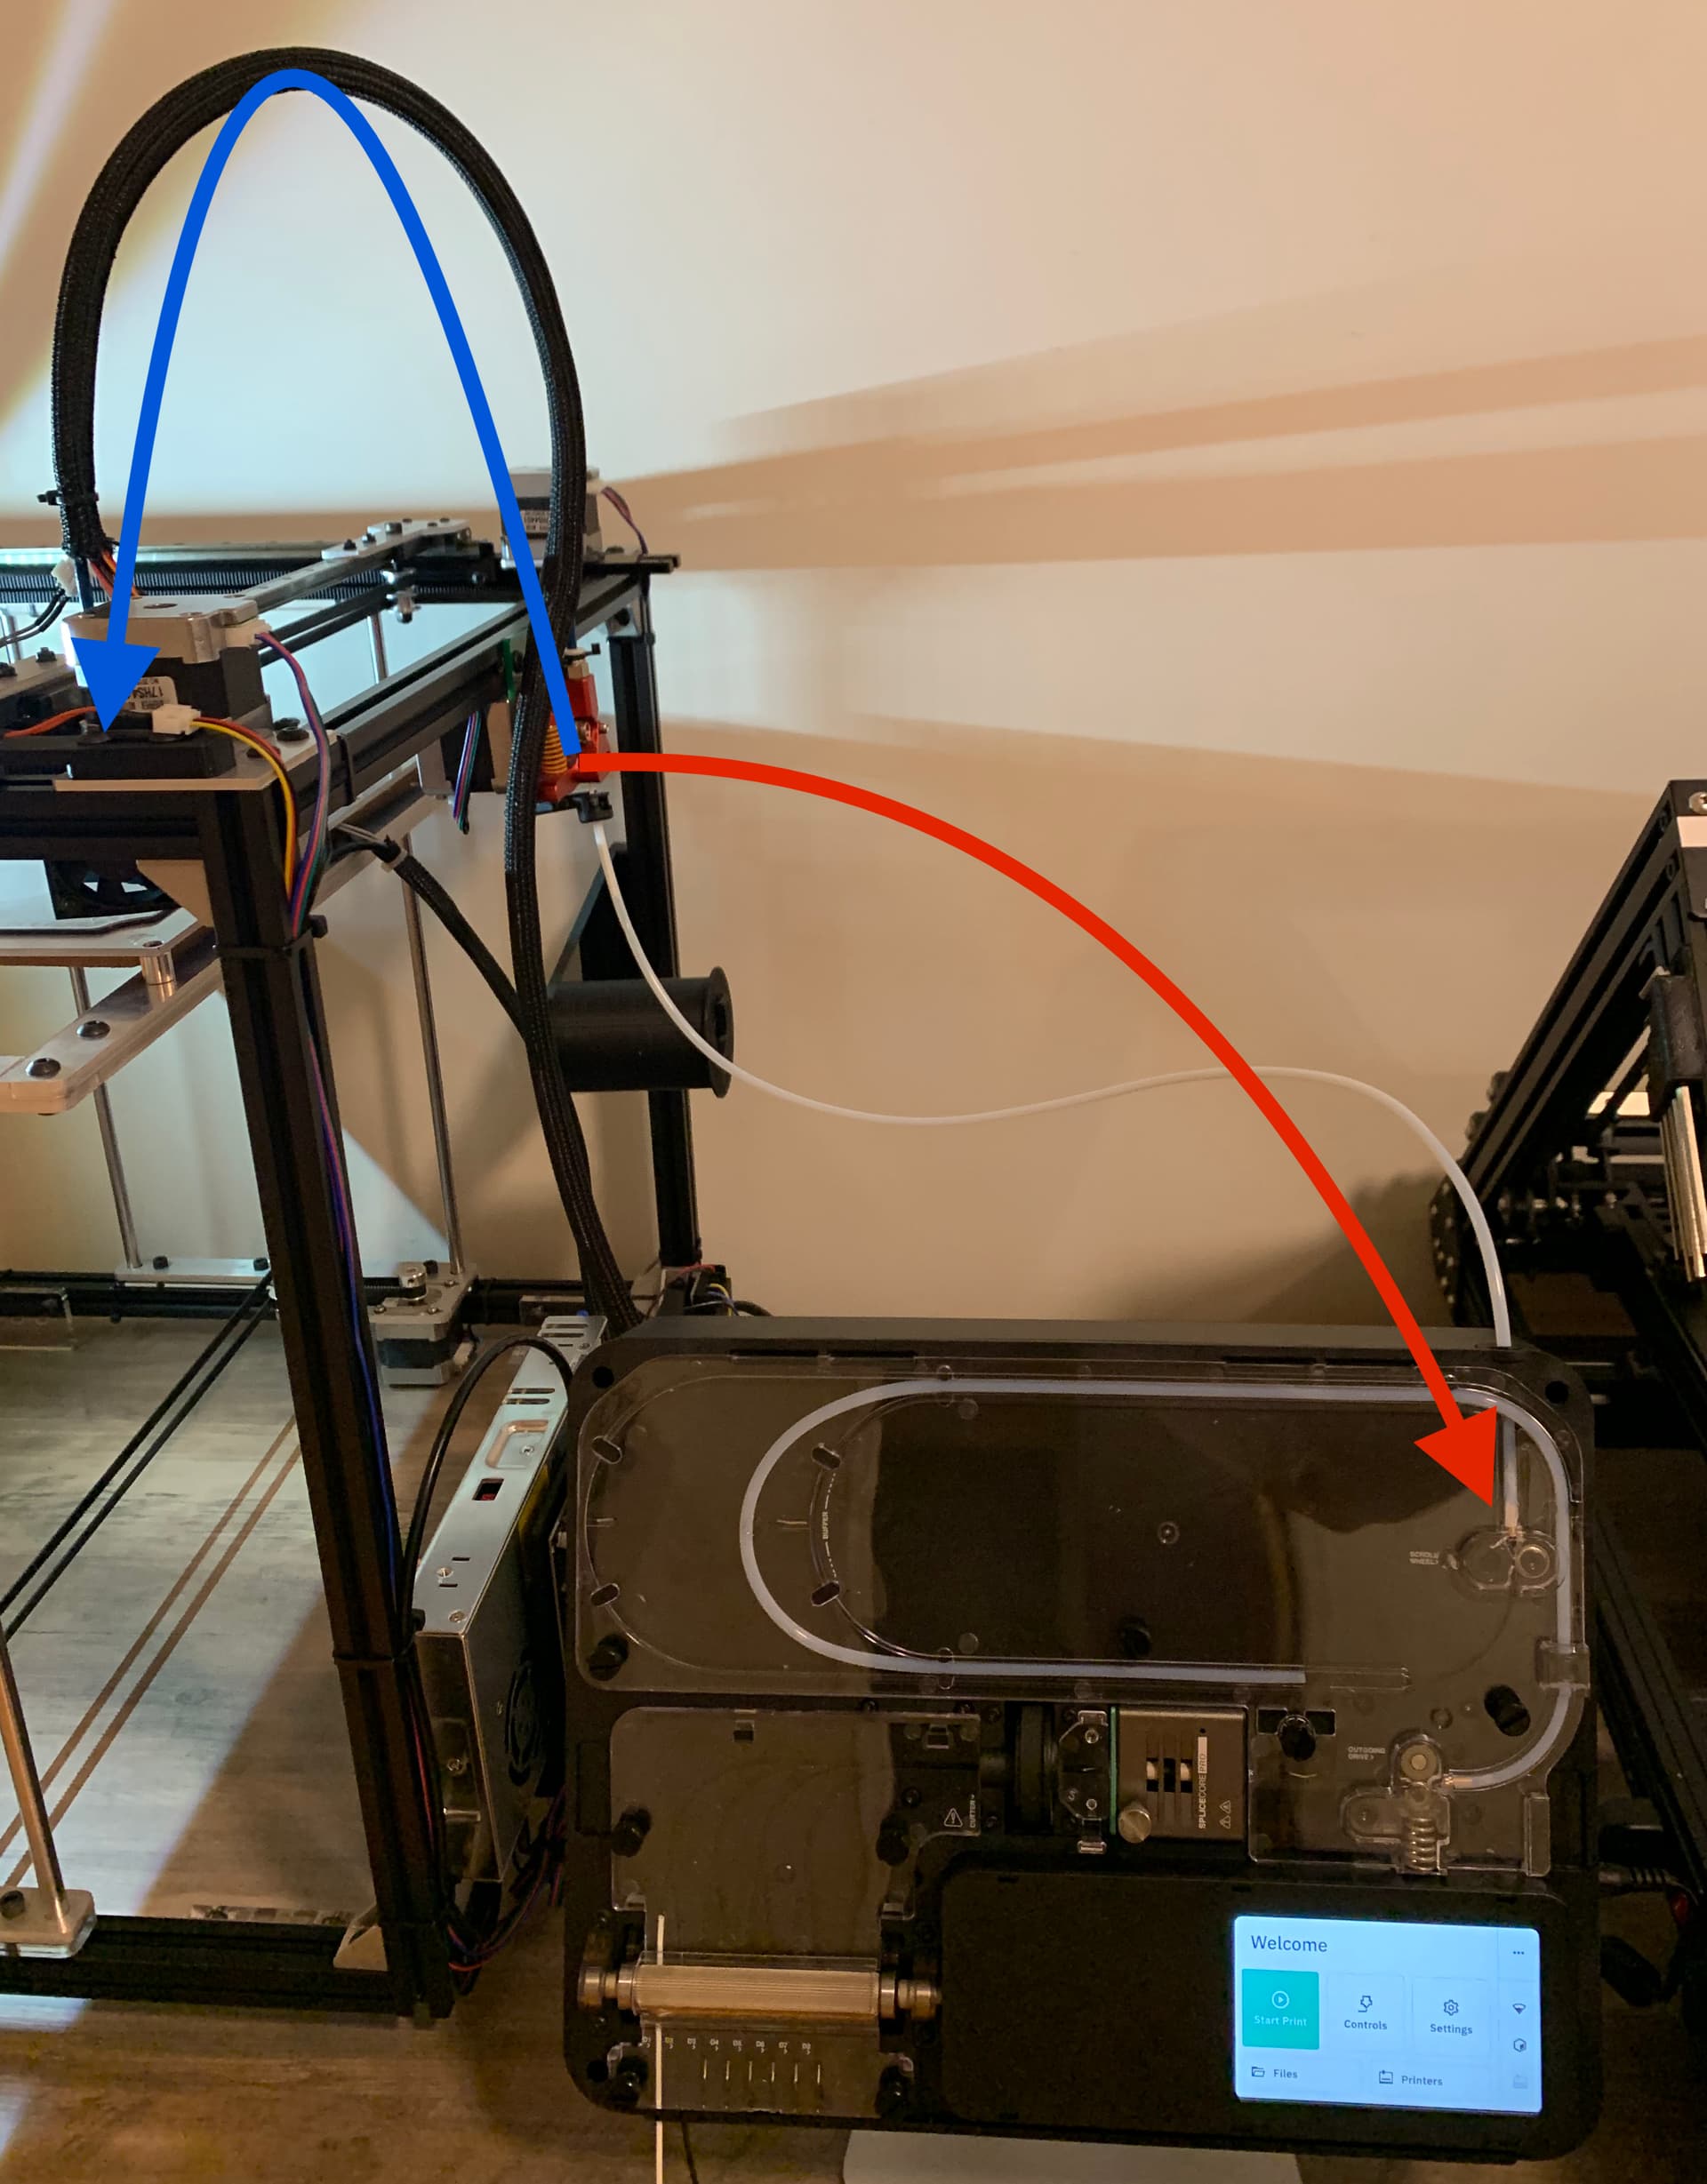
From the image below:
“feed length” is the tube following the red arrow
“push length” is the tube following the blue arrow
heating, cooling, and compression times are well documented by Mosaic. And to some extent, so are the “ping” and “pong” systems. In short, “pong” is an internal/hidden system that measures output from the Palette internal extruder gear and the “scroll wheel” at the beginning of the buffer.
The “ping” system is more explicit and requires the printer to pause consumption of filament at prescribed intervals. The Palette senses this pause and measures consumed filament against what was expected. It can then calibrate output to compensate. The problem here is that the ping system can only start working after feedback from the printer. And that can only start to happen after the length of the blue + red lengths, which is the first time filament starts flowing. Realistically, the first “ping” can’t happen until 500mm after that. So the ping system isn’t good for small prints, and can only calibrate over long periods of time.
The end result of all that is this: your extruder consumption must be extraordinarily close to the Palette’s output before feedback calibration is meaningful. Set “ping spacing” to 0 to disable pings.
One last thing: it’s important to set “Push Length” to something greater than or equal the length of filament between your extruder gear and the nozzle tip. The last spliced segment will add this length so the printer always has some filament to push. This will be wasted at the end of the print, but there is no way around it.
Drop multiple registered STLs onto the workspace together and choose “group” for multi-color or multi-part printing. Then select one of the objects and assign it to a different extruder.
When you do this and the Purge Tower setting under Expert is a non-zeo area, you will get purge blocks generated above the print in Preview mode.
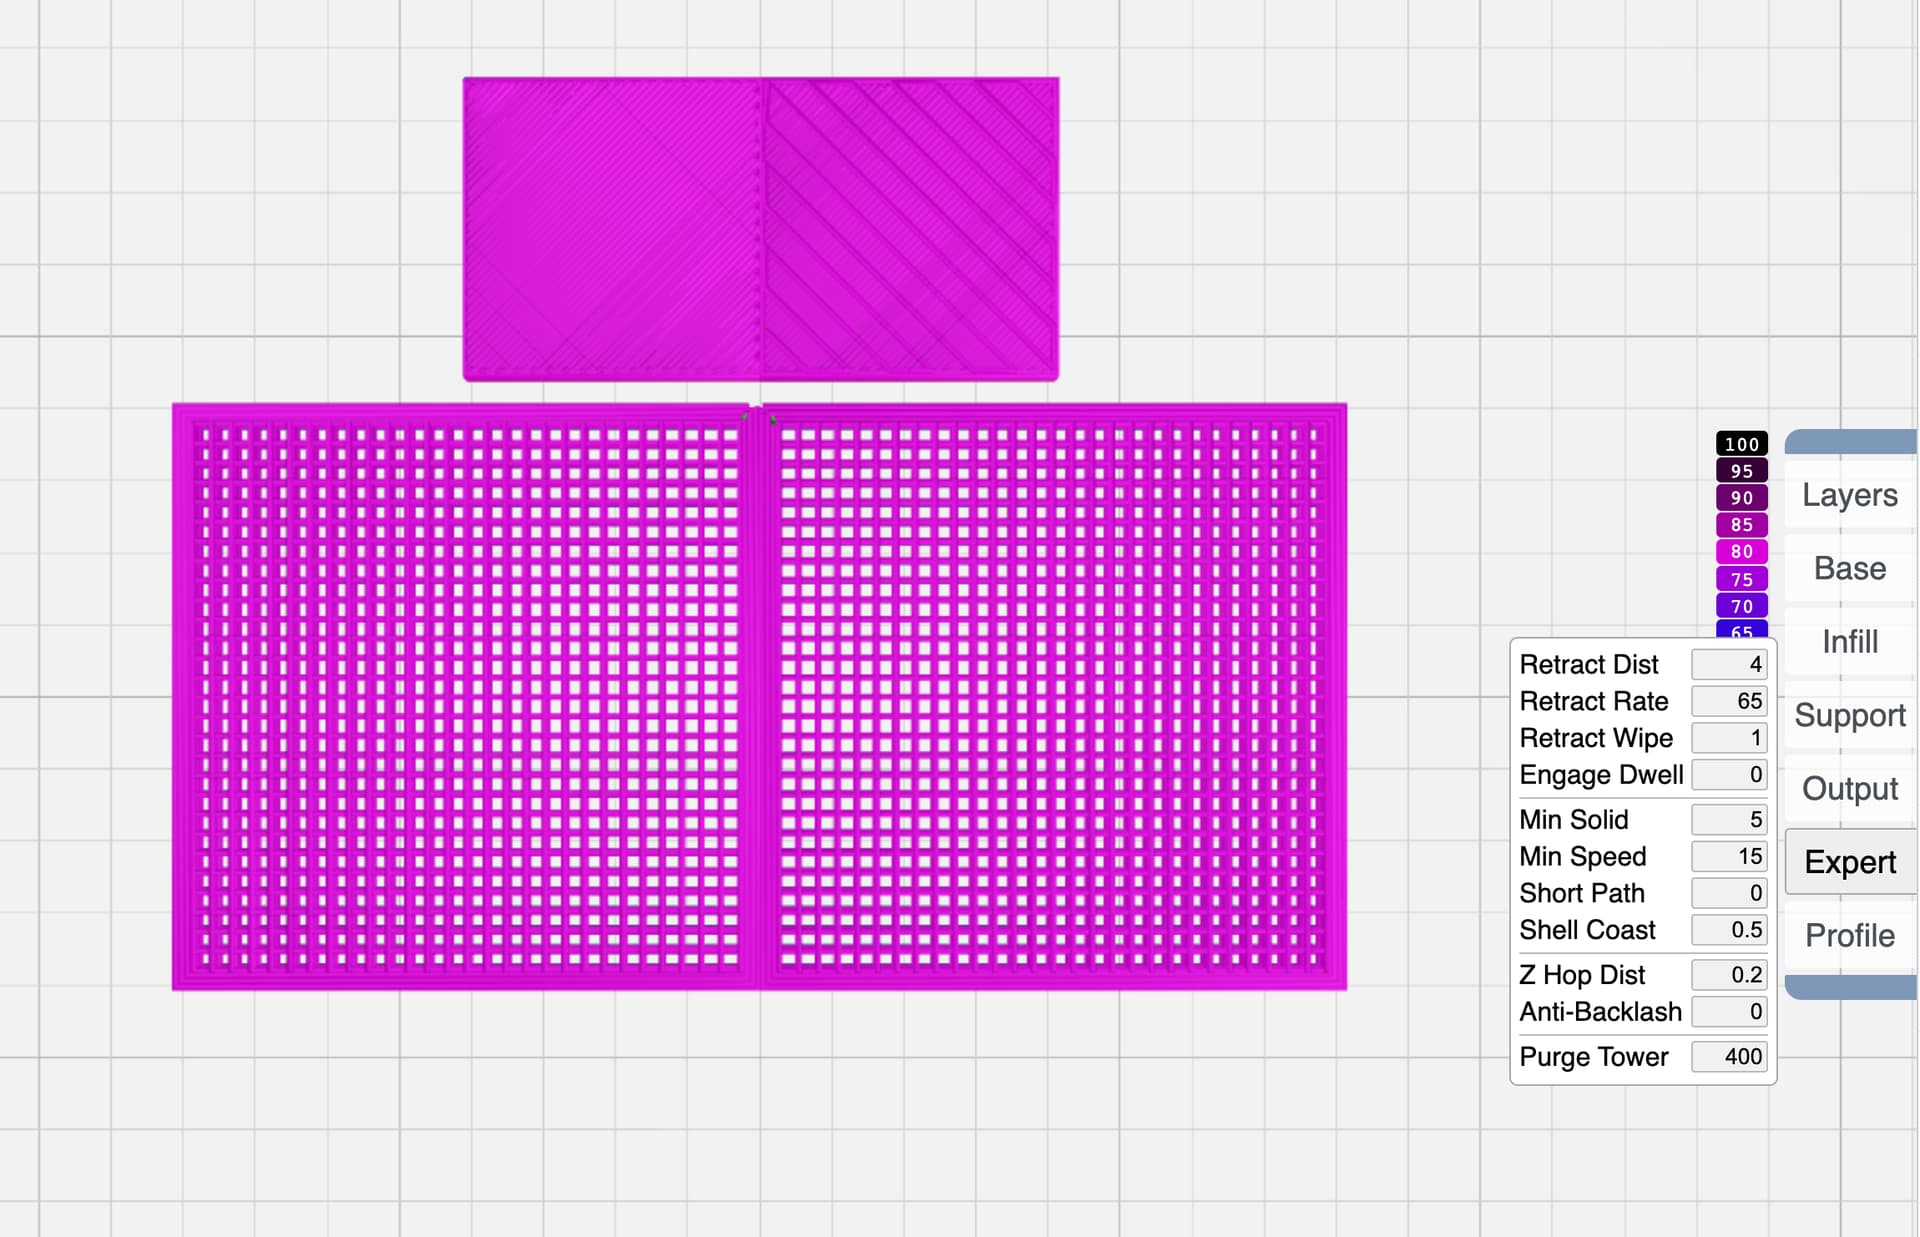
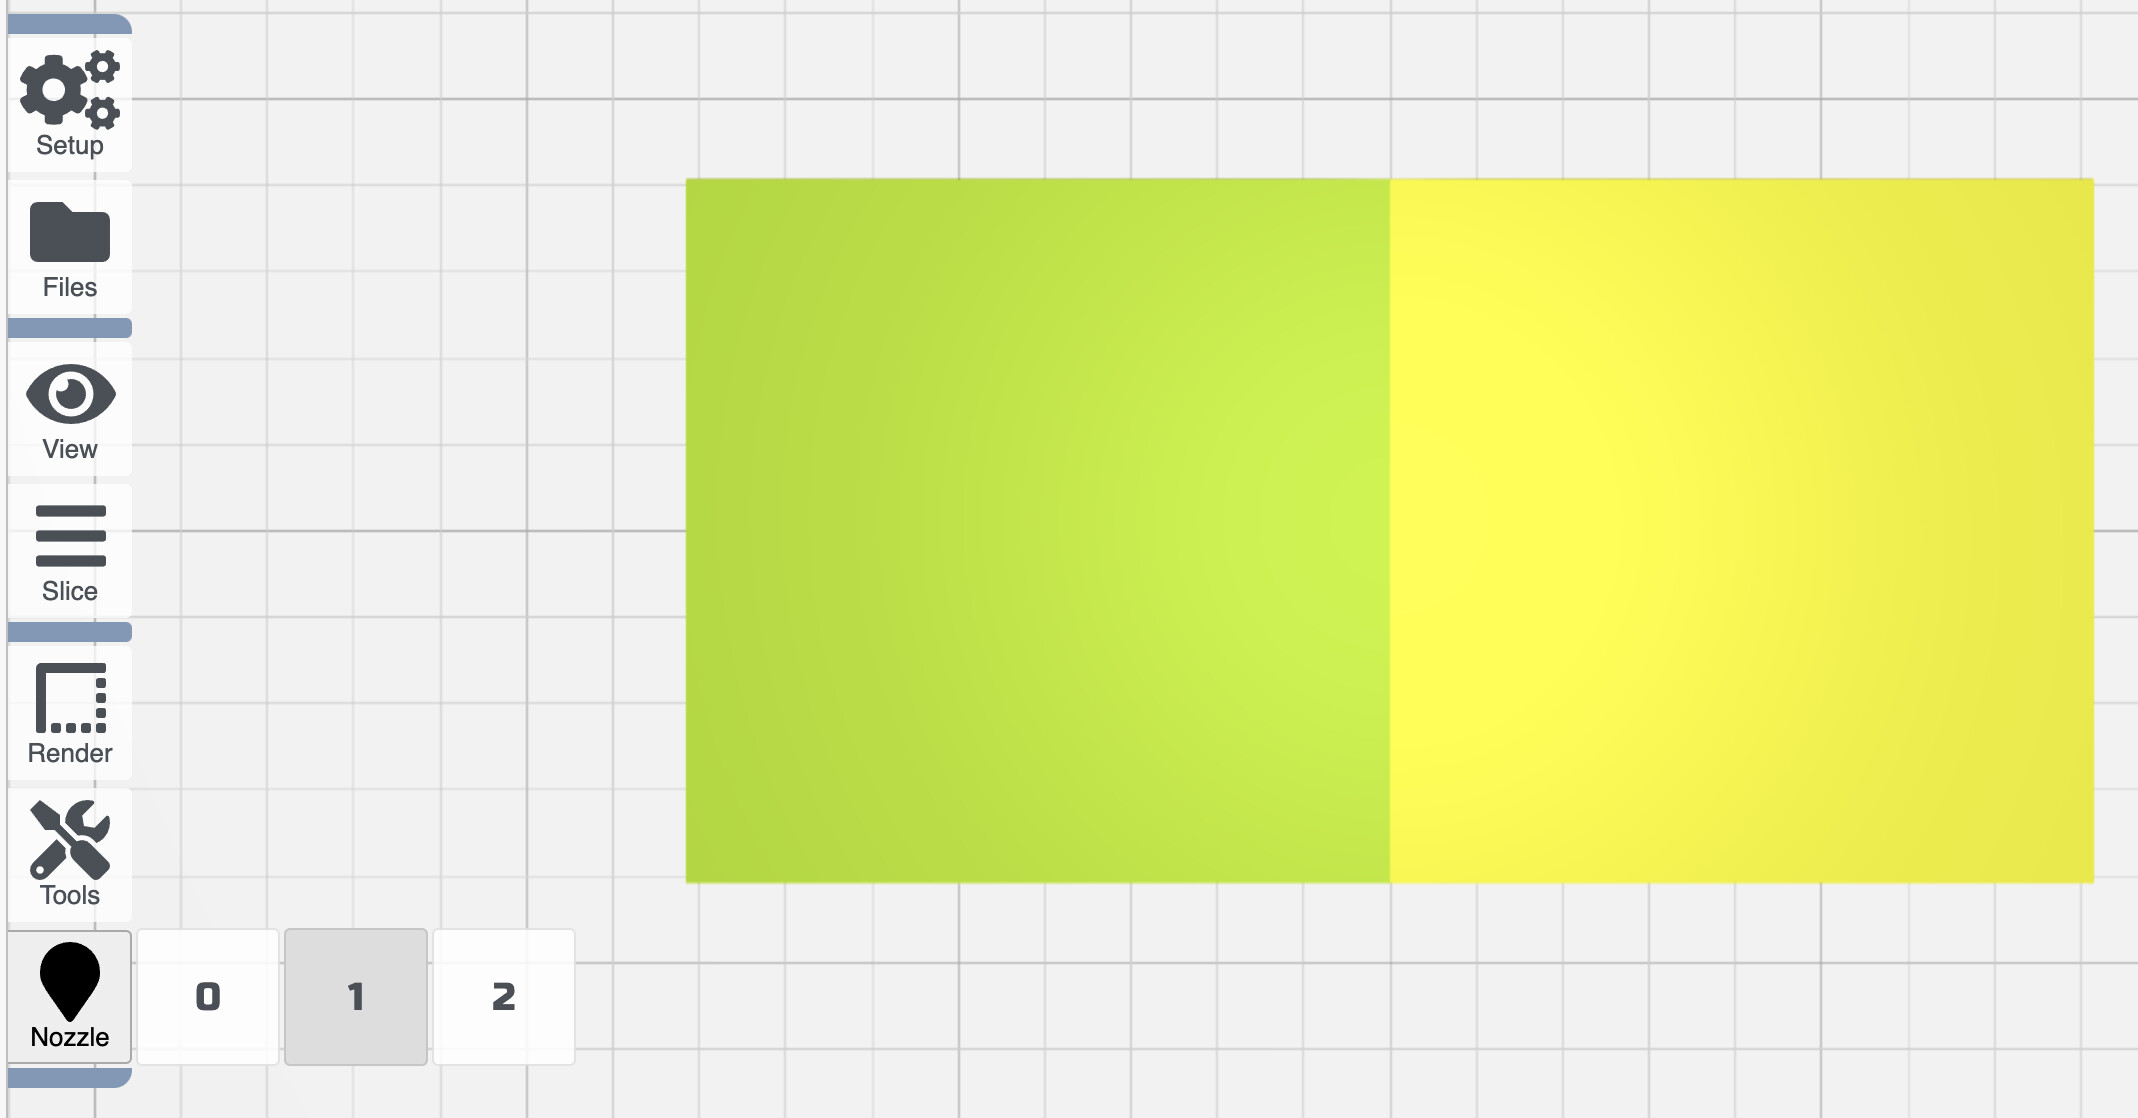
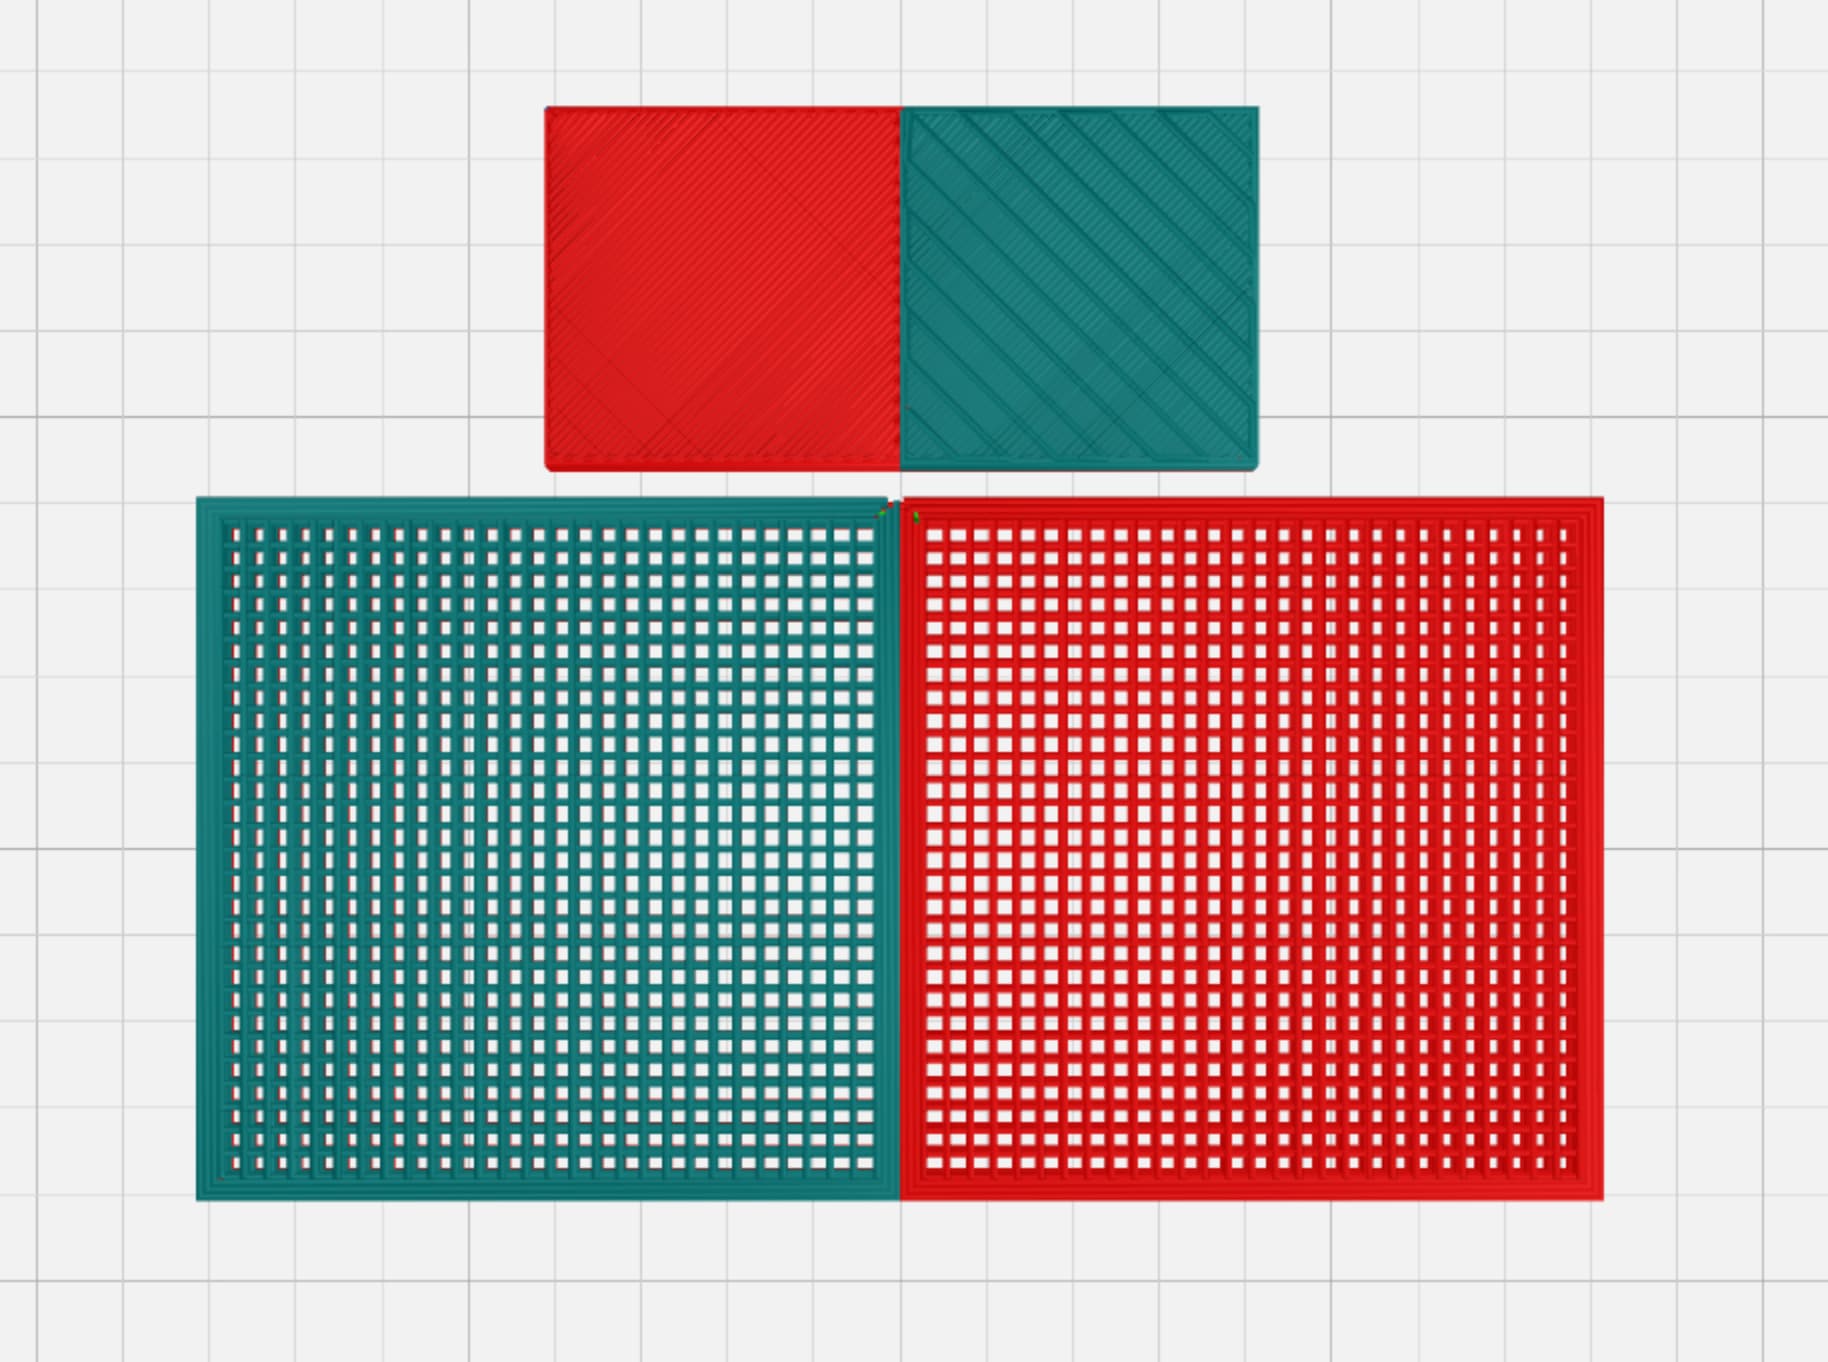
A new feature in this release, pressing the “p” Preview button more than once toggles between “print speed” view (above) and “extruder” view (below).
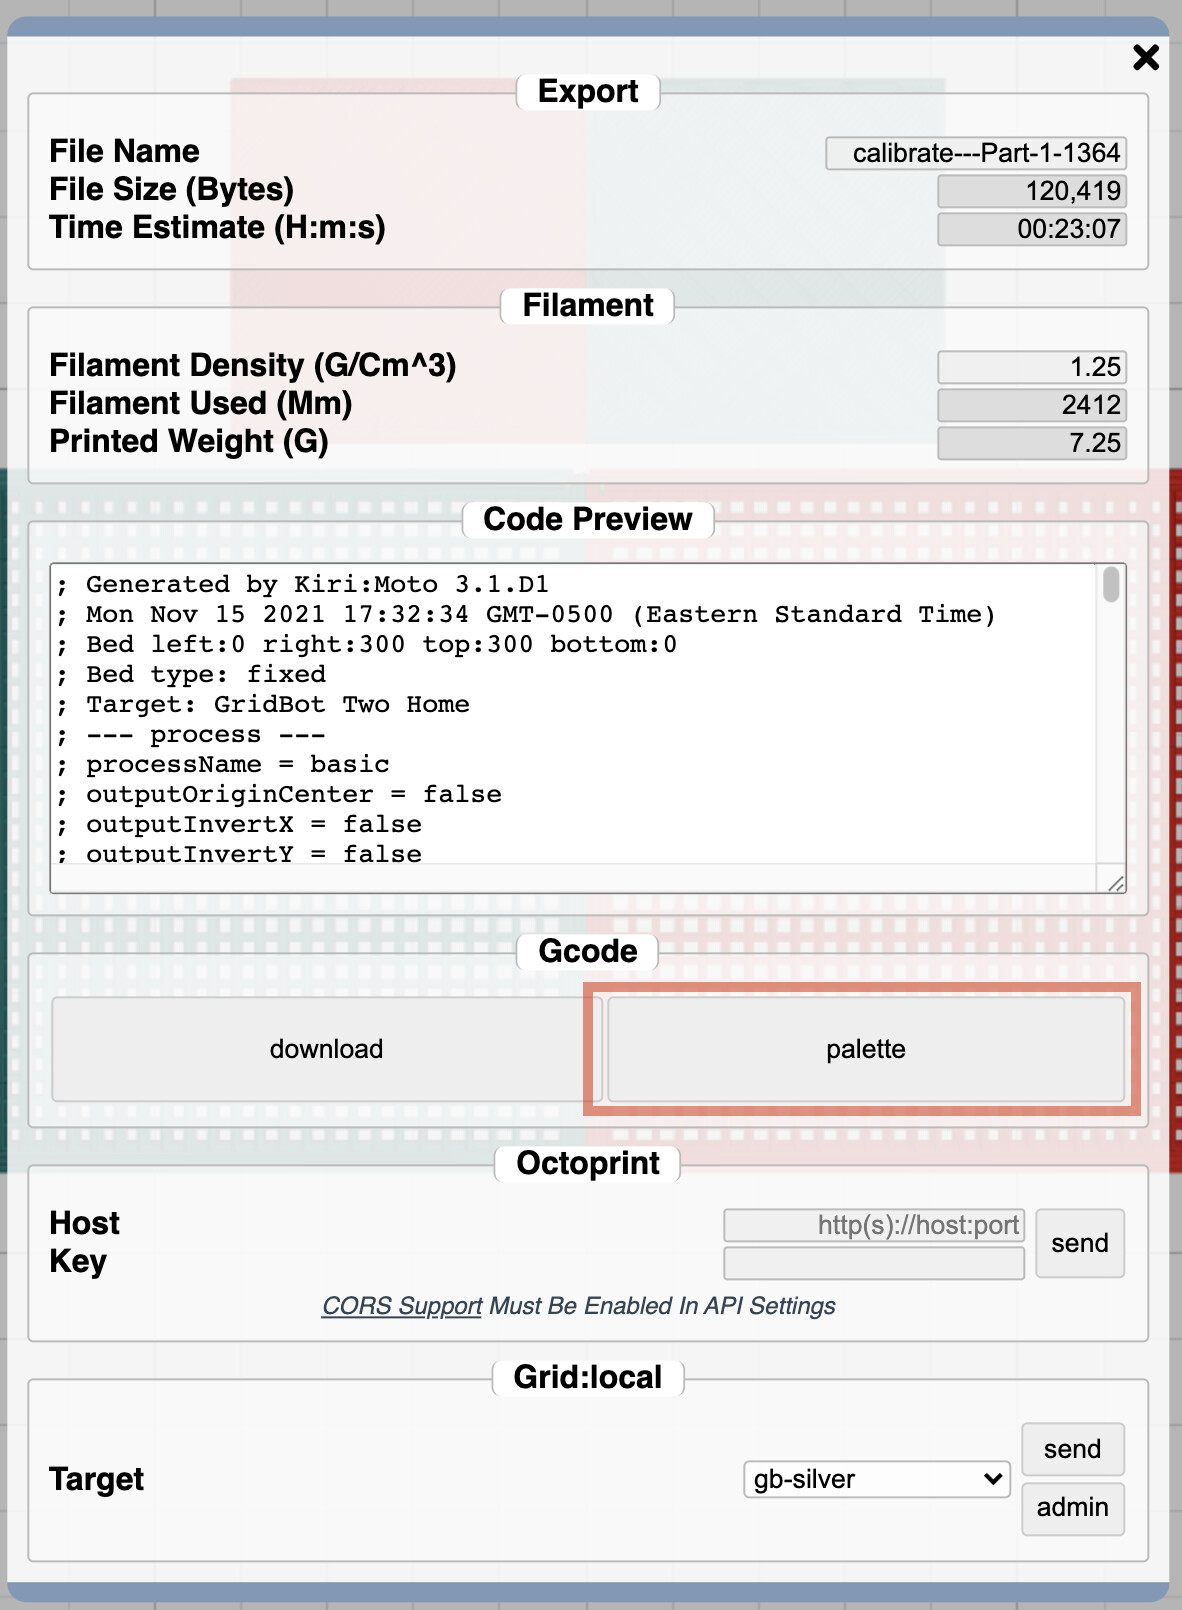
In export mode, you will now have Download for Gcode and a Palette button for downloading the MAFX Palette accessory mode file. This goes on a USB stick and into the Palette. The gcode goes to your printer. From there, follow the Mosaic guide for accessory mode printing.
Hoping to have belt mode purge towers working in a day or two. For now, this is limited to traditional FDM printing.
 But once you figure that out, it’s good.