I am using kirimoto with creality cr-30 3d printer, and want to print an infinit chain.
when setting a ragne for the loop, the M808 command in not placed at the right location but at layer 0 and ands at the last layer
Please advice.
If you do not select a range, the loop is all layers.
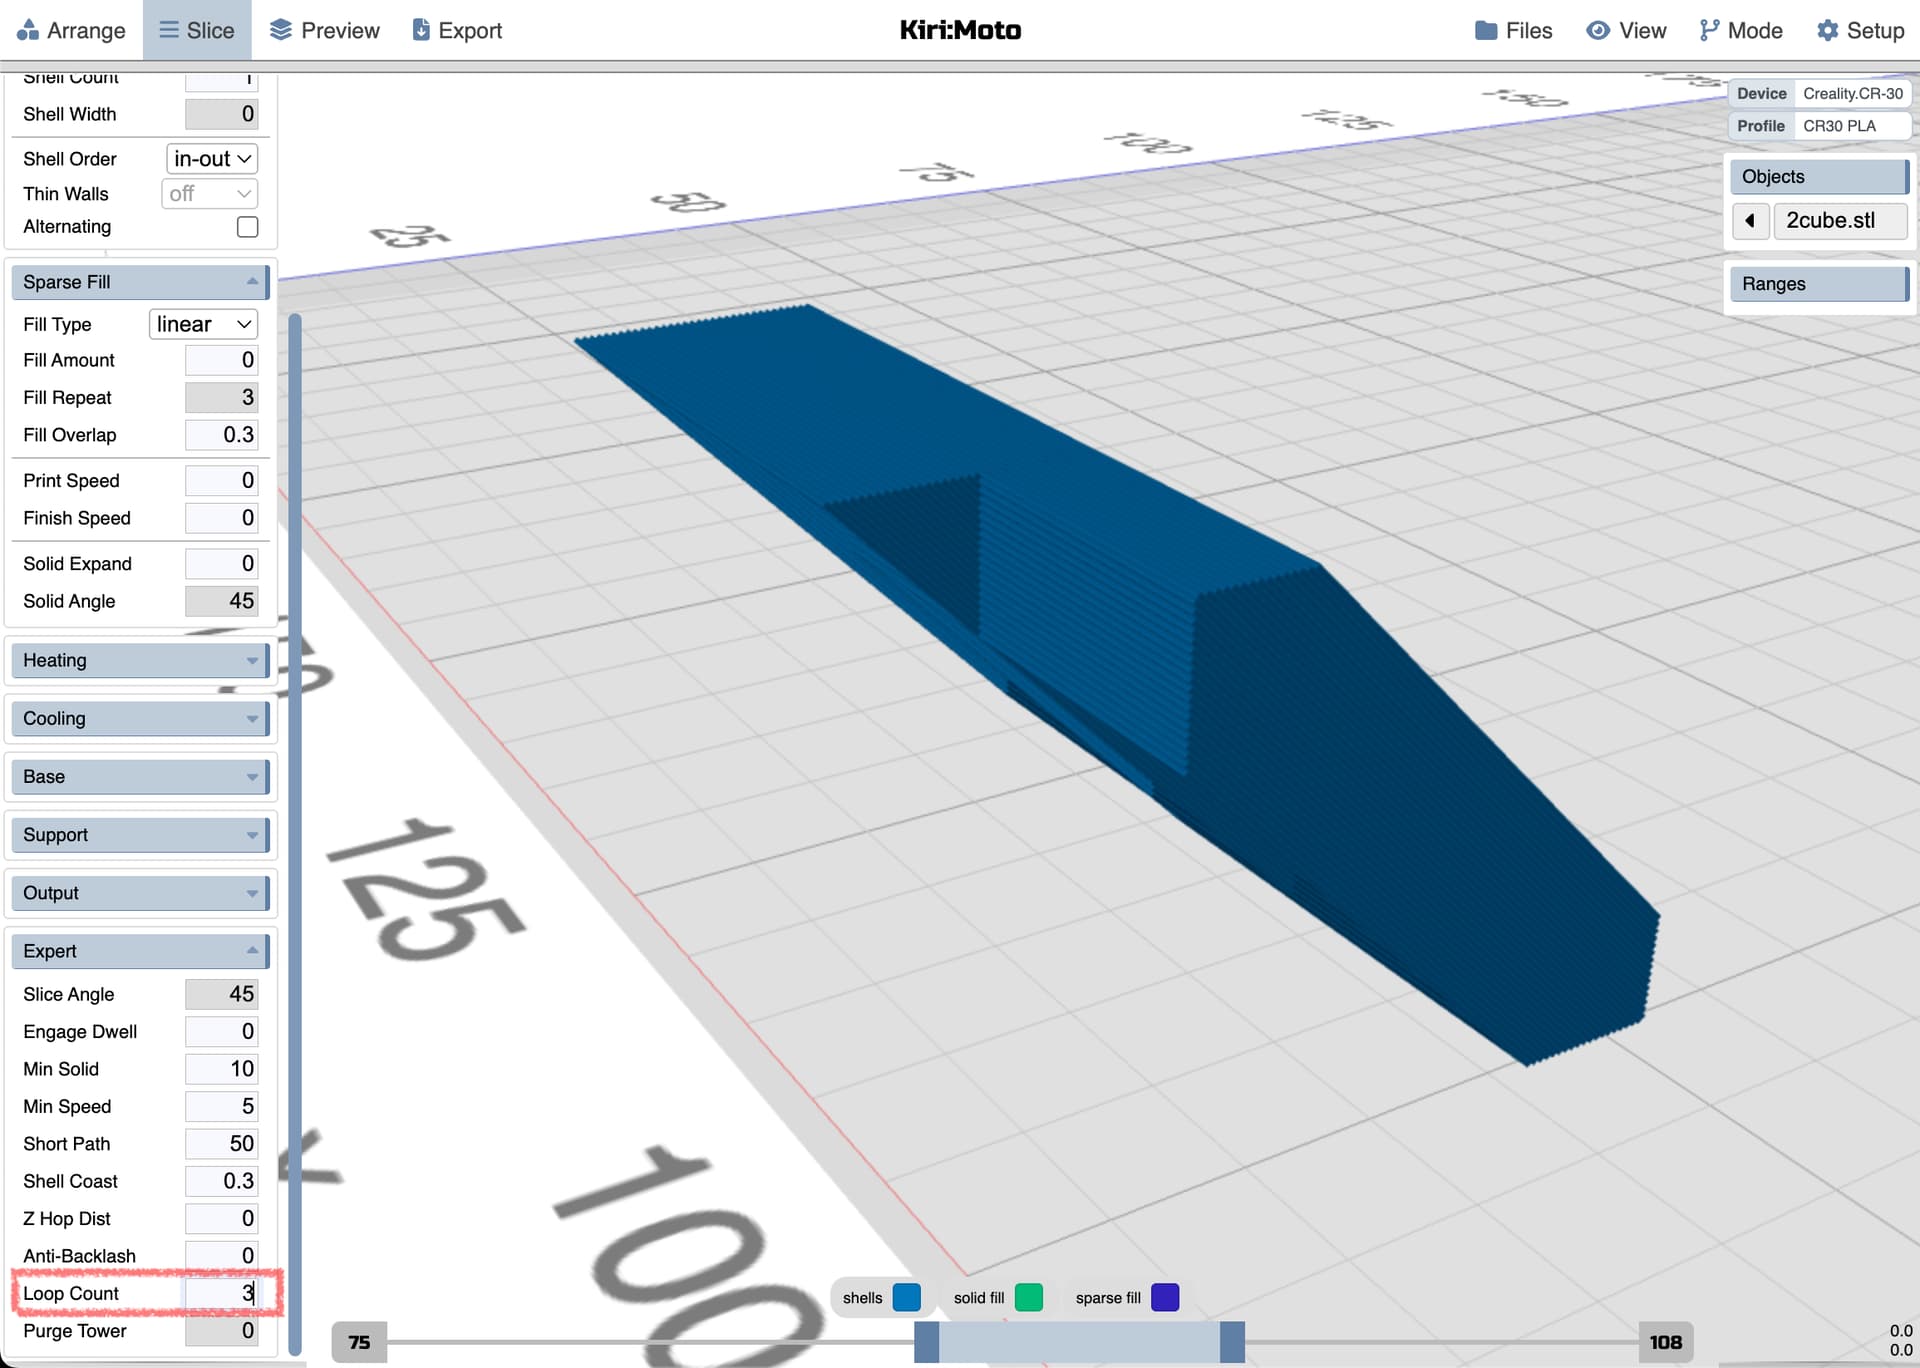
The process for looping ranges is:
- slice (not preview)
- select the range to loop (bottom slider)
- type the loop count into expert → loop count
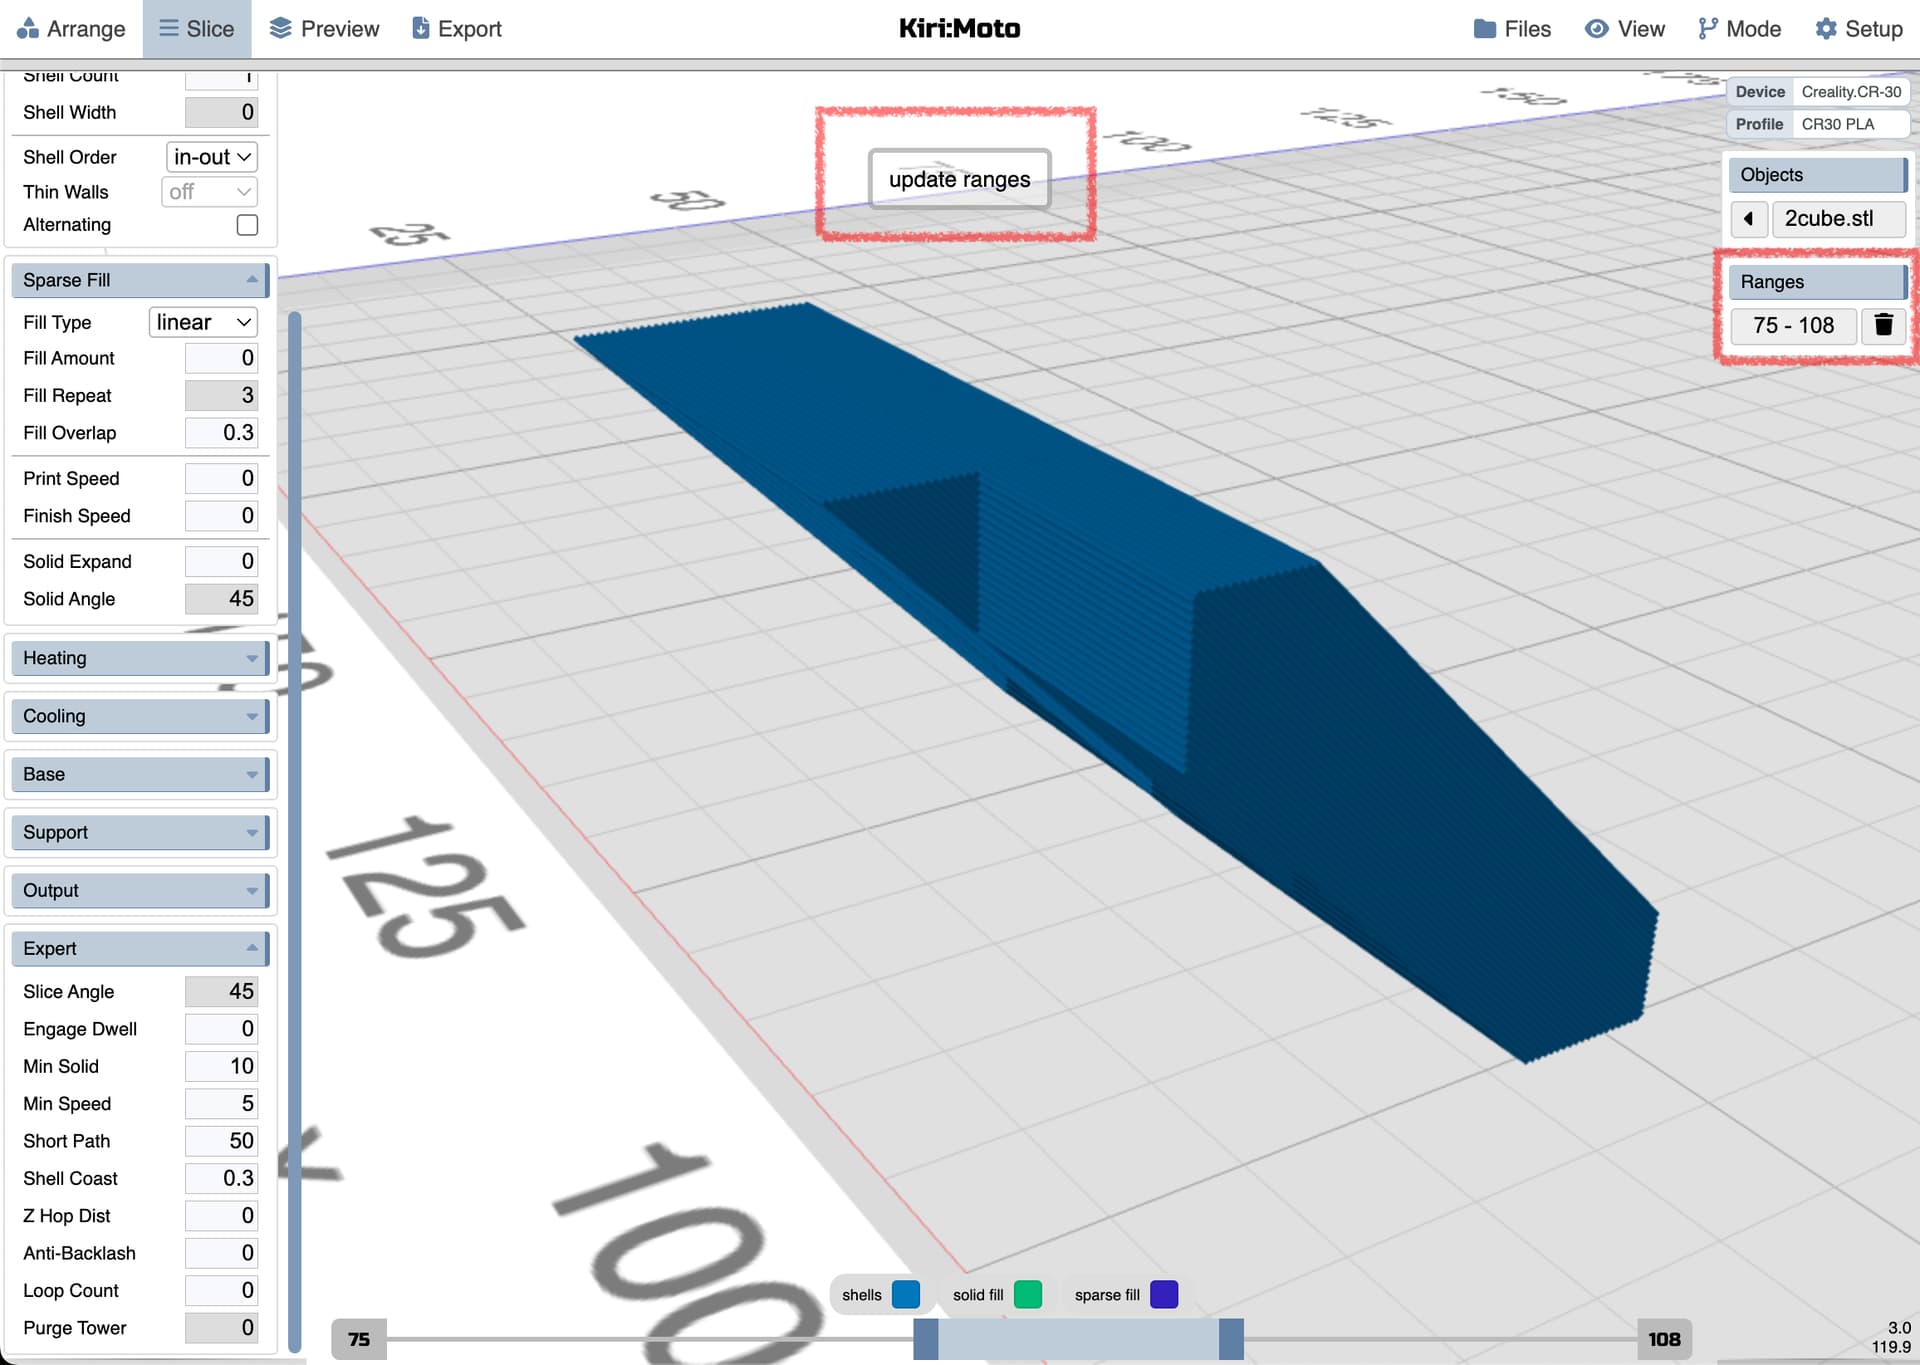
- hit enter … a new
rangeappears on the right menu - export and M808 should appear at the beginning and end of the selected range
Hi Stewart,
This is exactly the flow I used and I see two issues:
- I get two loops - one for the entier desing and one for a range.
- The range is not following what I have set.
Please advice
very possibly a new code error from the recent belt refactor. will review tomorrow and let you know what I find. thanks for the report.
I am only able to replicate the double loop if the loops value is non-zero in arrange mode. And that would be proper. loops should always show 0 even when you have a range. Hovering the range on the right will show you the override value for that range of layers and there you will see your loop value.
I managed to get reed of the double loop following your advice, but the ragne the was set to 134-707 in the G-code endded up as layer 128 & layer 696.
do you have an anchor defined? feel free to email me your workspace (files → export) to [sa at grid dot space] and I can use that to reproduce and debug
just sent you an email with the workspace atttached
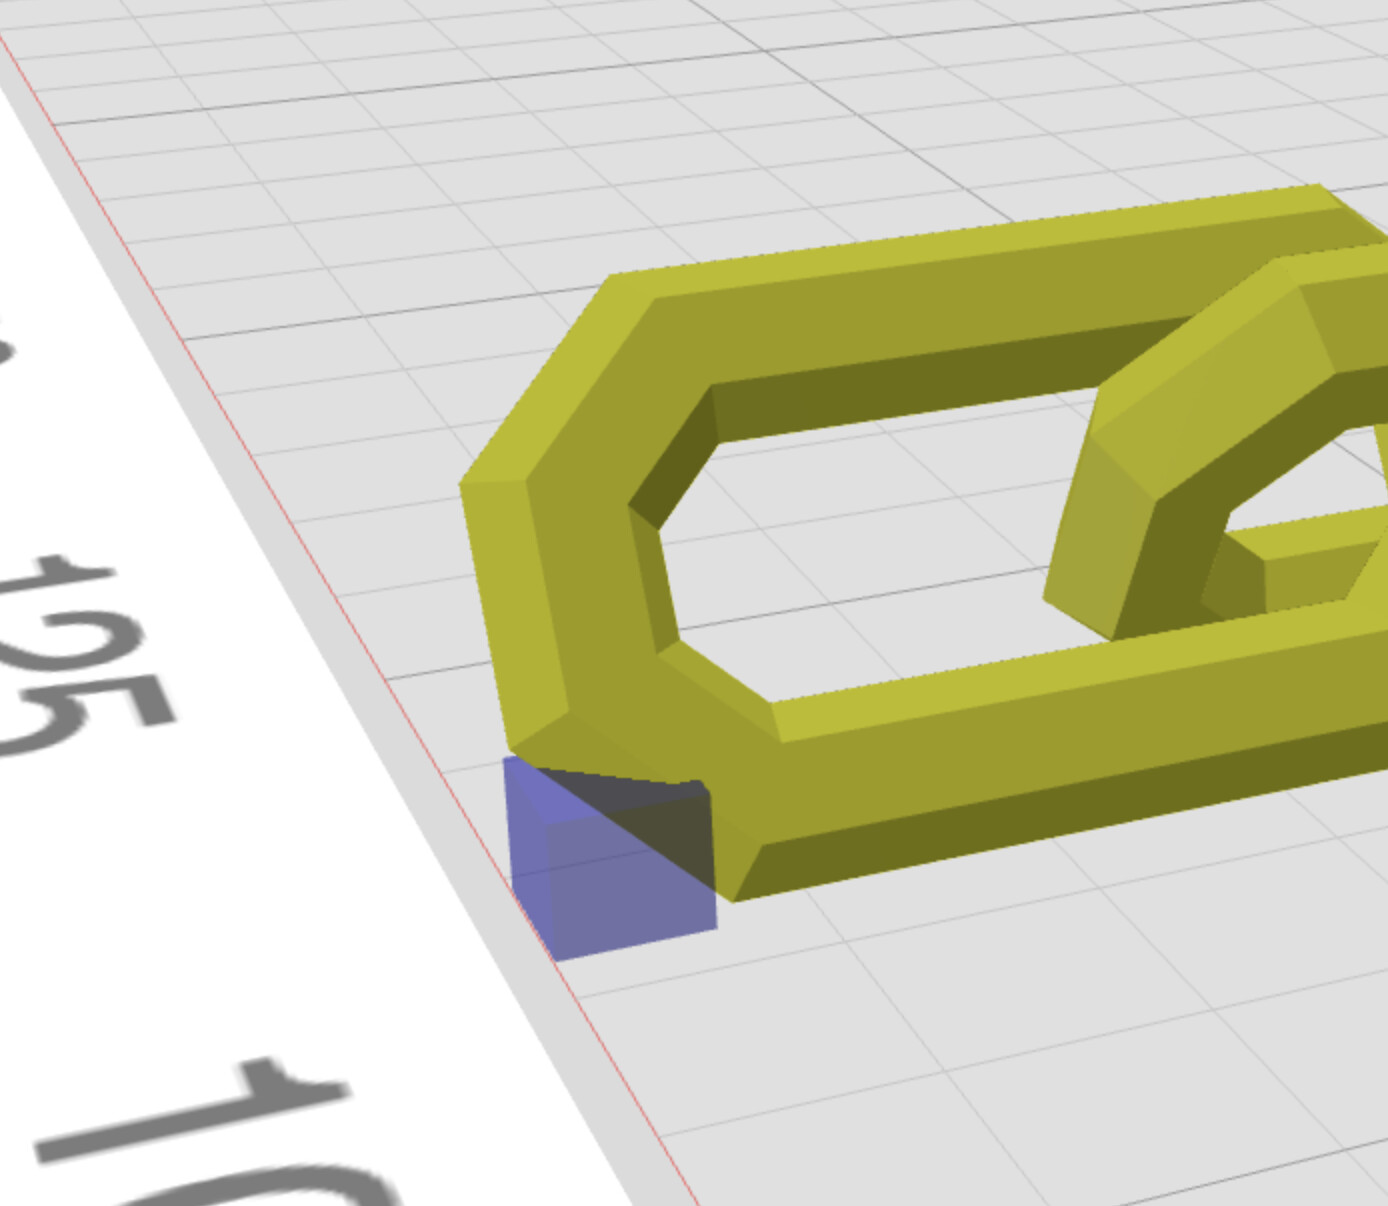
this is explained by the lead in geometry of the part. it requires support and without that, the first 10 layers sliced (depending on layer height) are “empty” and dropped. you can see this when you “S” slice and look at the first 10 layers then “P” preview and look at the first 10. the layer #s shift because the first 10 are dropped and the rest re-numbered. you only need to worry about the layer # in “S” slice mode since any adjustments are compensated for at output time.
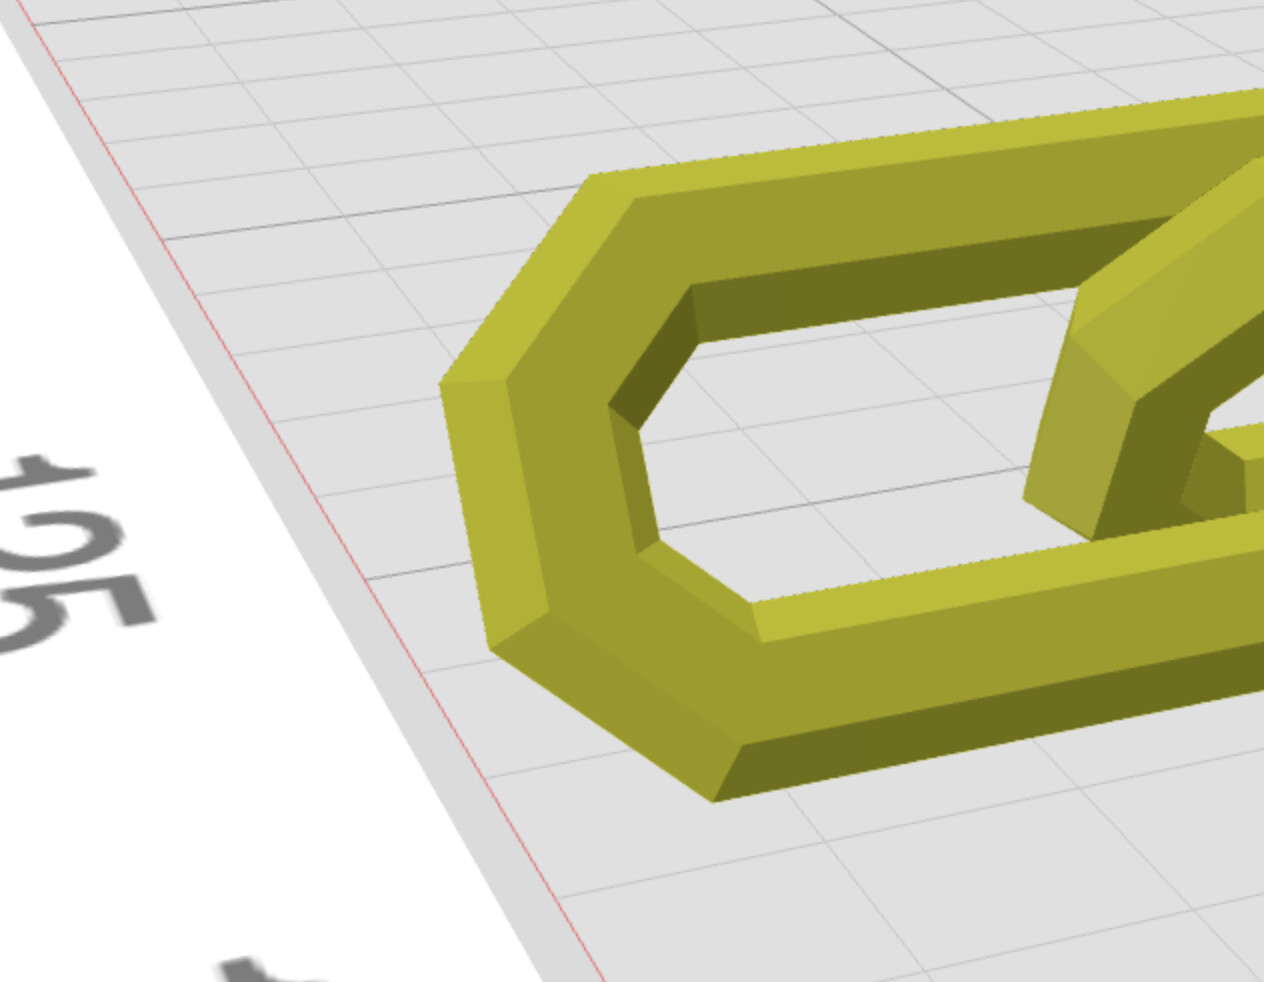
the chain could, in theory, be constructed from only a two-link model using the mid-points of each link as the repeat.
Thanks Stewart for your help with this.
I followed your advice and when I place the support in the right place the silcer does the job as expected. when the support was a bit off the slicer didn’t work at all.
when you say “the slicer didn’t work at all” do you mean the print failed (which is what I would expect without the support).
Your slicer is relay smart ![]()
I placed the support and set the range, and indeed the slicer started from the place I inidicated, but as the chaine is long and the end range I set was in the middle of the chain, the sliced took the last matching ring in the chane as the end of the range.
It is printing now on a very slow printer so I’ll update when I have more data.
Thank you for your help with this.