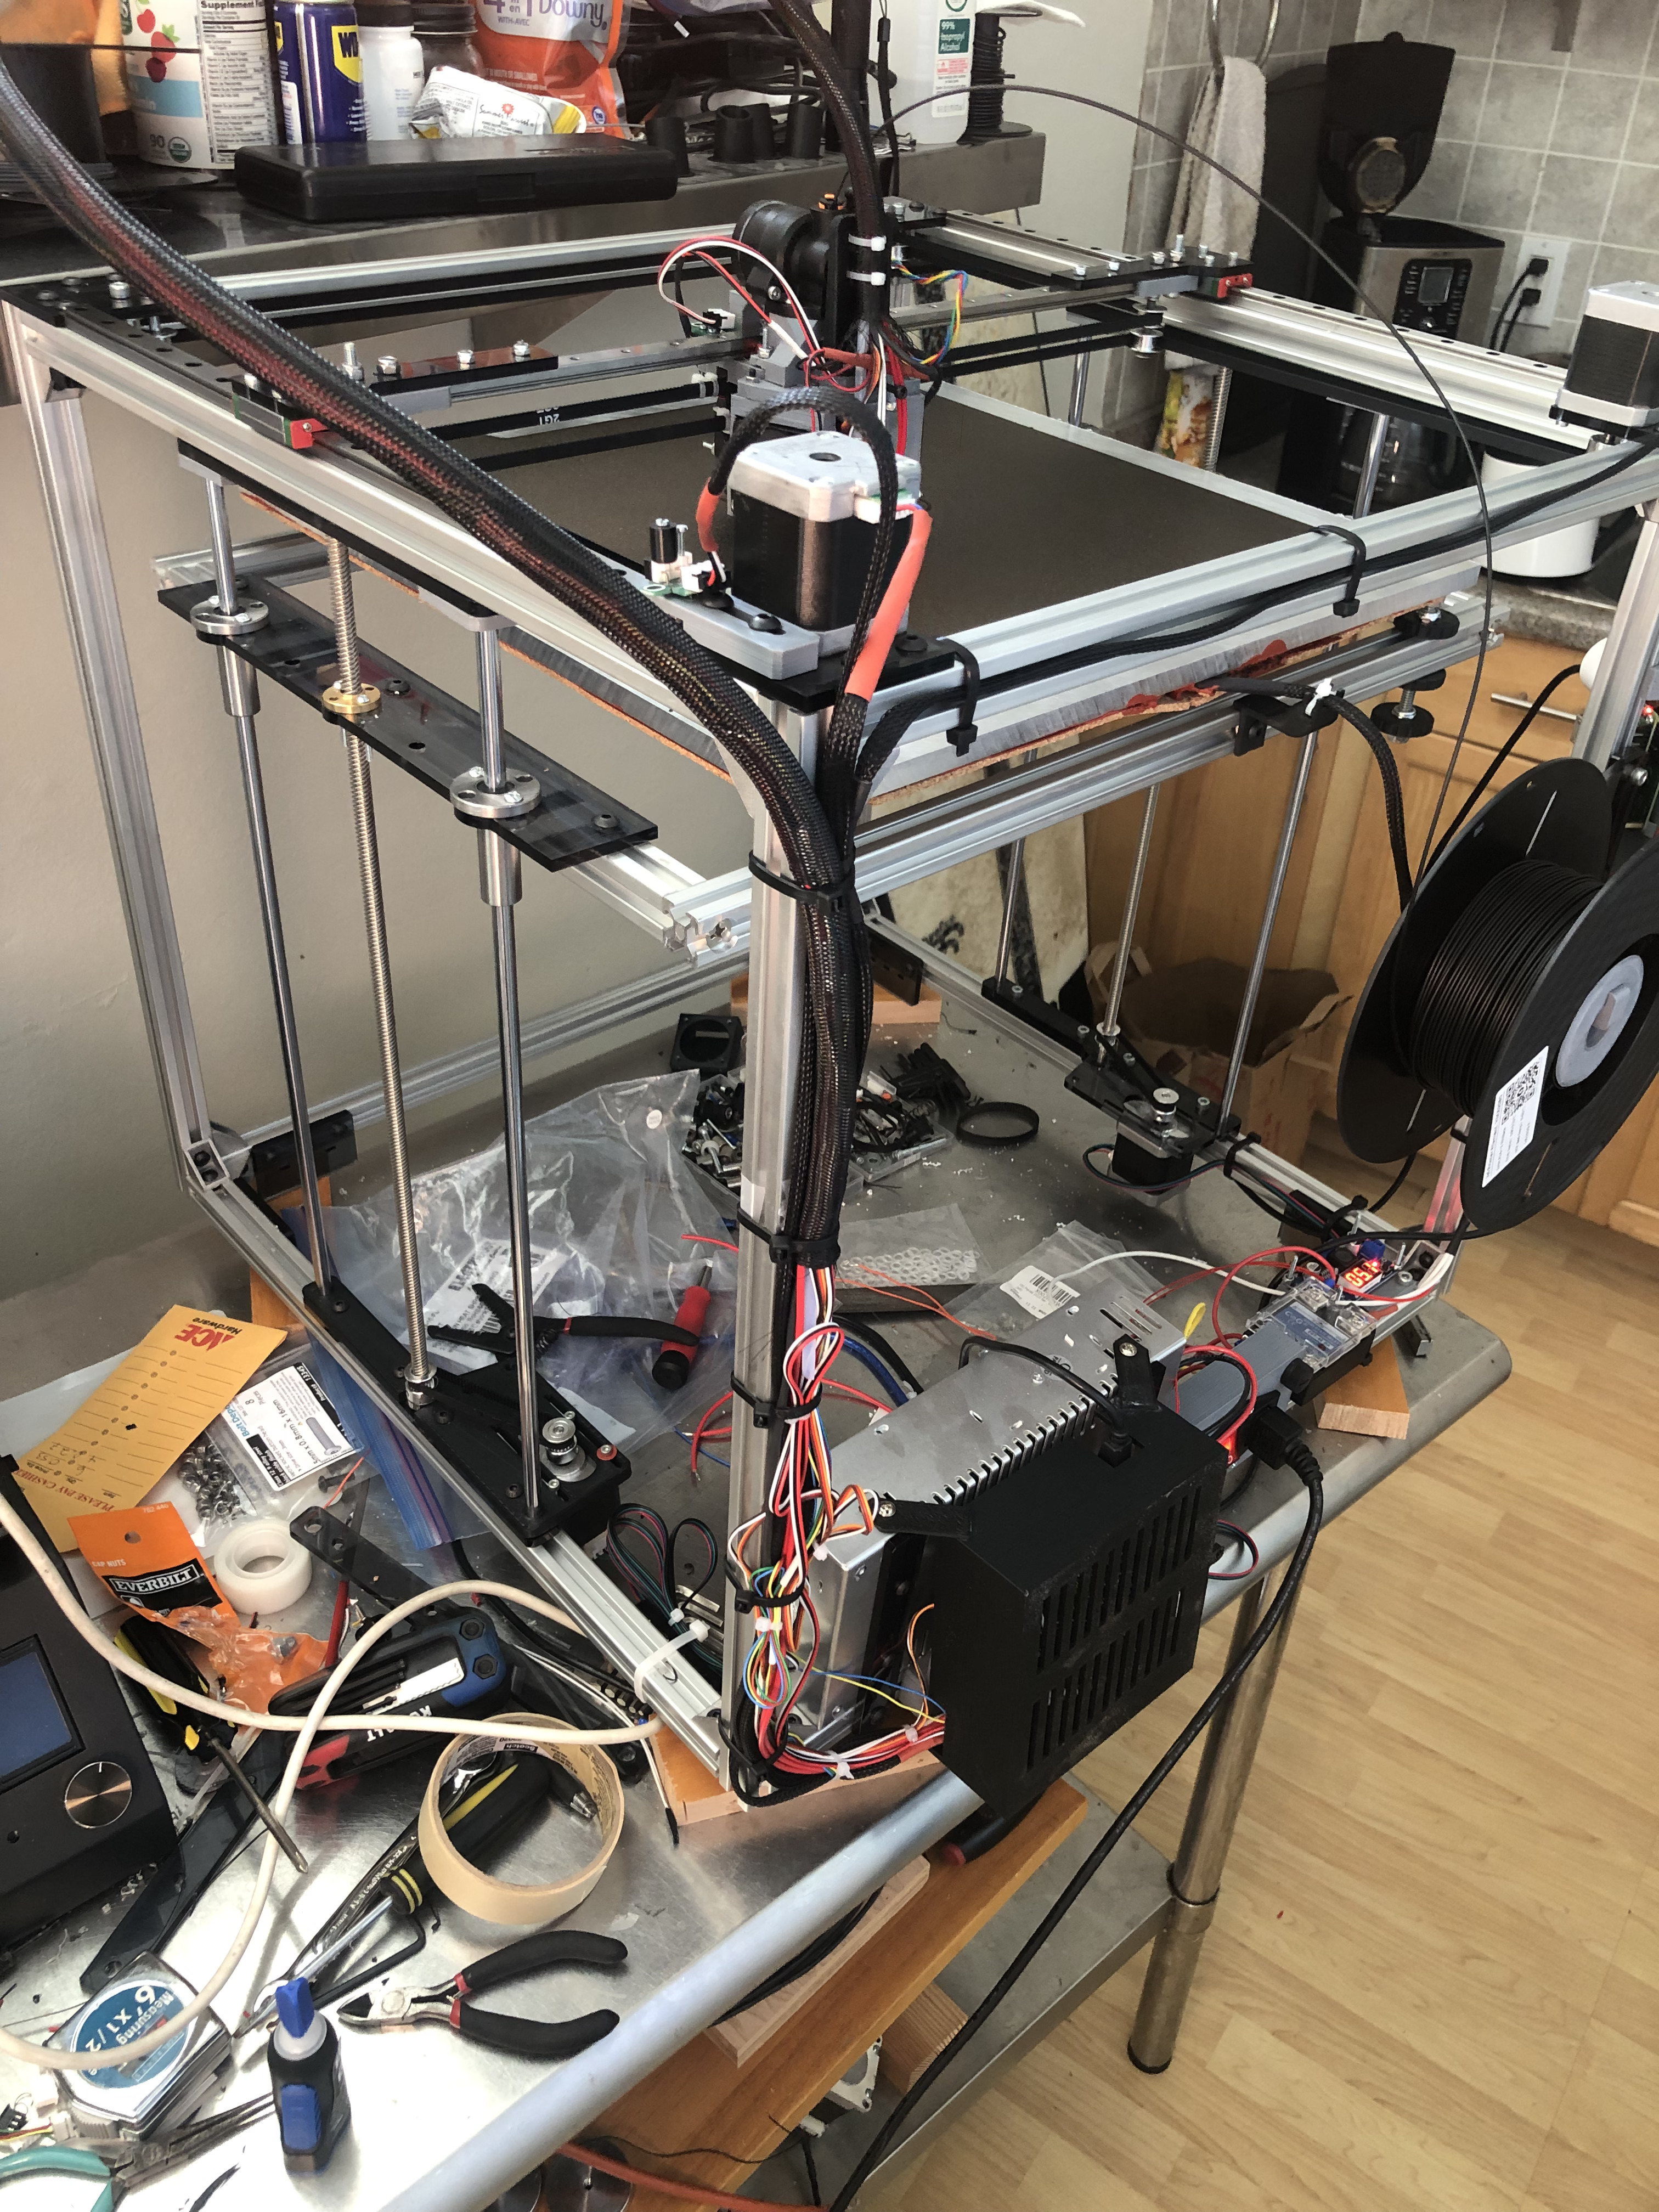
This was a fantastic experience. Thanks to Stewart for your design and thoughtfullness, and sharing with the community. I was looking for a straightforward, minimalist build, not a lot of bells and whistles, and not a lot of printing components and assembly. That ruled out things like the Voron and HevORT for me. The gridbot was exactly what I was looking for.
Rails/lead screw from Aliexpress. SKR 1.4, Dragonfly BMO hotend, Orbiter 2.0 from Biqu or Aliexpress. I laser cut a lot of the parts from 1/4" acyrlic I had lying around. The other parts I printed using a Wanhao Duplicator I got for $50. That was my first experience printing, so the parts aren’t great quality, maybe I’ll get around to reprinting them now that the Gridbot is up and running.
2020 extrusion from Zyltech. I wired it up with my Rpi4 and ended up shorting it somehow (FML) so used a Rpi2 I had lying around. It’s running OctoKlipper now with Octodash on the Raspberry touch screen.
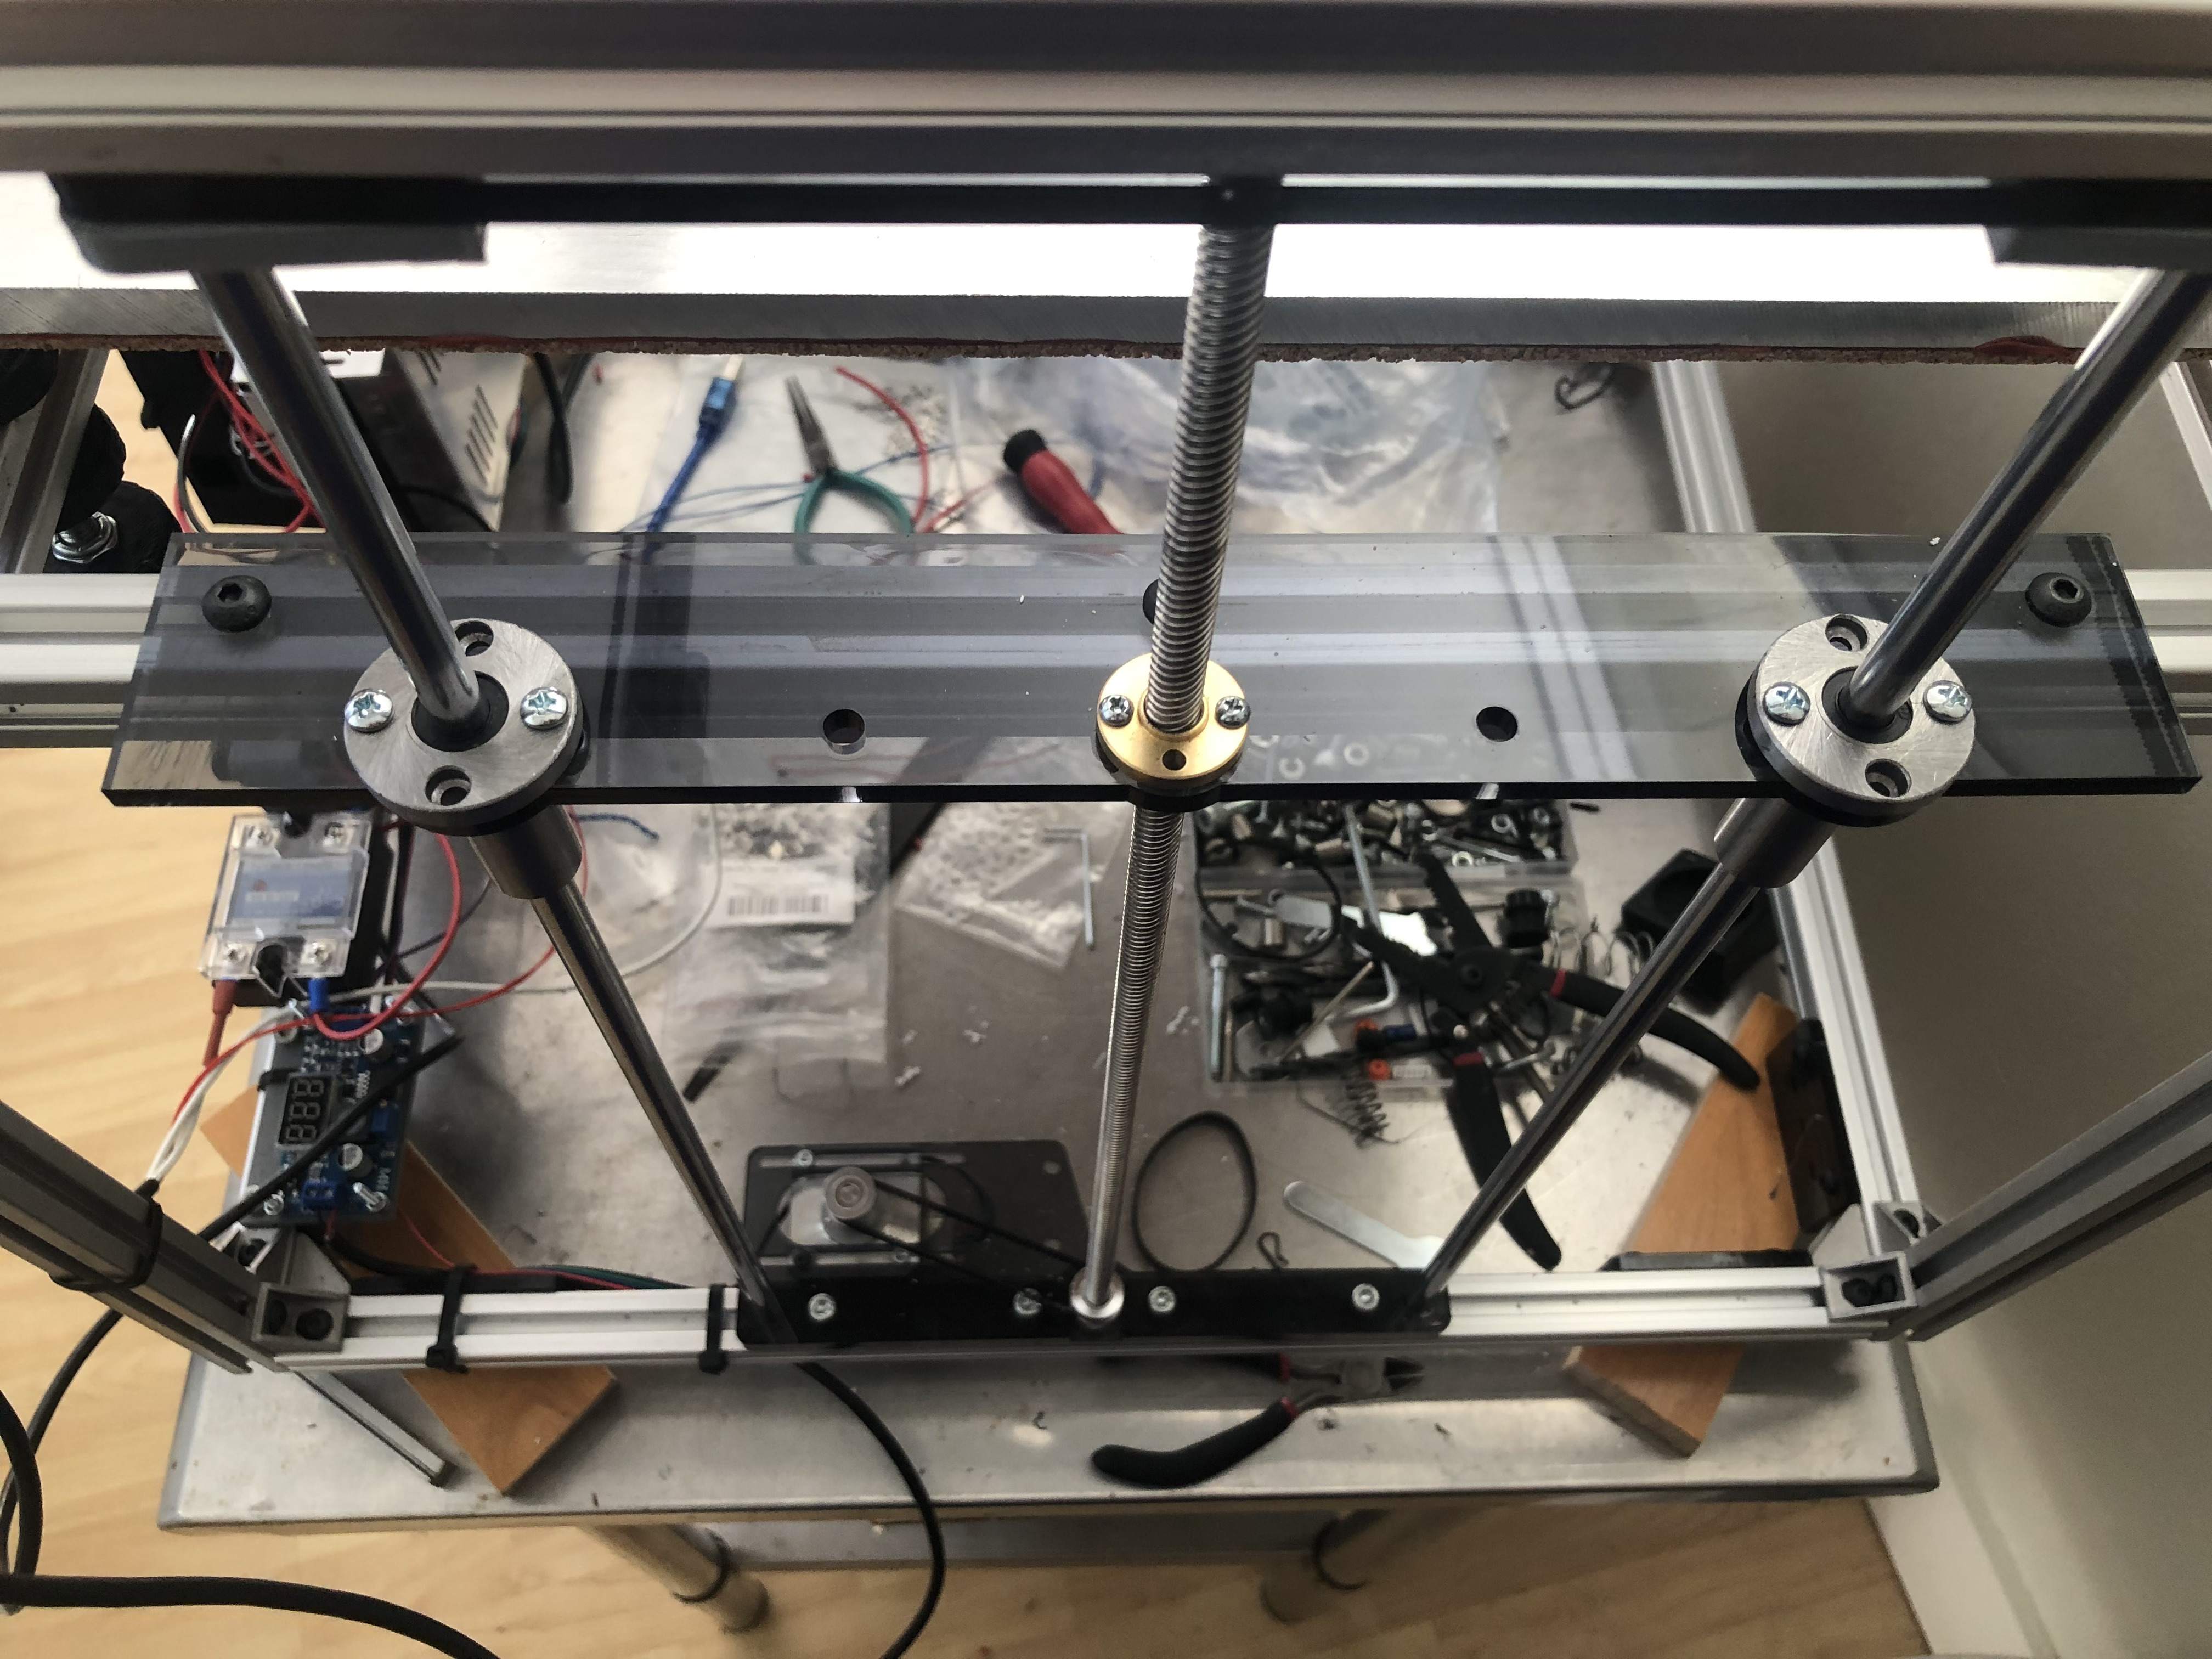
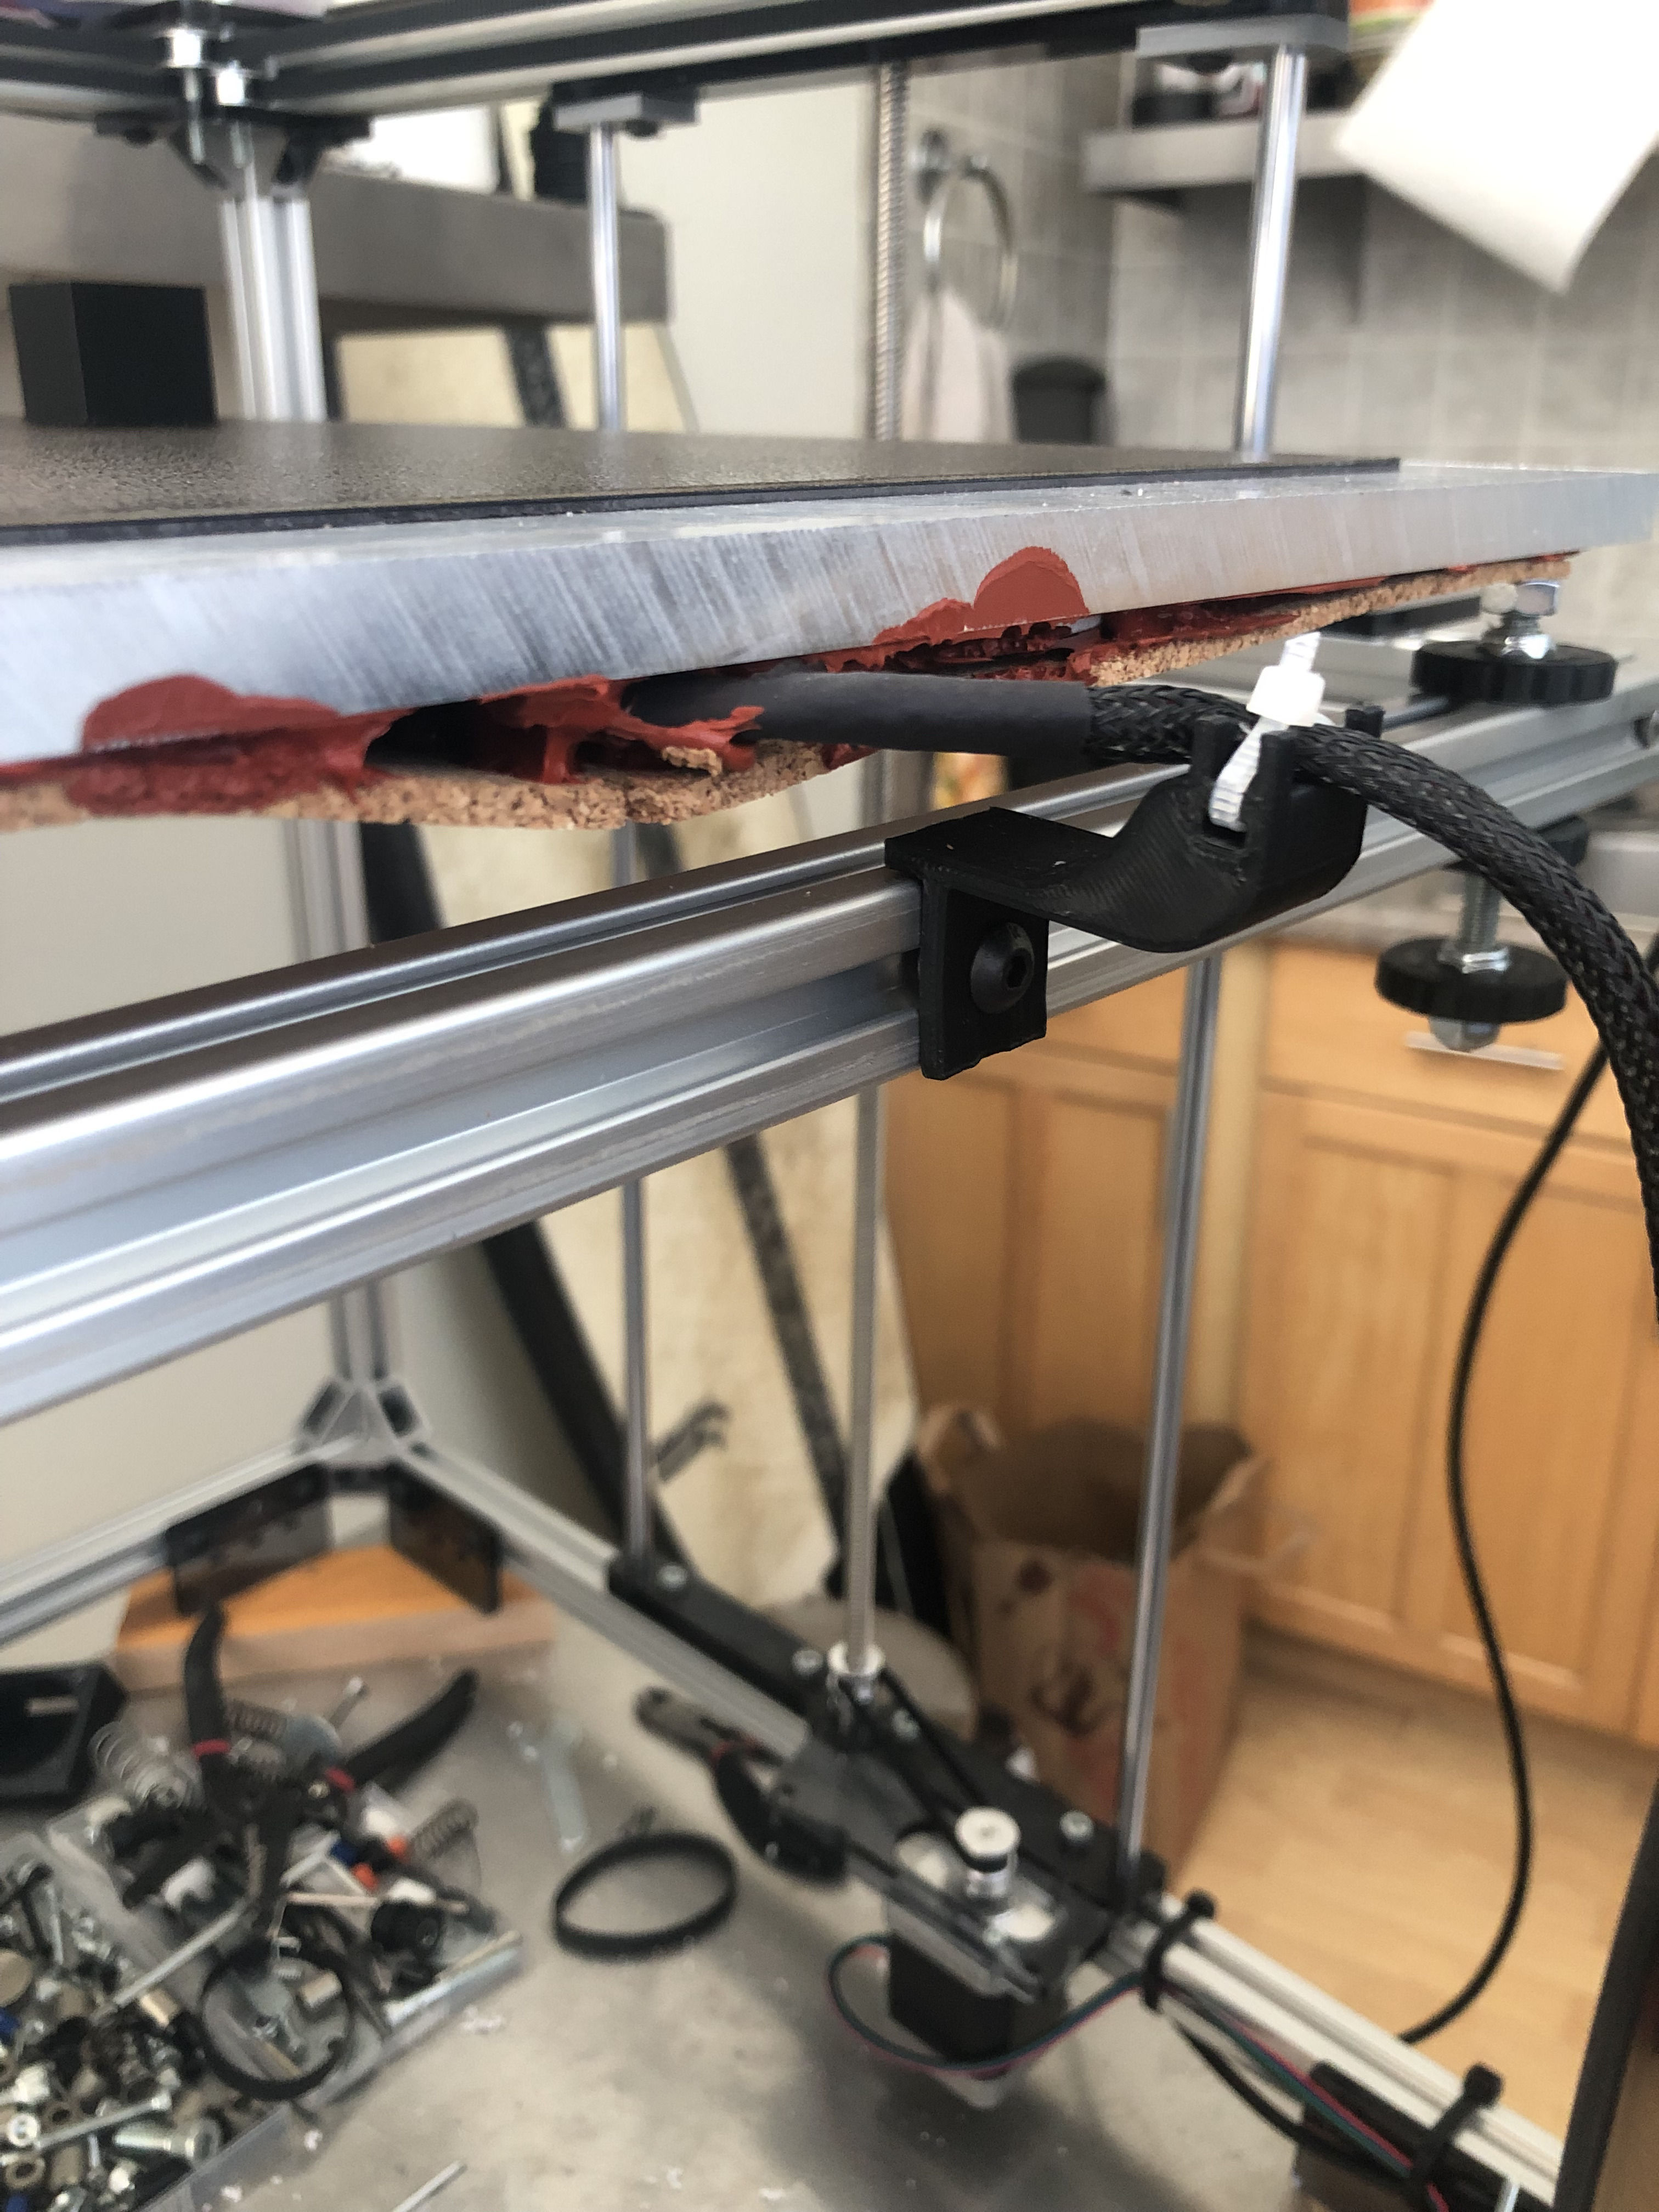
The bed is a 3/8" aluminum tooling plate I found online. It was cheaper than 1/4" so I thought why not? I did not anticipate how heavy it would be! That lead to the single NEMA17 stepper not working out. I printed another z axis motor support and wired up two motors for dual z. Originally on the single stepper driver on the SKR 1.4, and then since i had an extra I wired it up to a separate stepper output on the board. The drivers don’t get as warm this way.
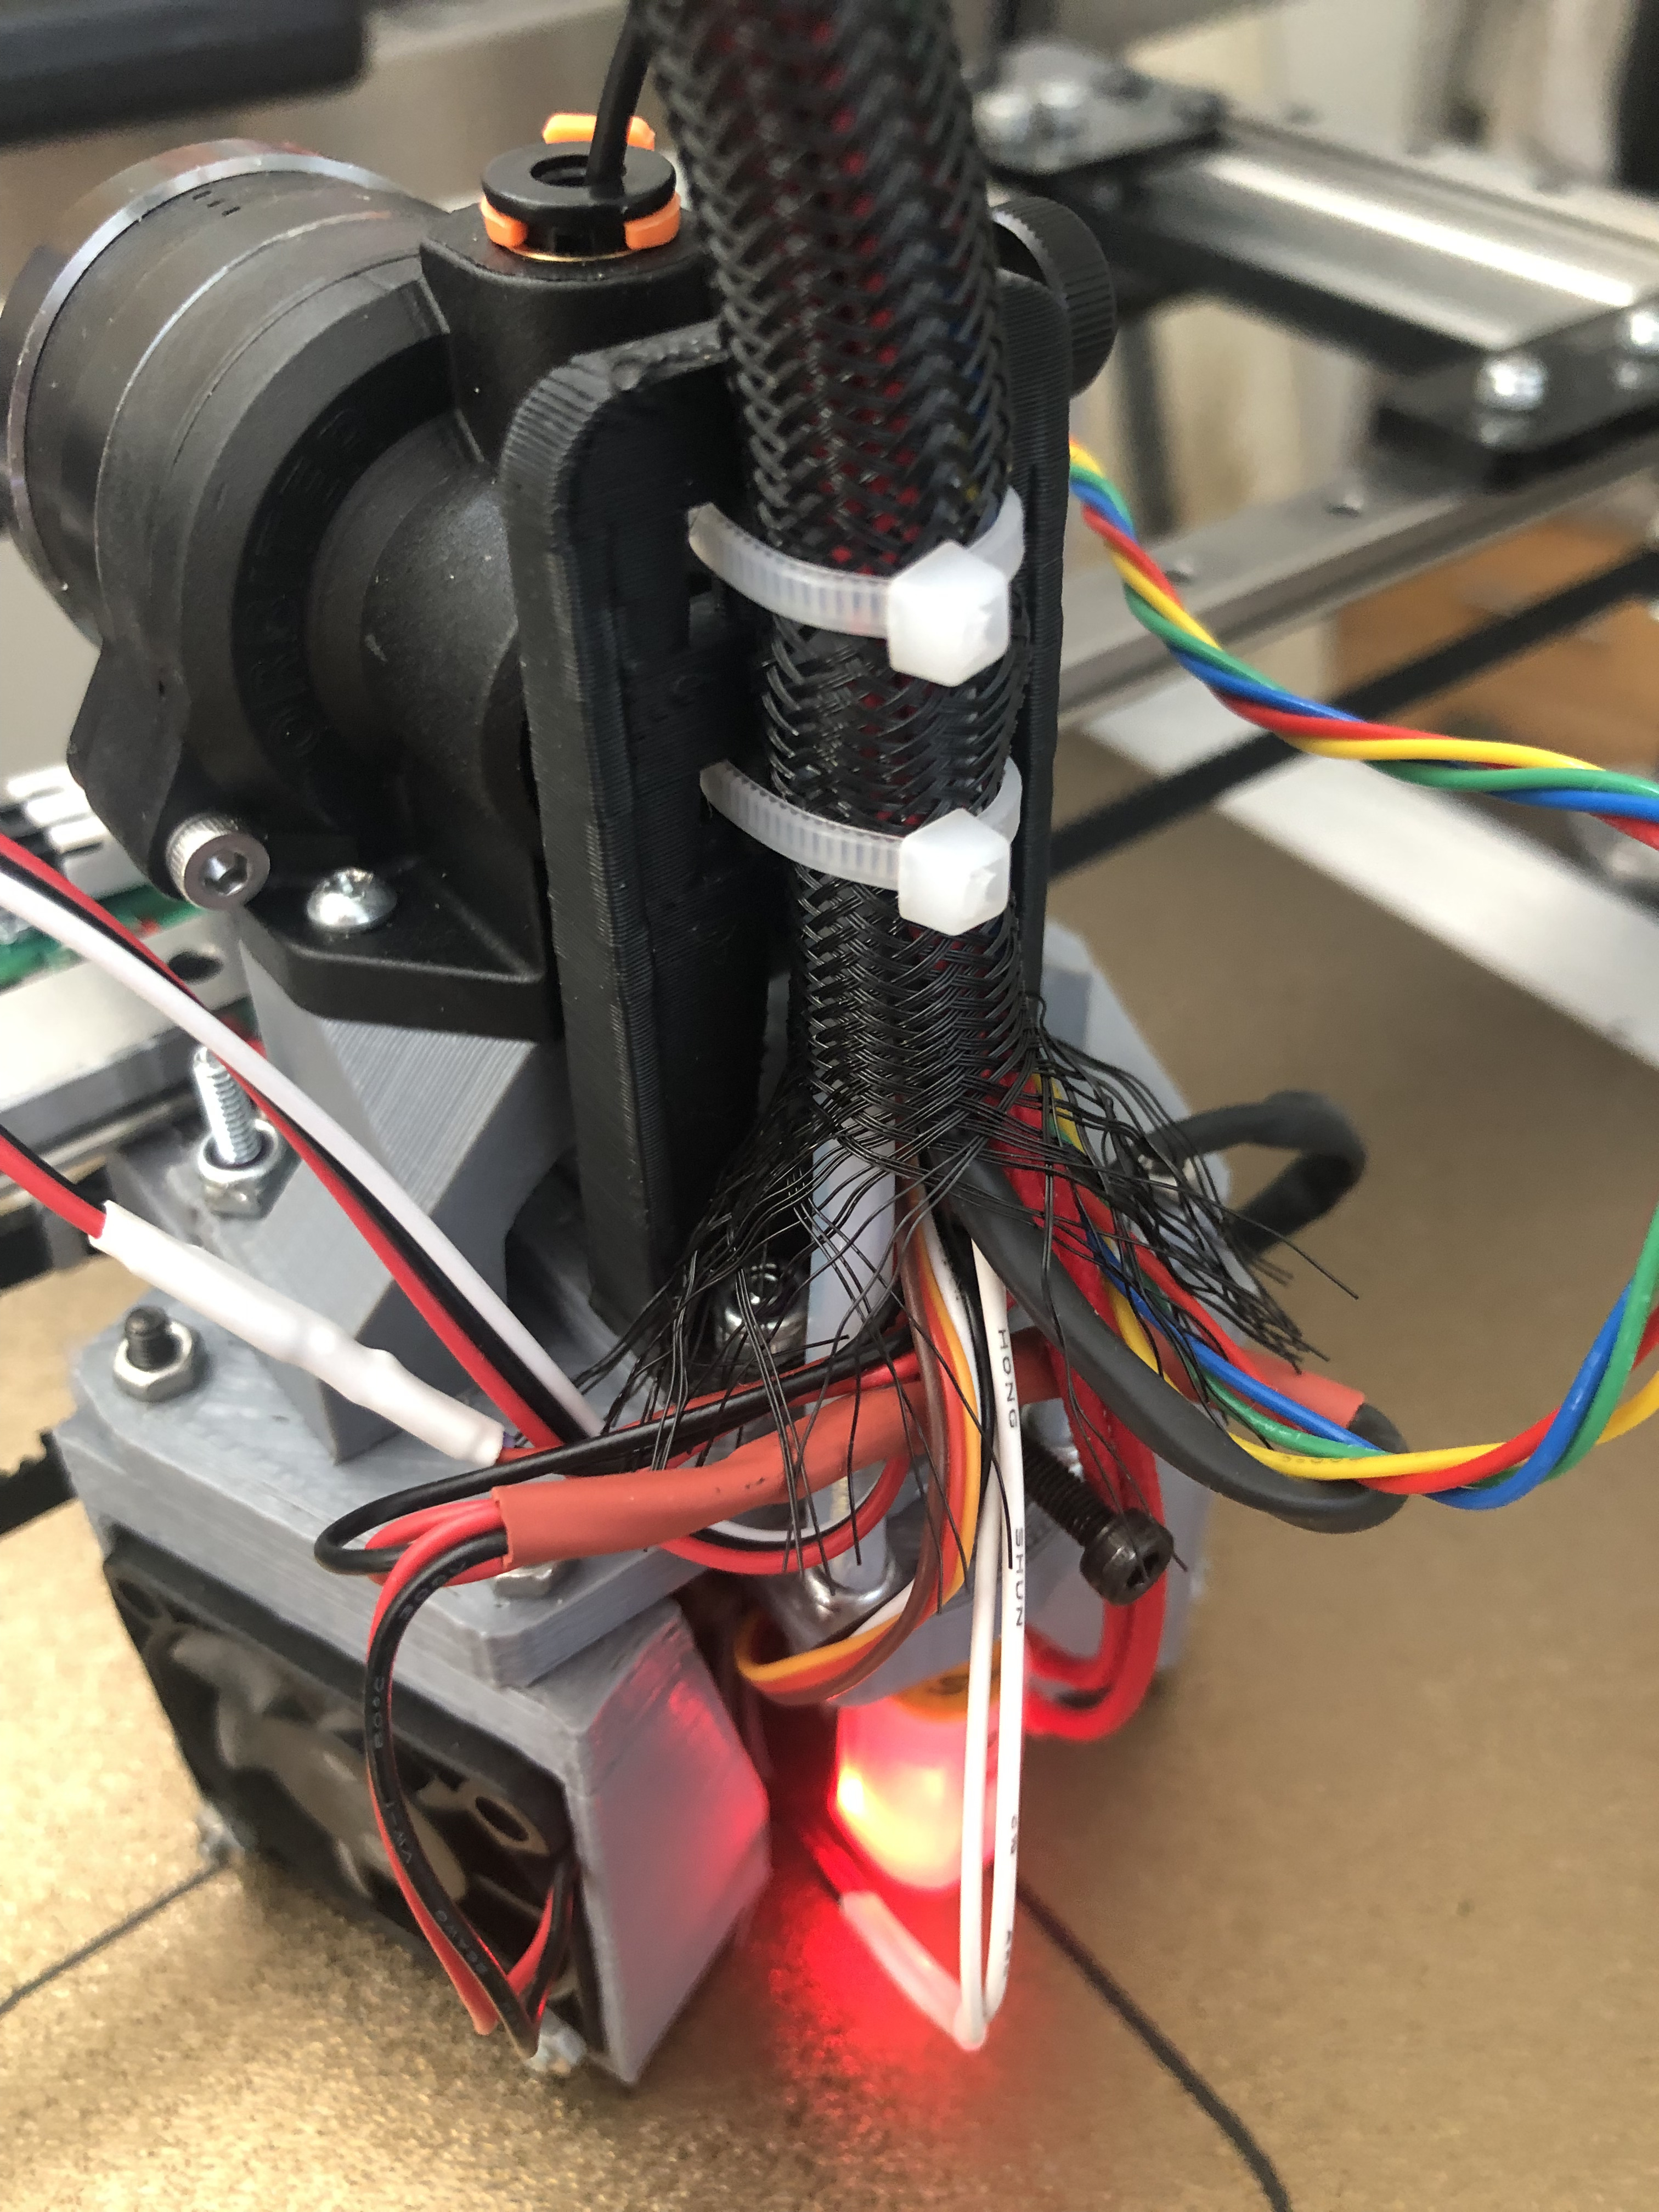
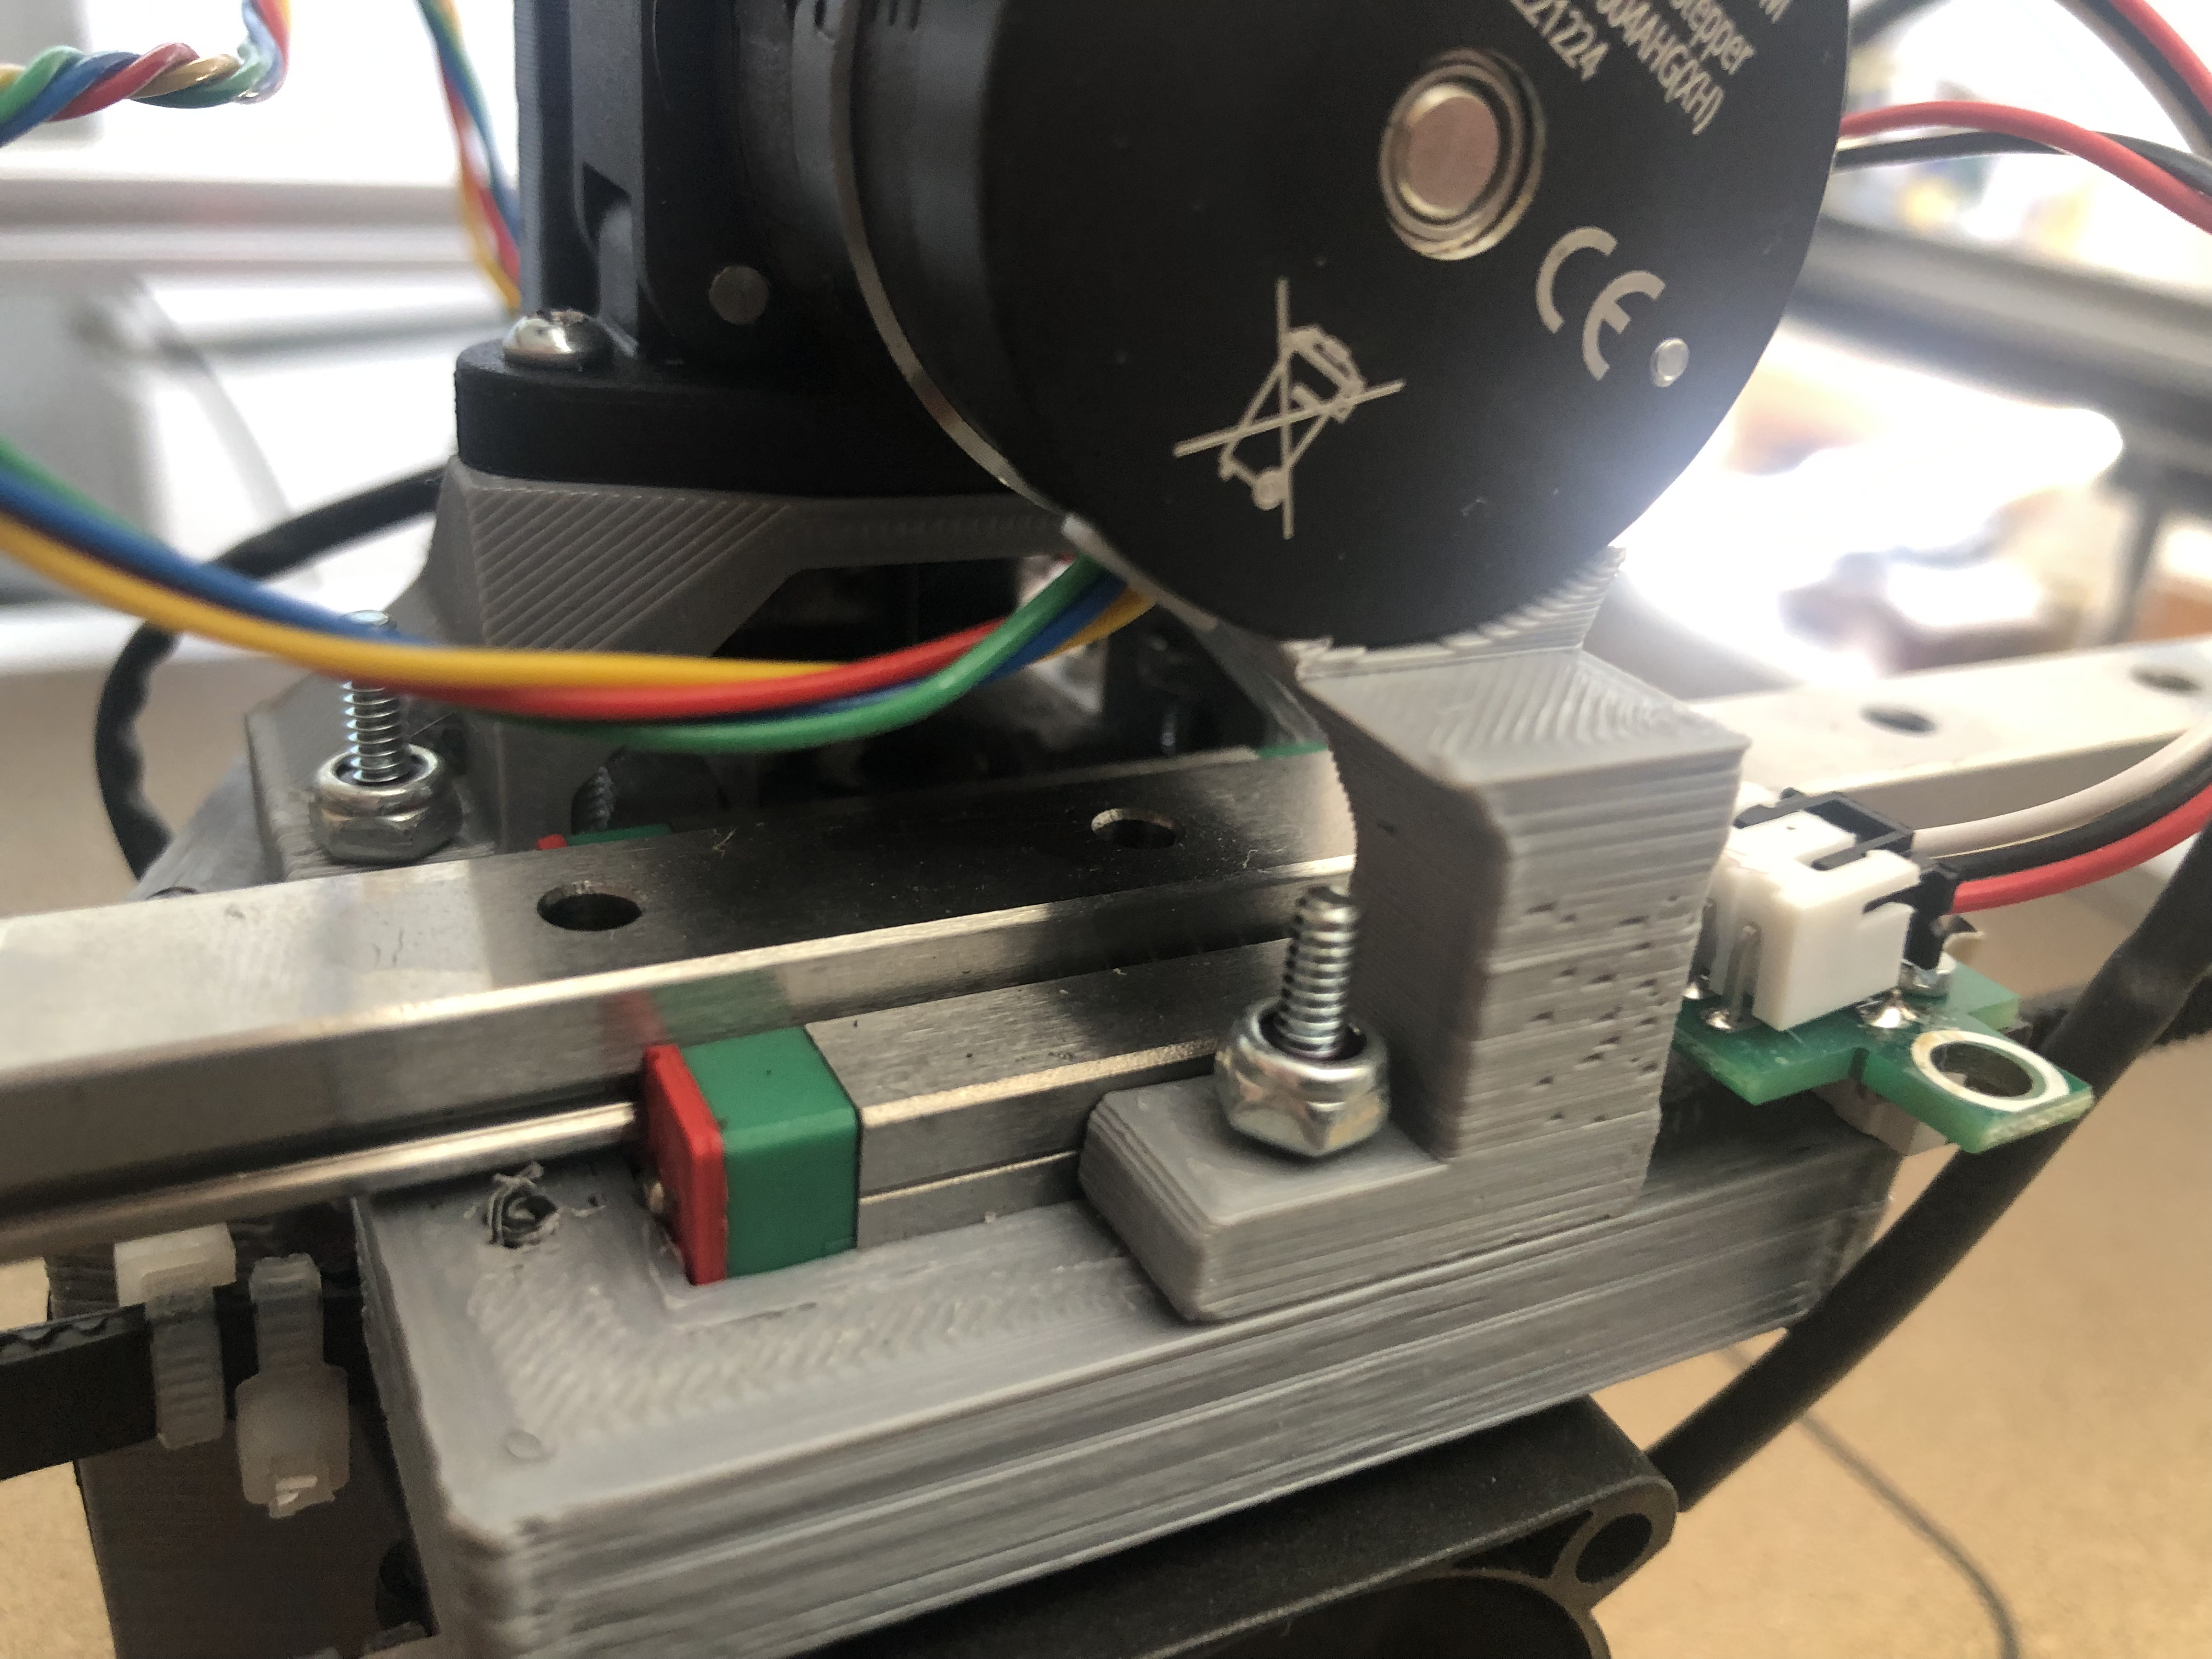
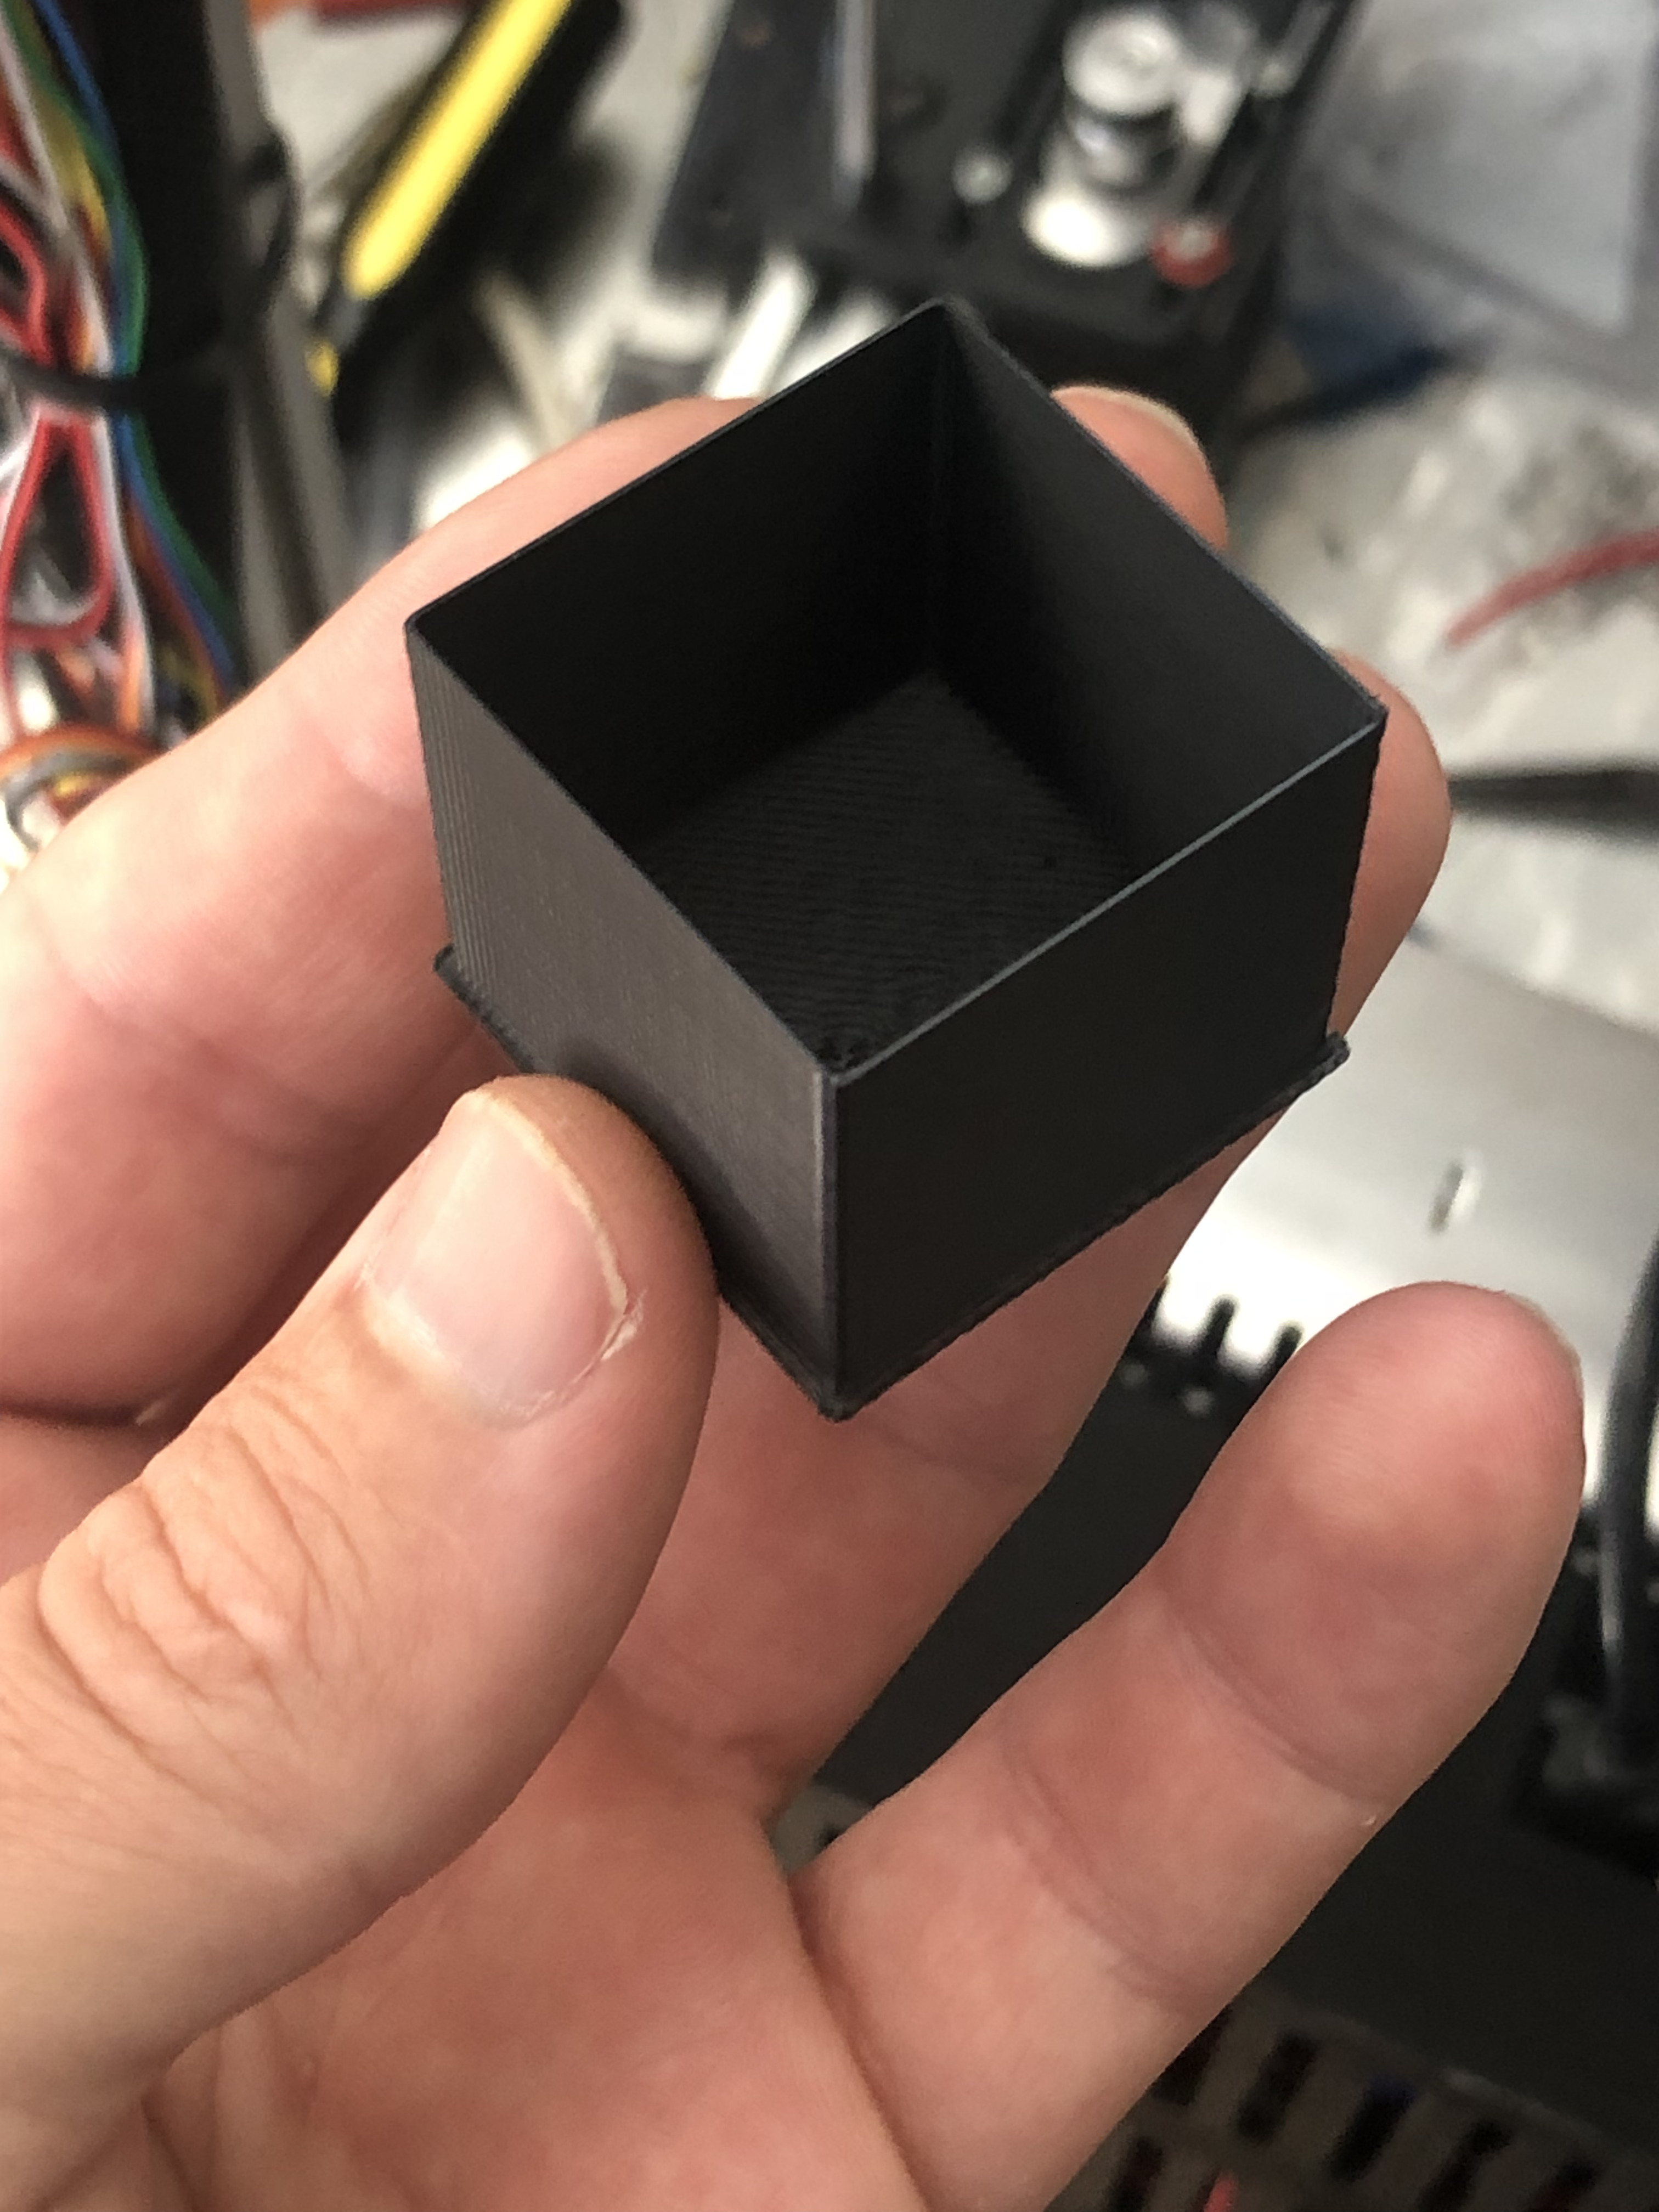
I printed up a motor mount for Orbiter 2.0, with a motor support strut. Also a cover for the SKR board and wiring. I also made a mounting bracket for the 5v buck regulator I’m using to drive power to the Rpi. In my linked onshape edit of Stewarts Gridbot 2.5, you will find the dragonfly fan shroud for a 40mm fan, as well as orbiter mounts, SKR cover, and maybe a few other things like a wiring support bracket for the hotend to zip tie all the cables too. There is another link for the 5 volt PSU mount, bed cable relief if anyone is interested. I got an old printer for free on craigslist that had 2 extruders and bowden setup with 3mm filament. Inside the braided cable sleeve are two sections of bowden tube with filament inside them to act as support to keep the cable elevated up and reinforced.
I haven’t done much printing before, I wanted to build this thing for a larger format machine to print off pelvis models for surgical planning (day job… ![]() ). So far with the little tuning I’ve done it’s working well.
). So far with the little tuning I’ve done it’s working well.
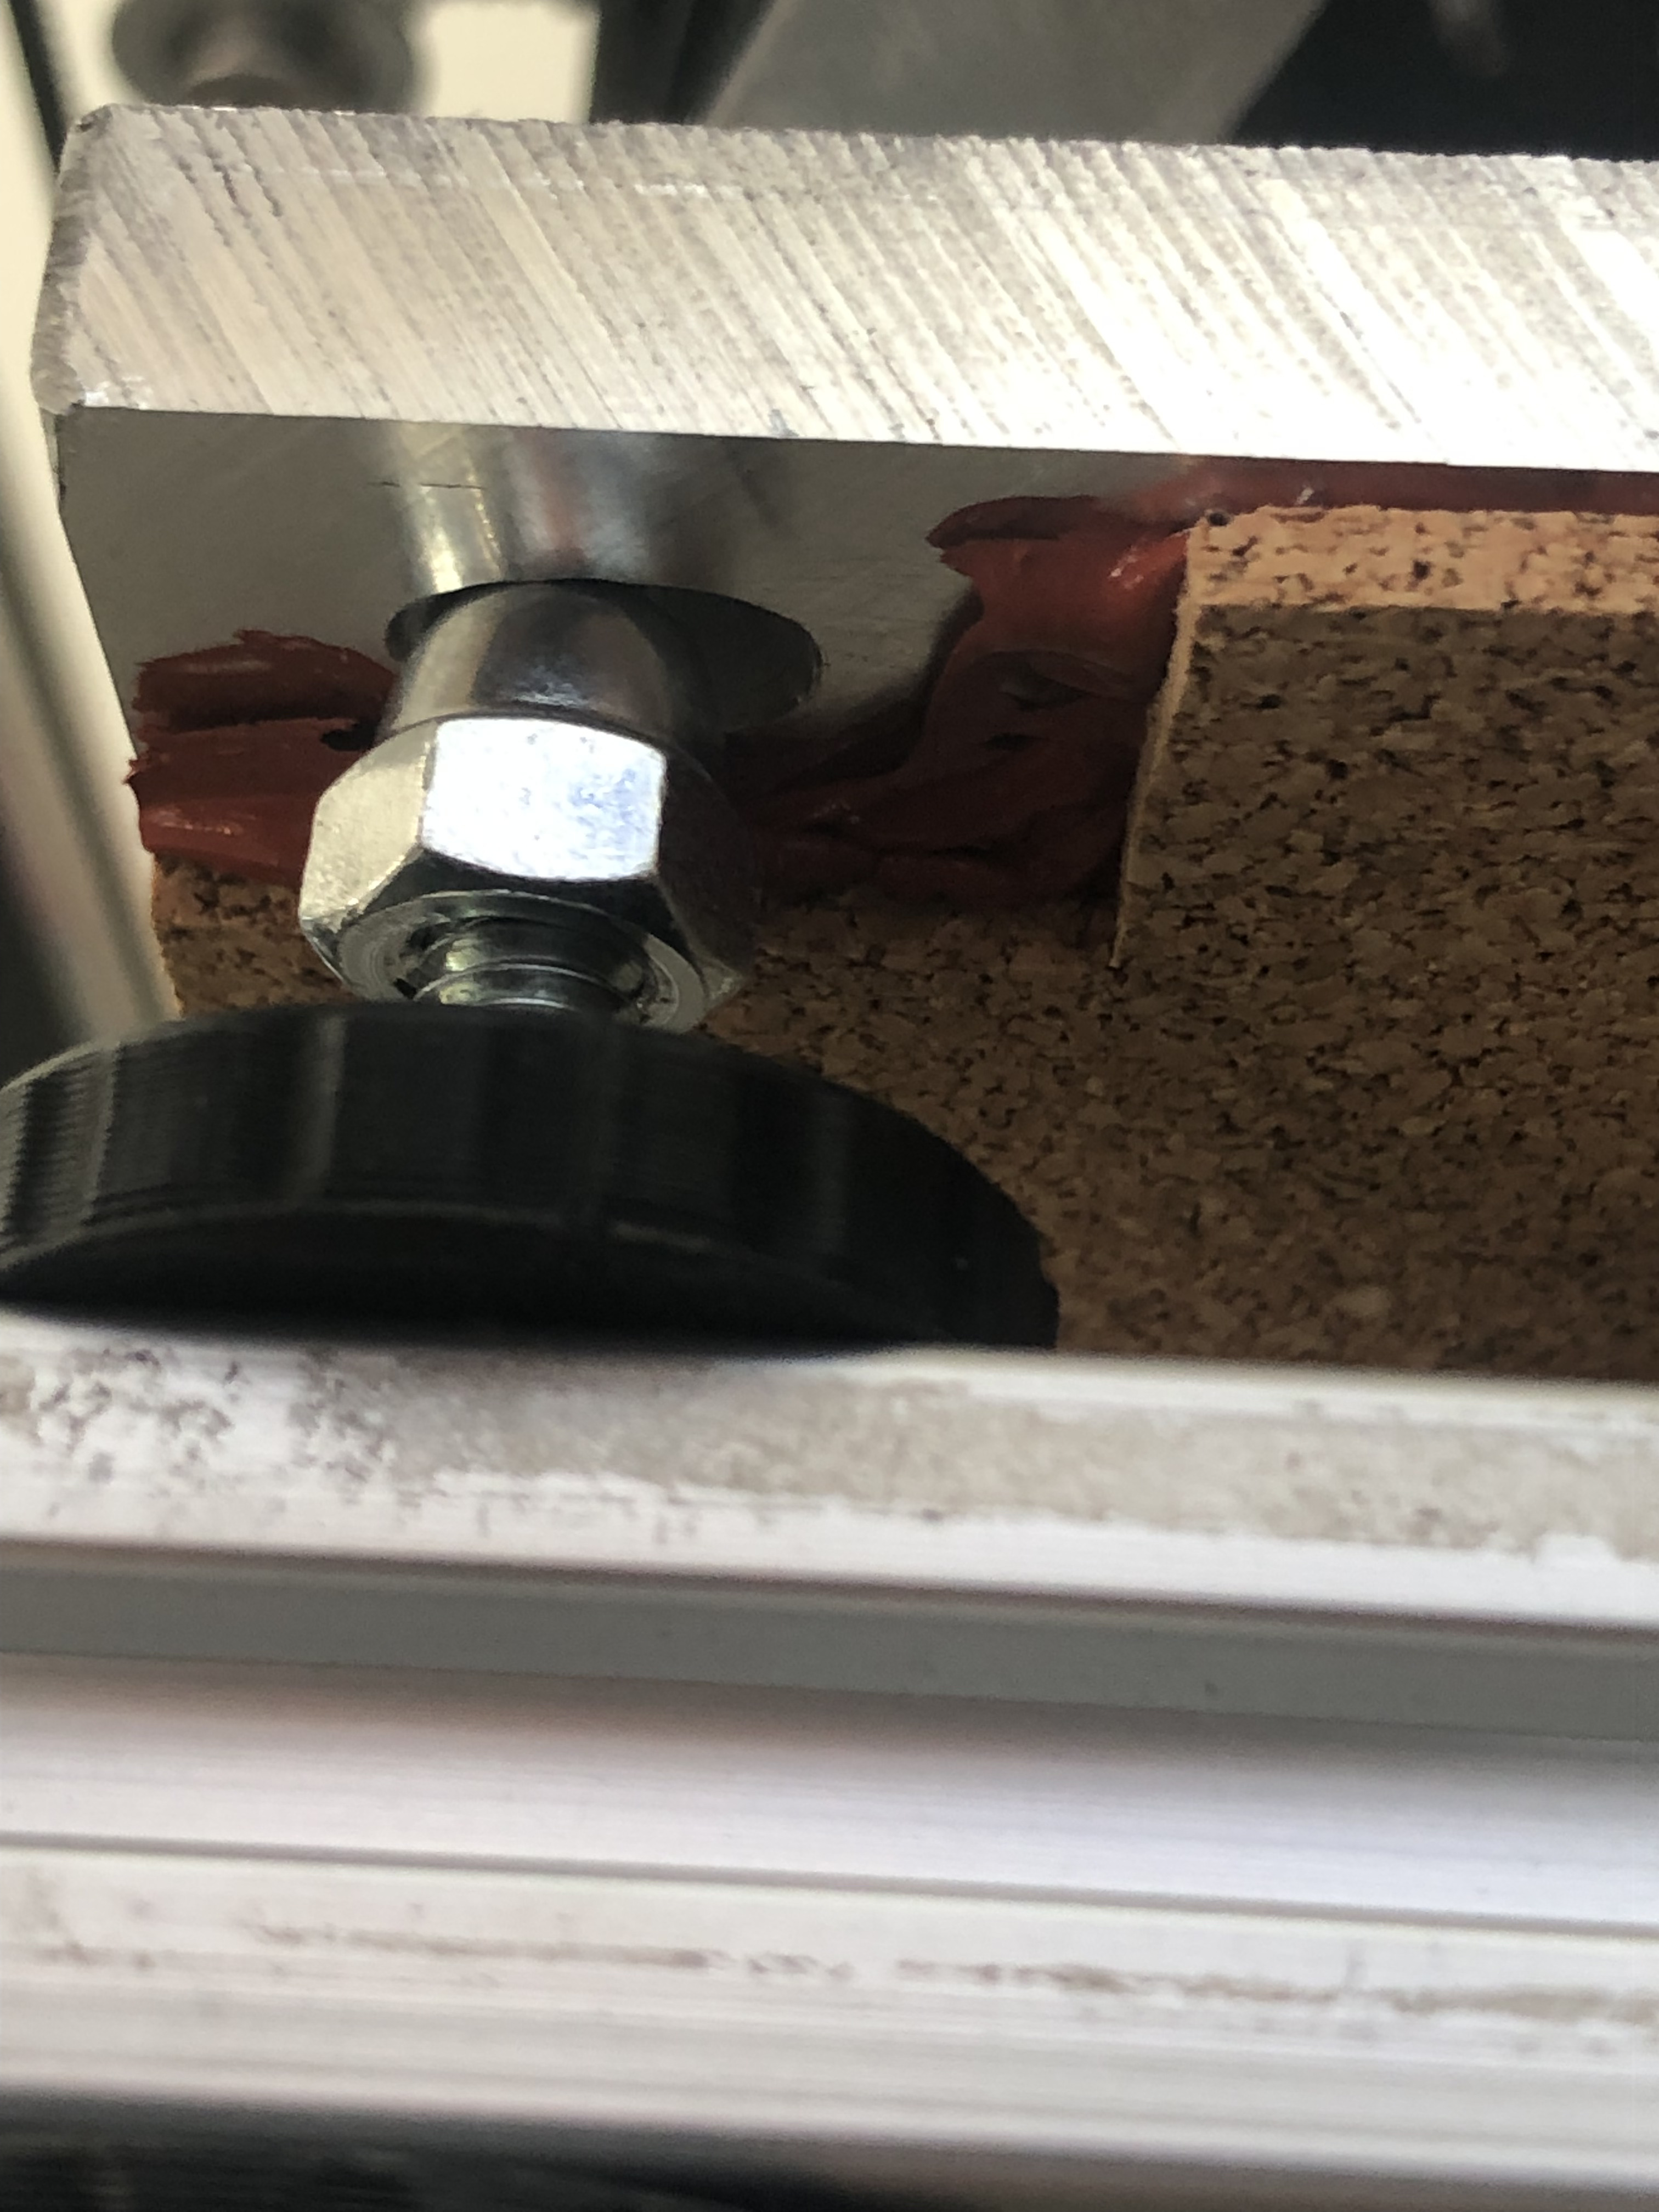
I used a 3 point mounting setup similar to Mark Rehorst from his blog. I works fine but i’ve found the weight of the plate throws things a little wonky, and the UBL tuning shows me that I didn’t get the single mounting screw dead center on the edge of the plate and so one side corner of the plate dips and the other elevates. I’ll probably just switch to 4 point leveling since i’m using the UBL anyway. The plate is driven with a 750W AC powered silicone heater. I have a 25A relay driving it from mains power, wired in series to a fuse and a thermal cutoff that’s glued to the heater pad for safety. Speaking of, I still need to add ground wire from the bed to the frame in the event that the bed somehow burns out and shorts AC to it.
I’ll have to wait until Rpi4 are back in stock to get the camera wired up. The Rpi2 can’t quite hang with Octoklipper when I print straight from Octoprint. I end up printing from the SD card, to avoid the processing delays which were resulting in print hesitation and blobs from filament leaking out the hotend while it was thinking about it’s next move. Printing from SD with M23 and M24 commands is working fine.
I still need to move it to a final workspace and put the RPI screen on the front. Once I get it away from the clutter of that work table, I’m sure it will feel more “complete”.
I’m sure there’s other stuff I would love to talk about but overall I just want to say thanks to Stewart for such a brilliant design!