Hello all,
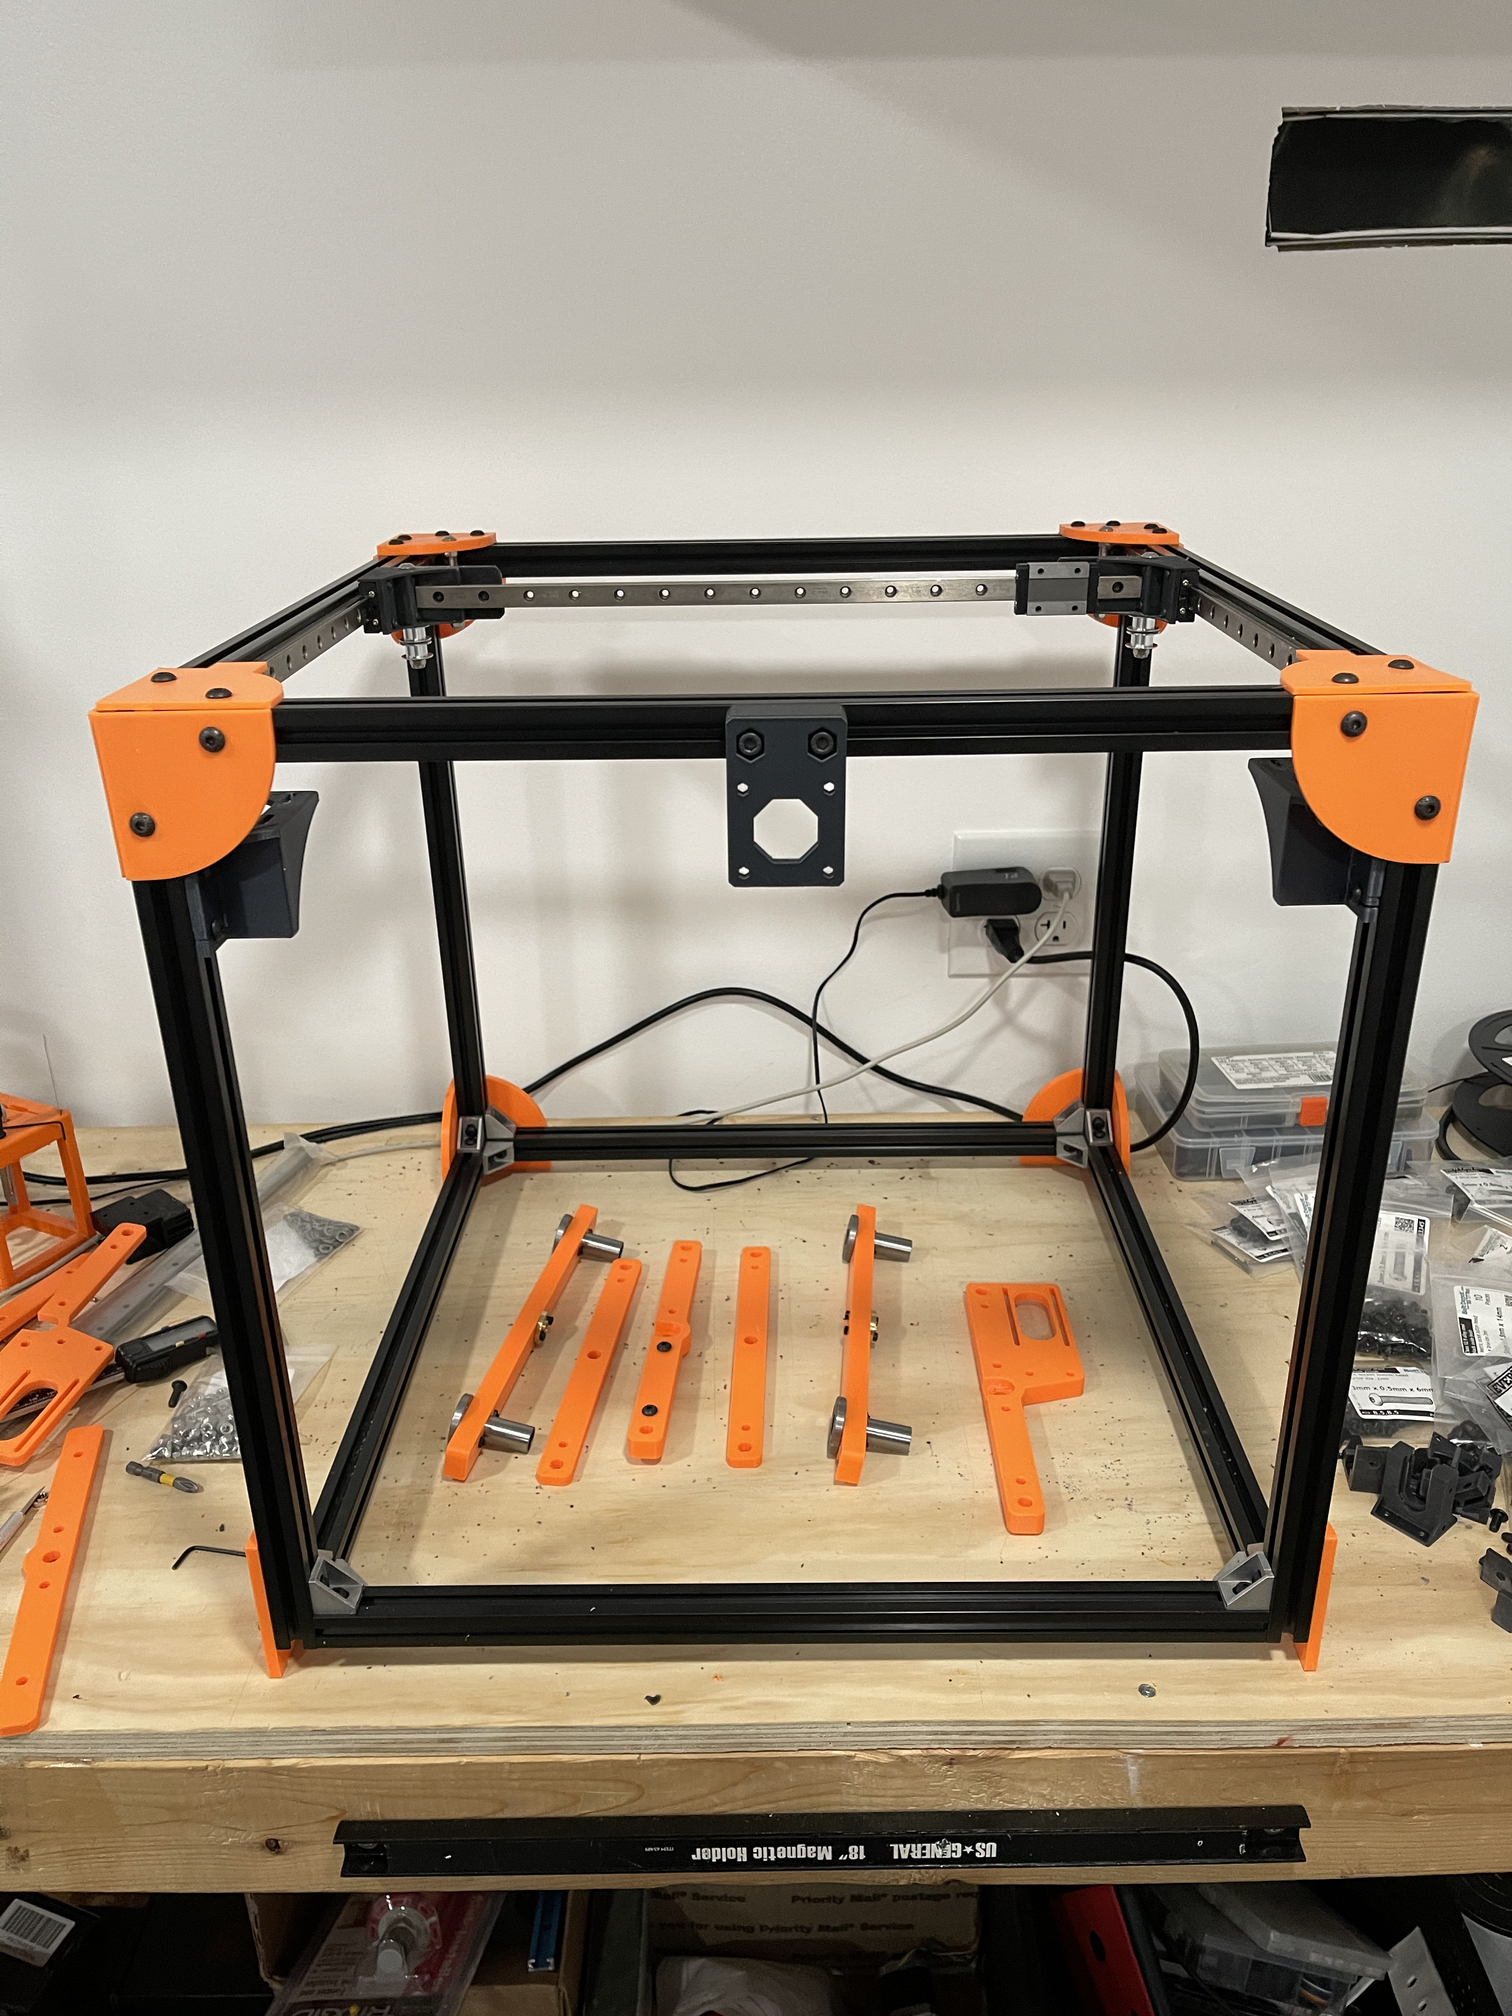
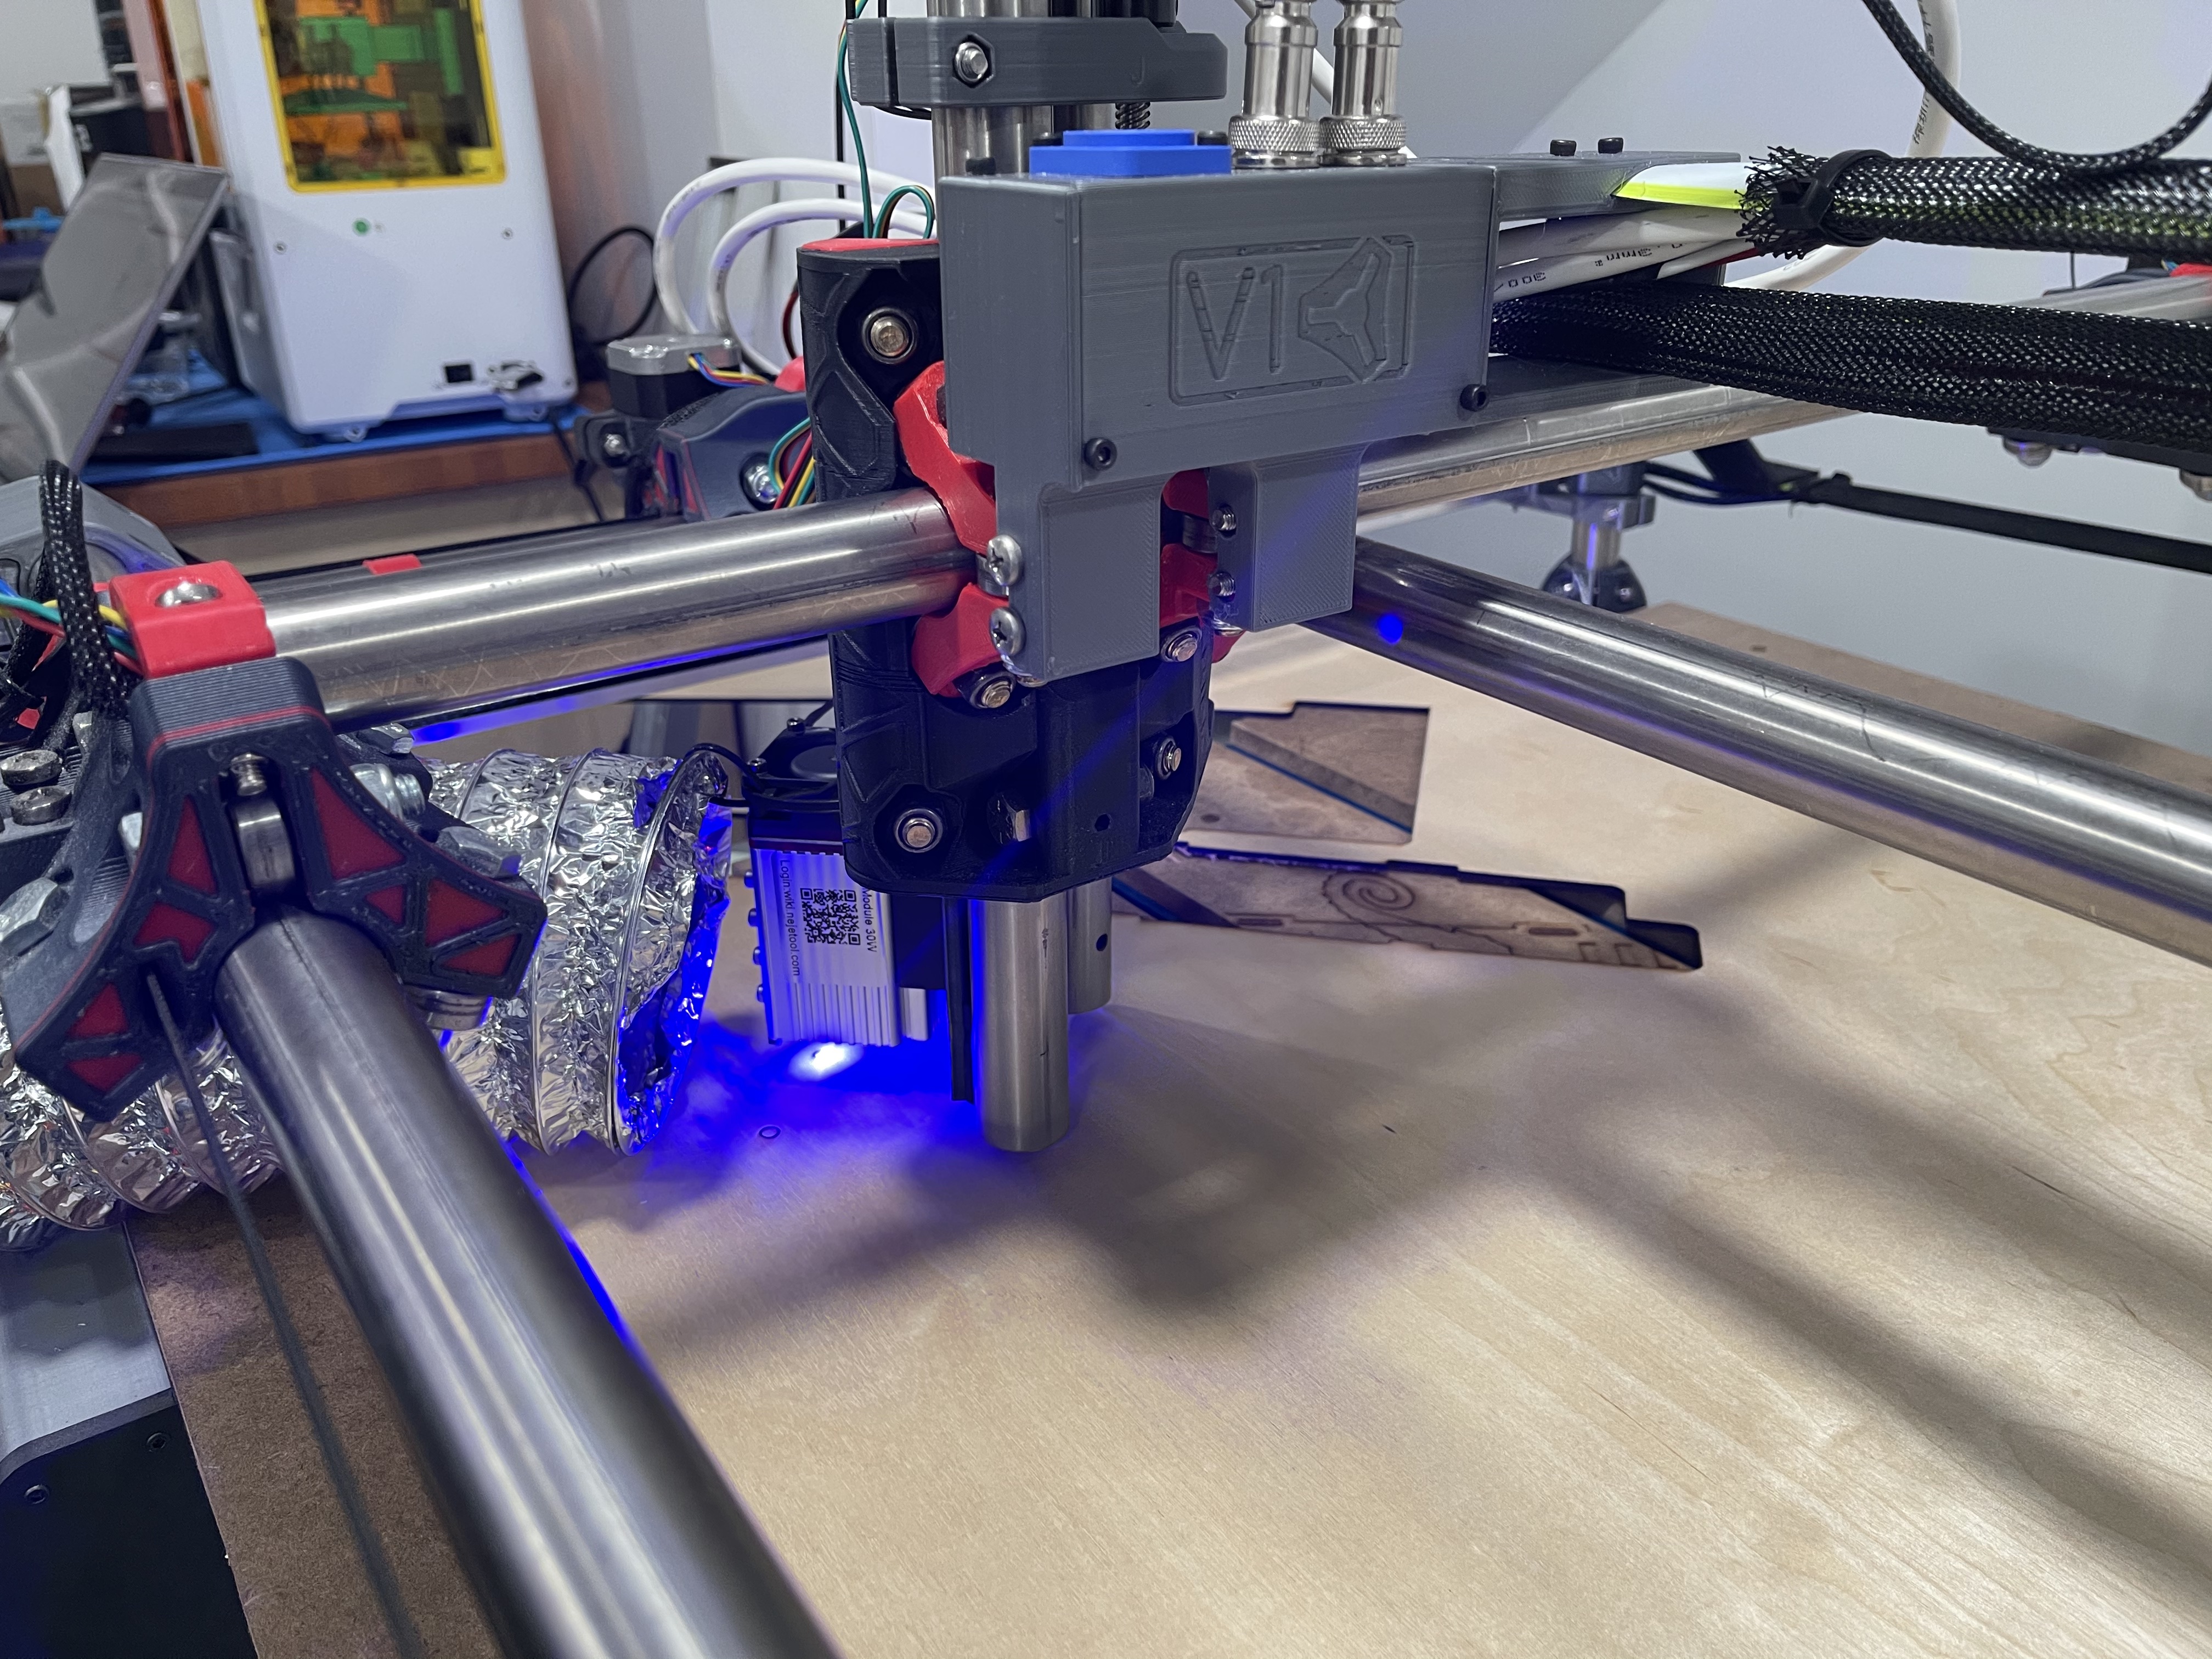
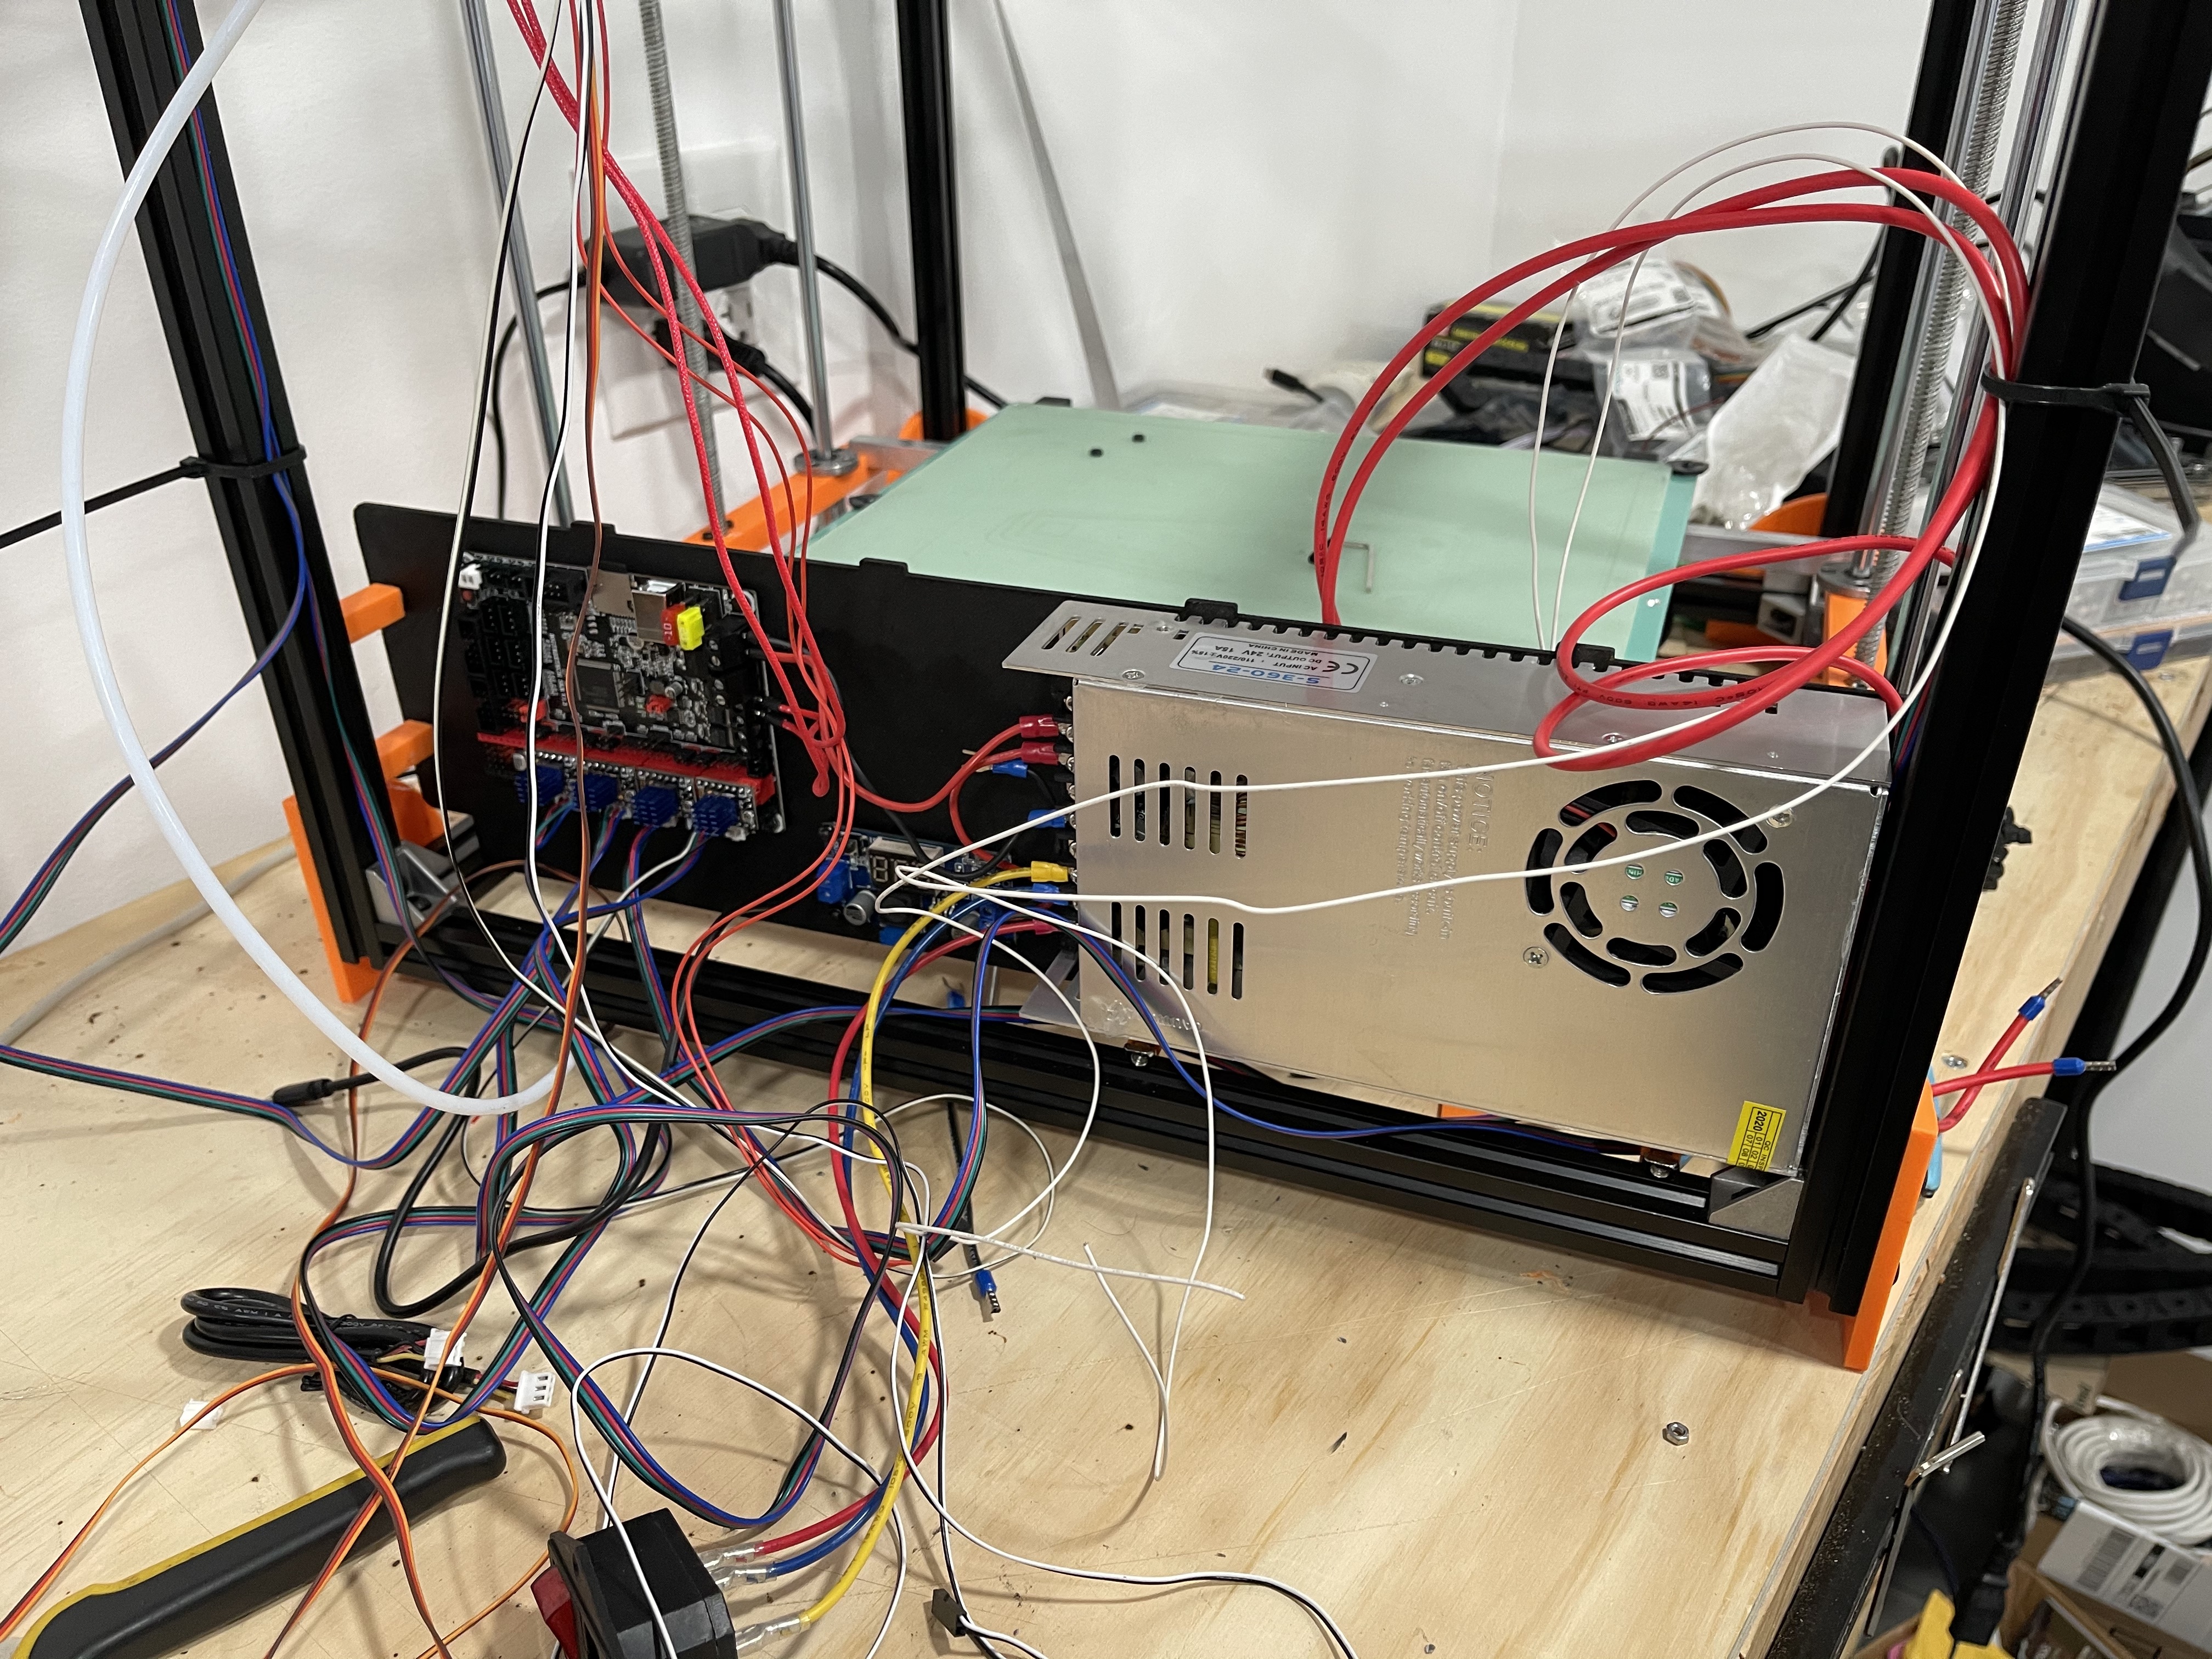
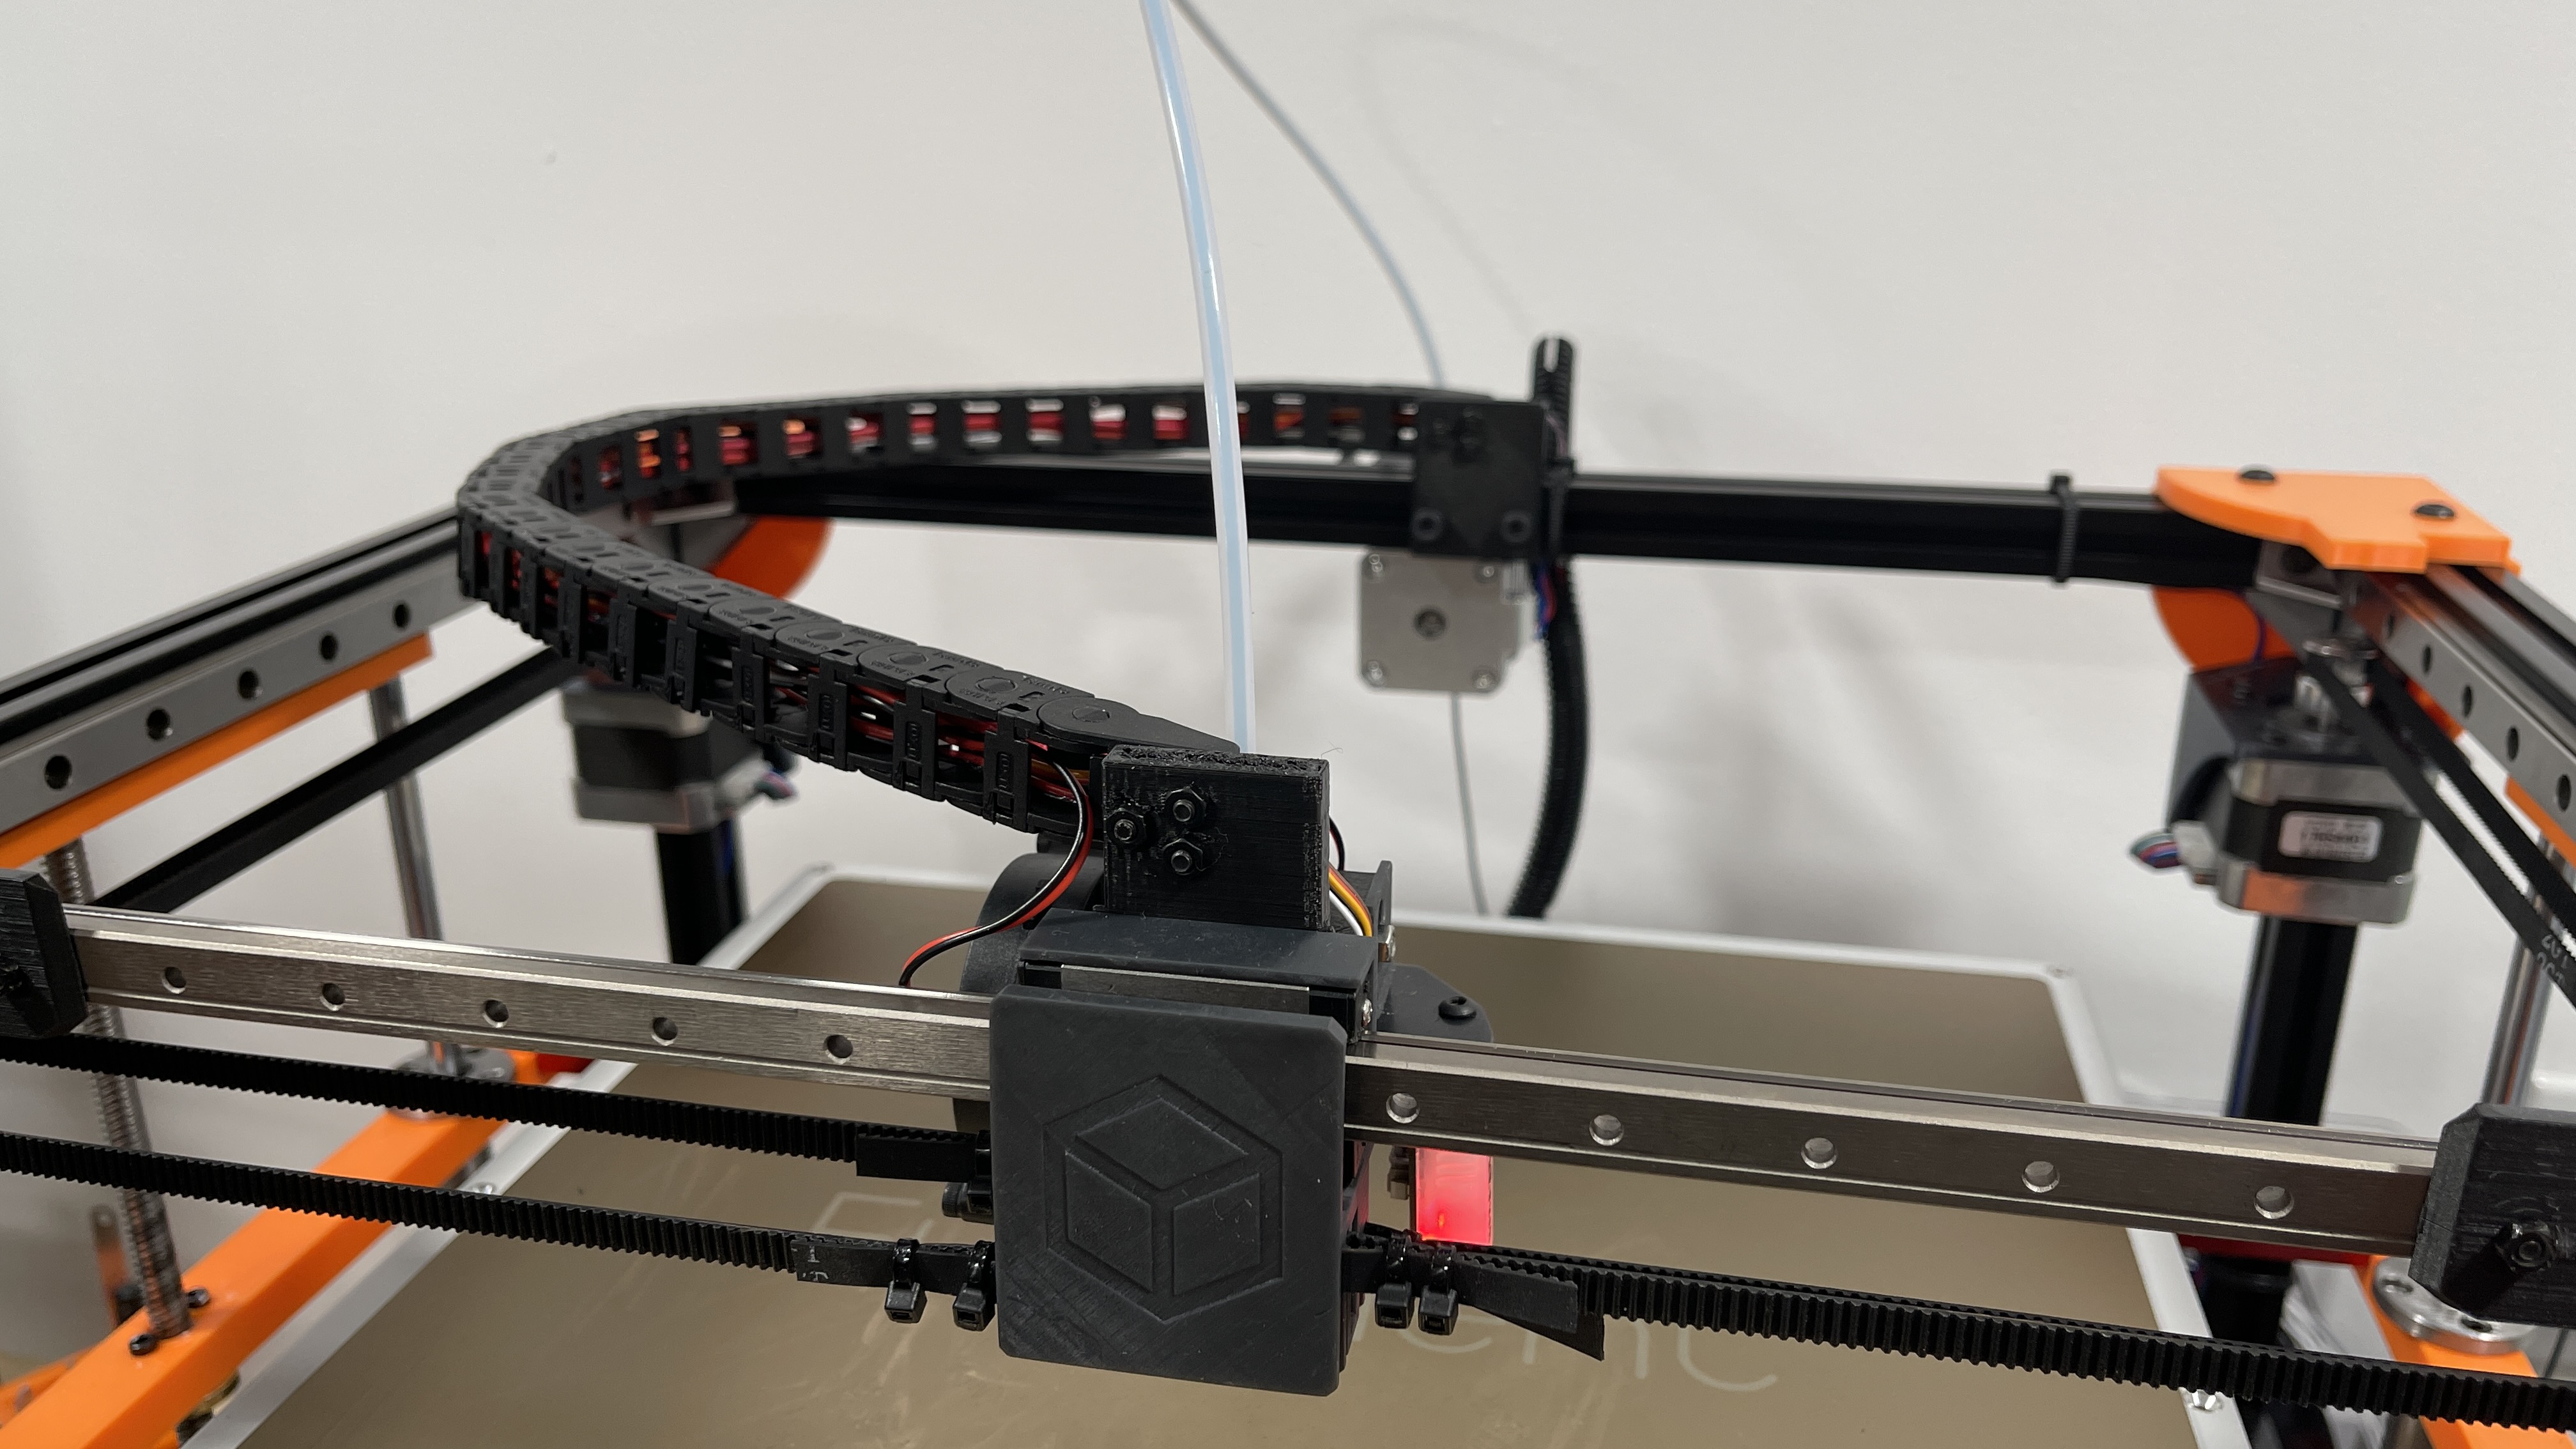
I finally finished my build, well almost , Did some modifications and some of the prototype parts still in place, I just need to reprint the final parts with better infill and more shell count, some parts will printed with CF PLA and some resin.
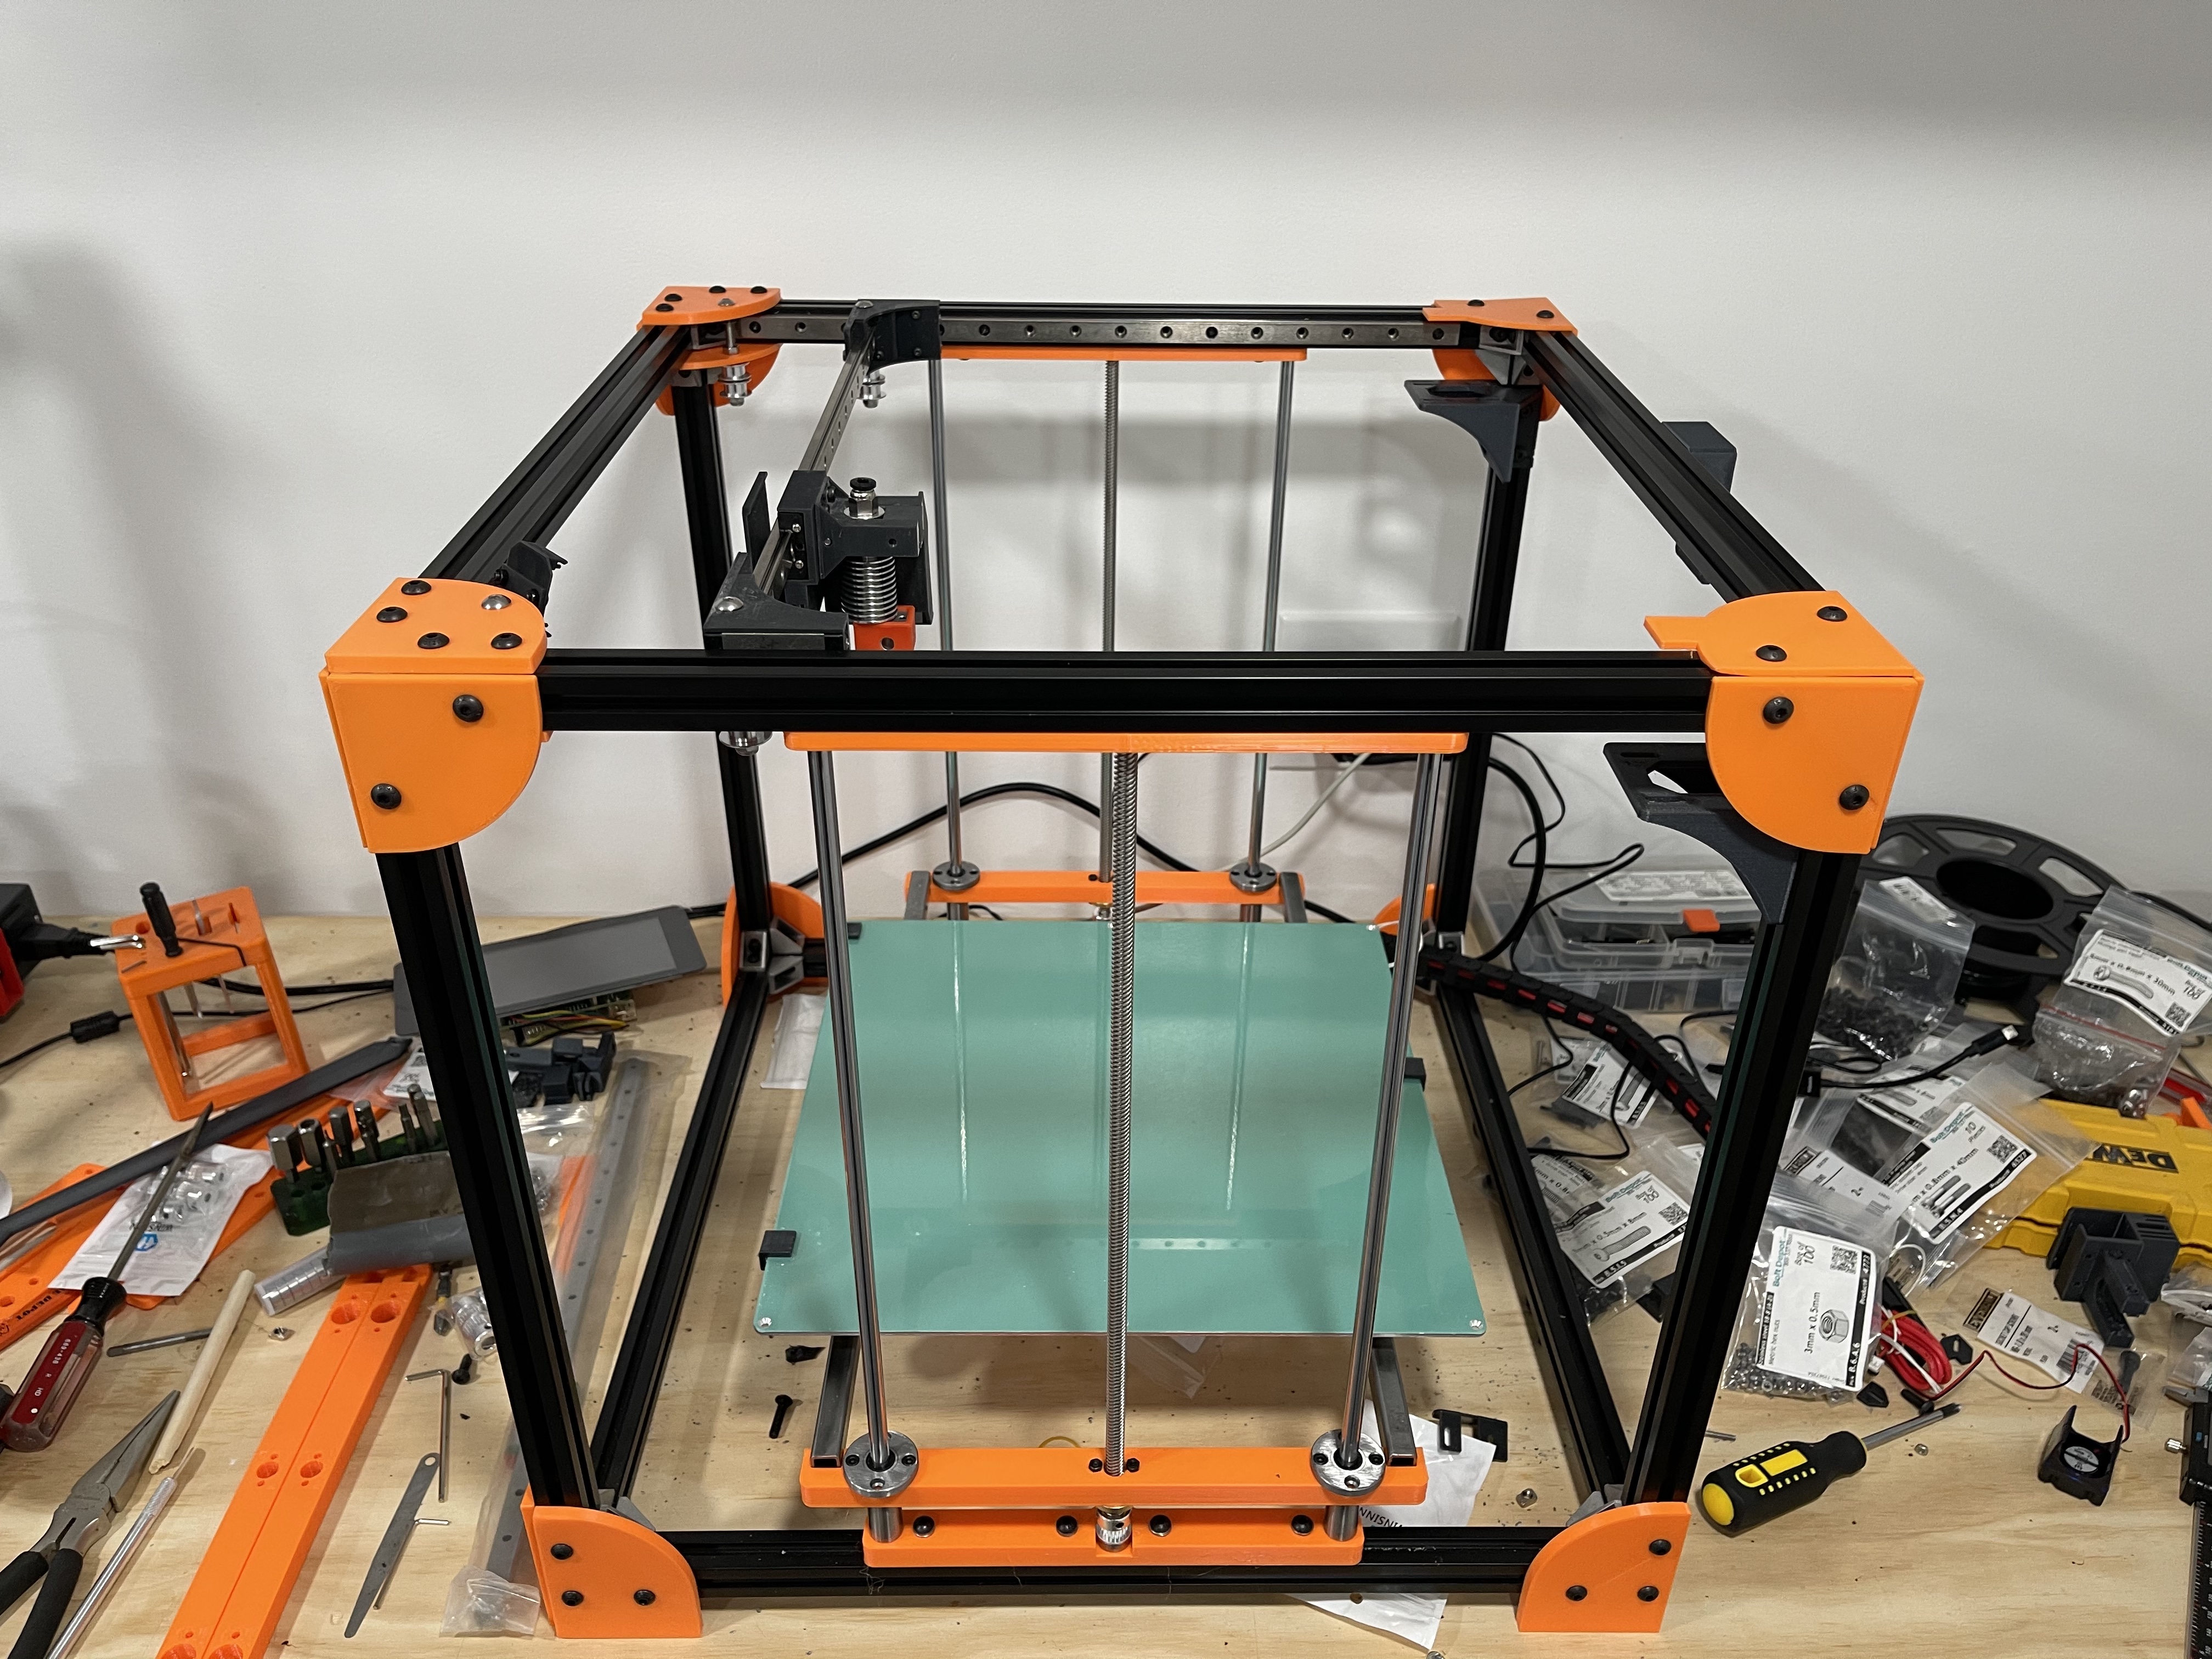
Here are some pictures of the build.
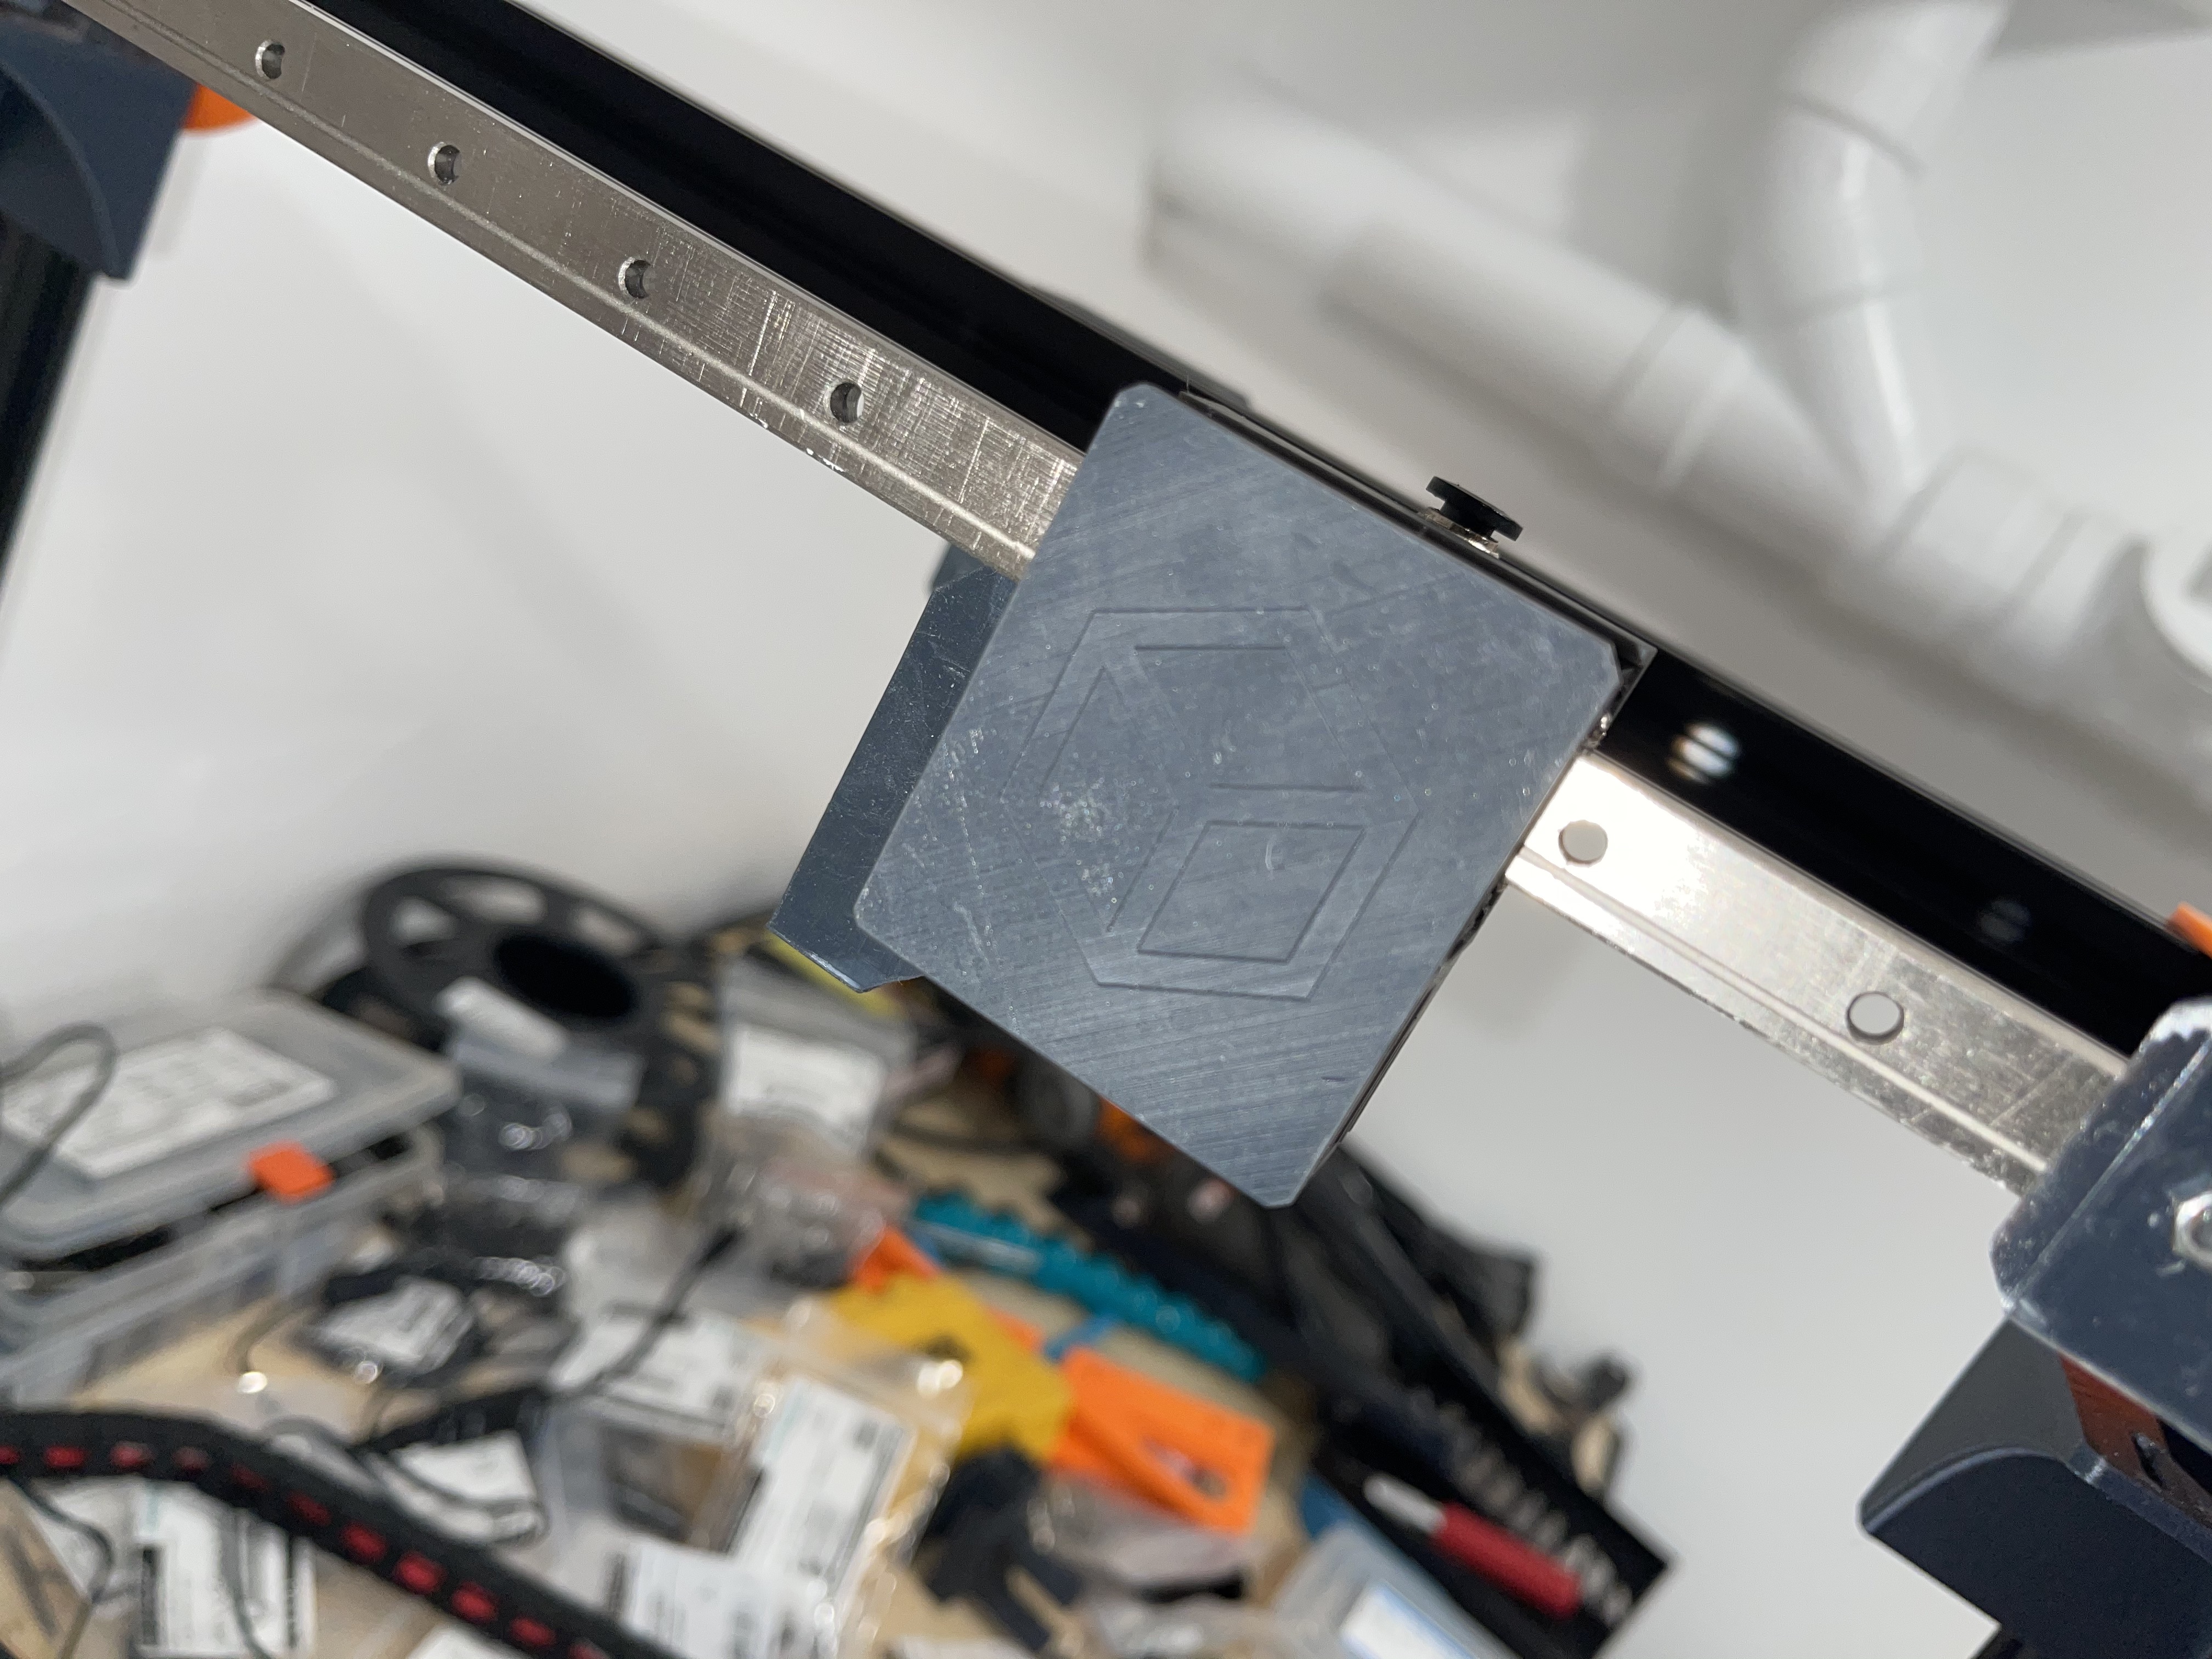
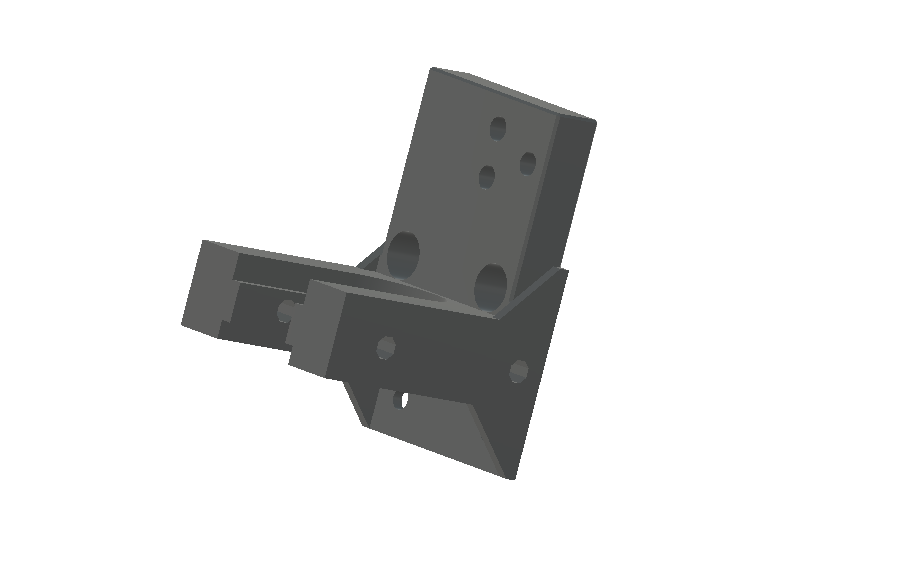
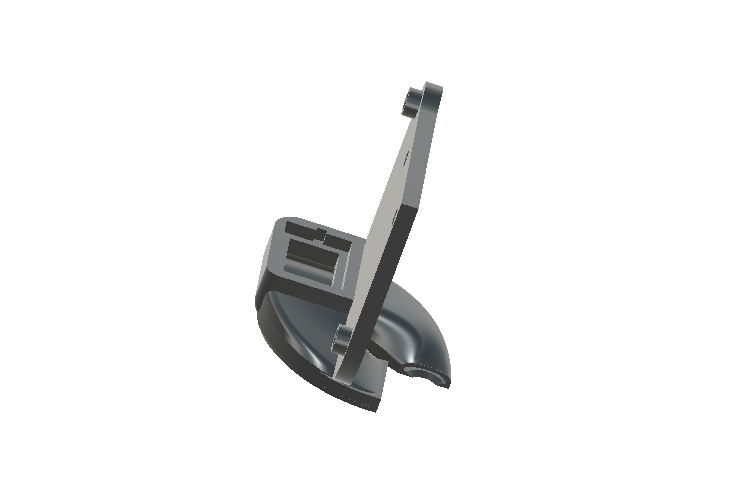
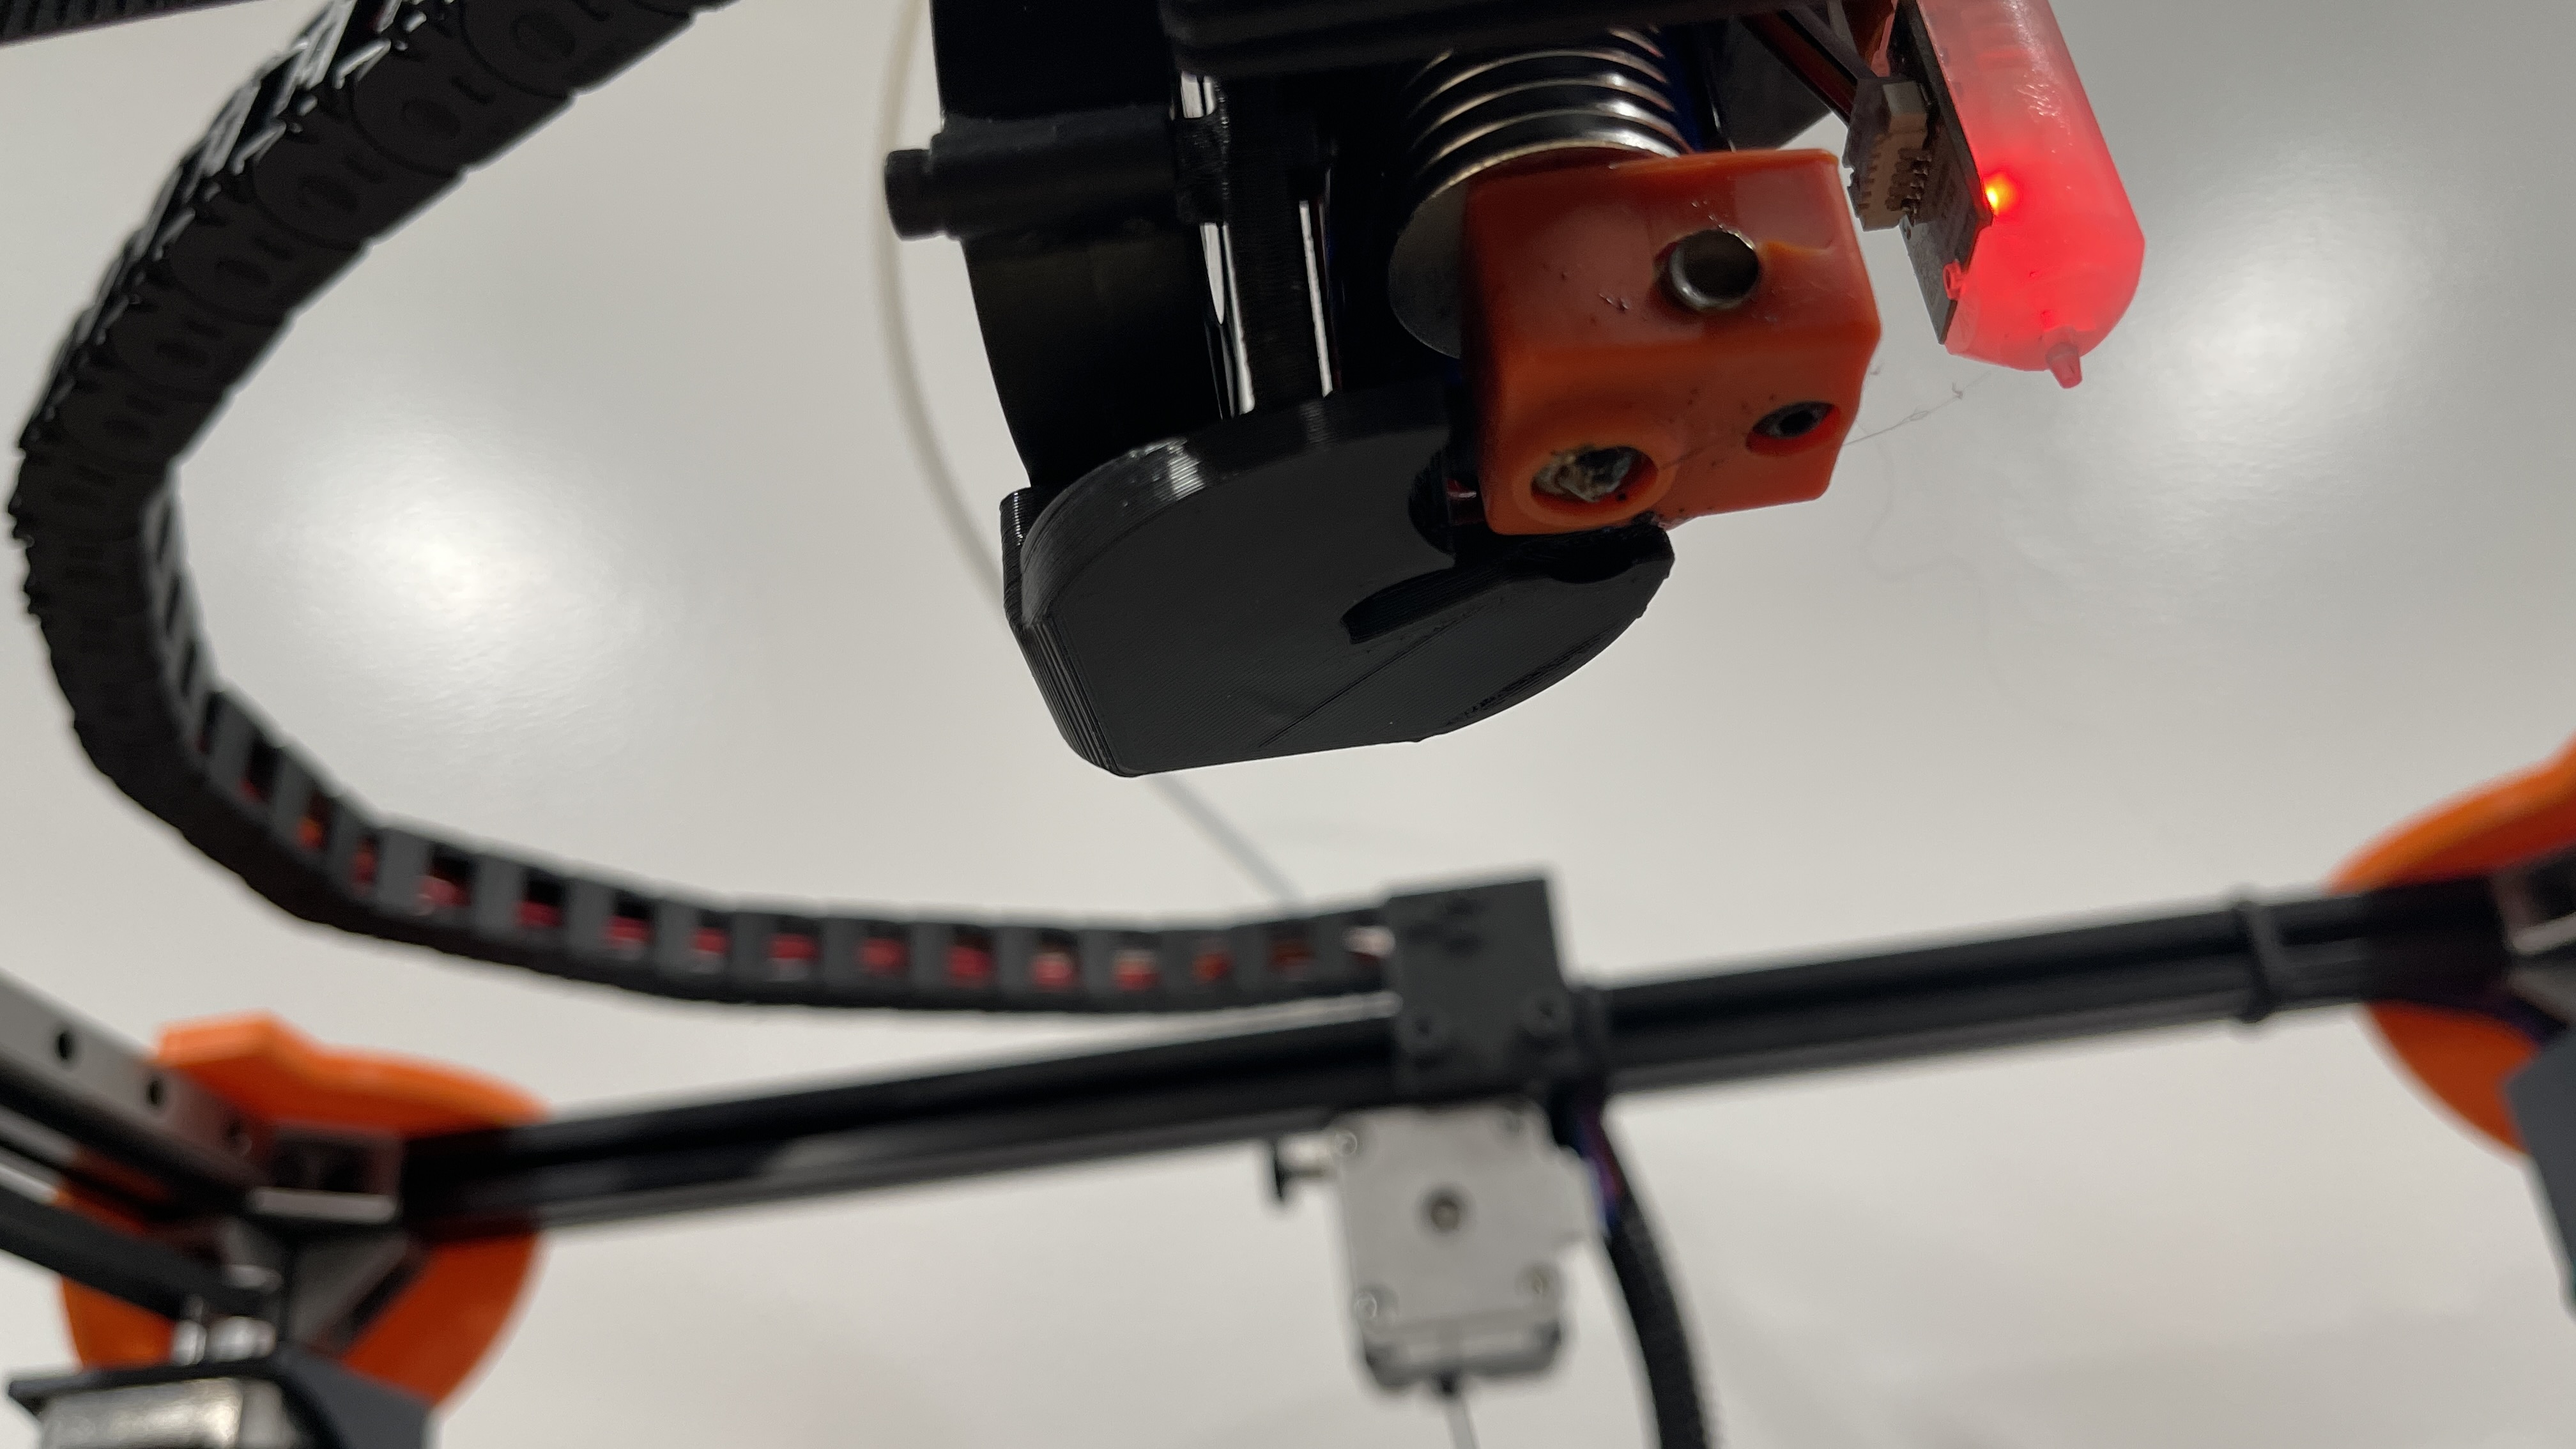
Then I modified the Hotend Fork and the fan duct, sorry I didn’t take pictures of the parts before I installed, I will edit this post once I print the final parts ( those are the prototype parts) but here is a screen shot of the cad to give you an idea.
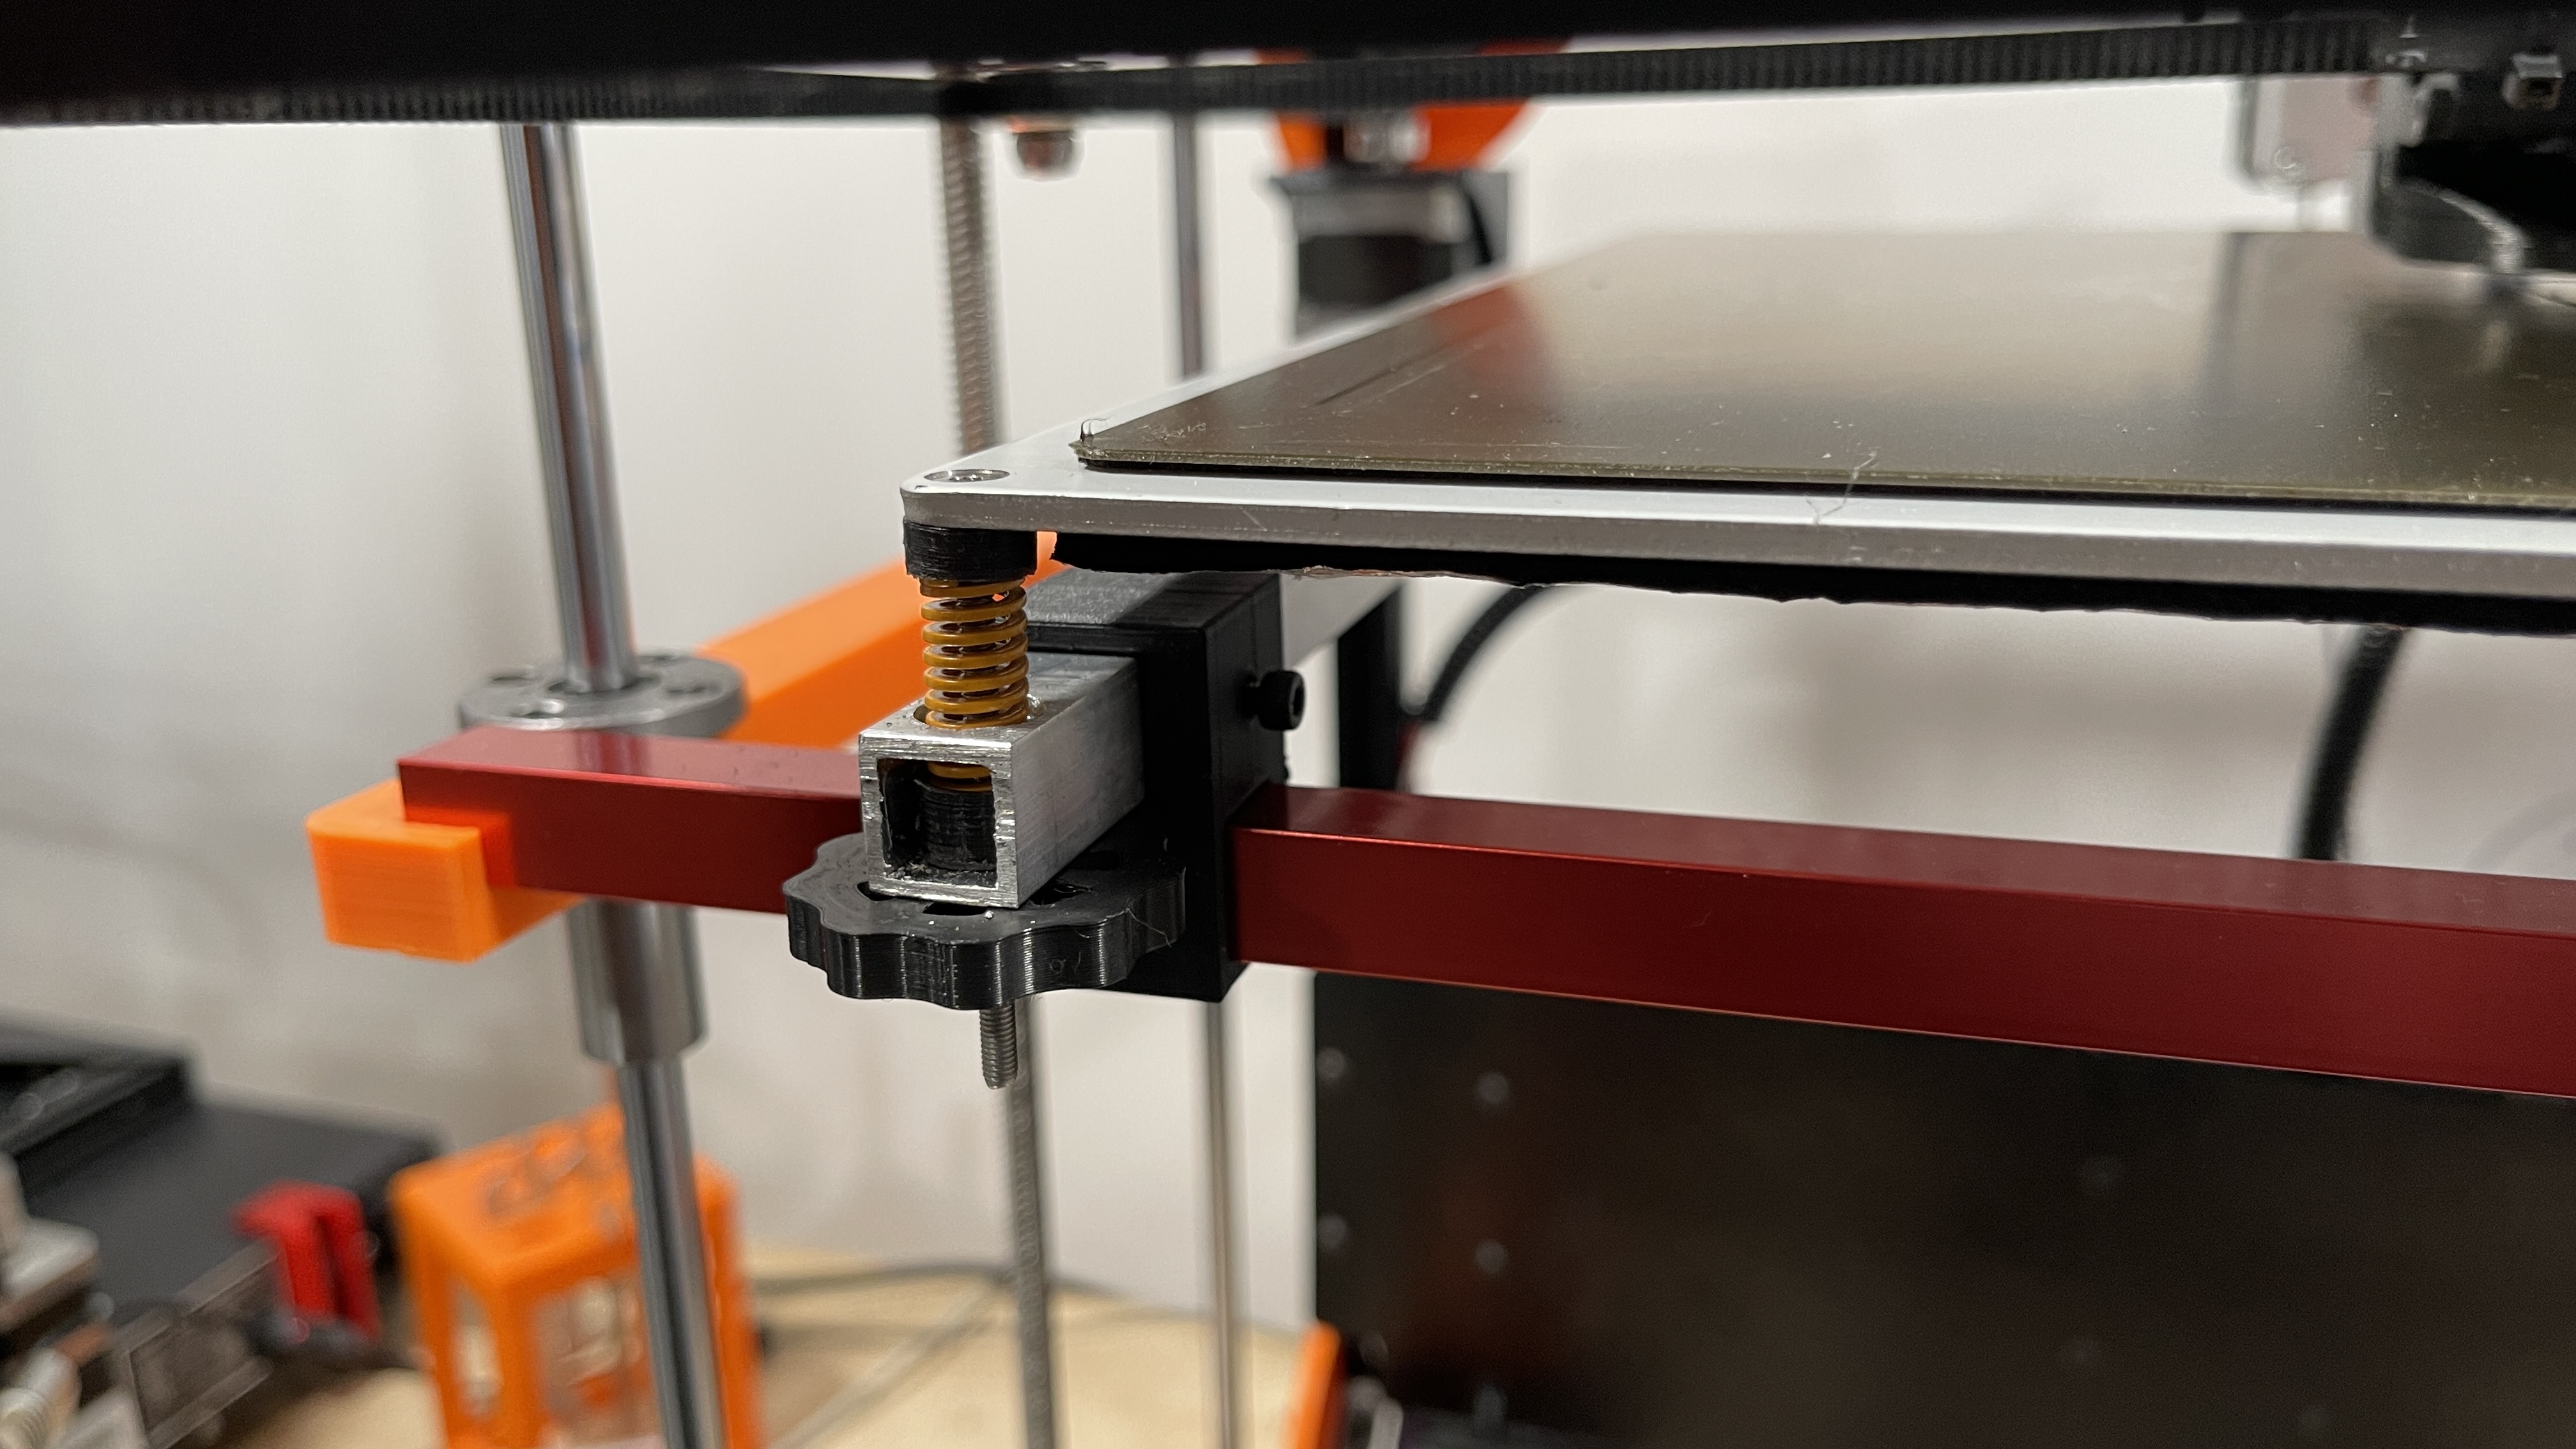
And I had a really hard time leveling the bed with only points, so I decided to change to a fix mounted bed with 4 corners screws for leveling and that fix the problem.
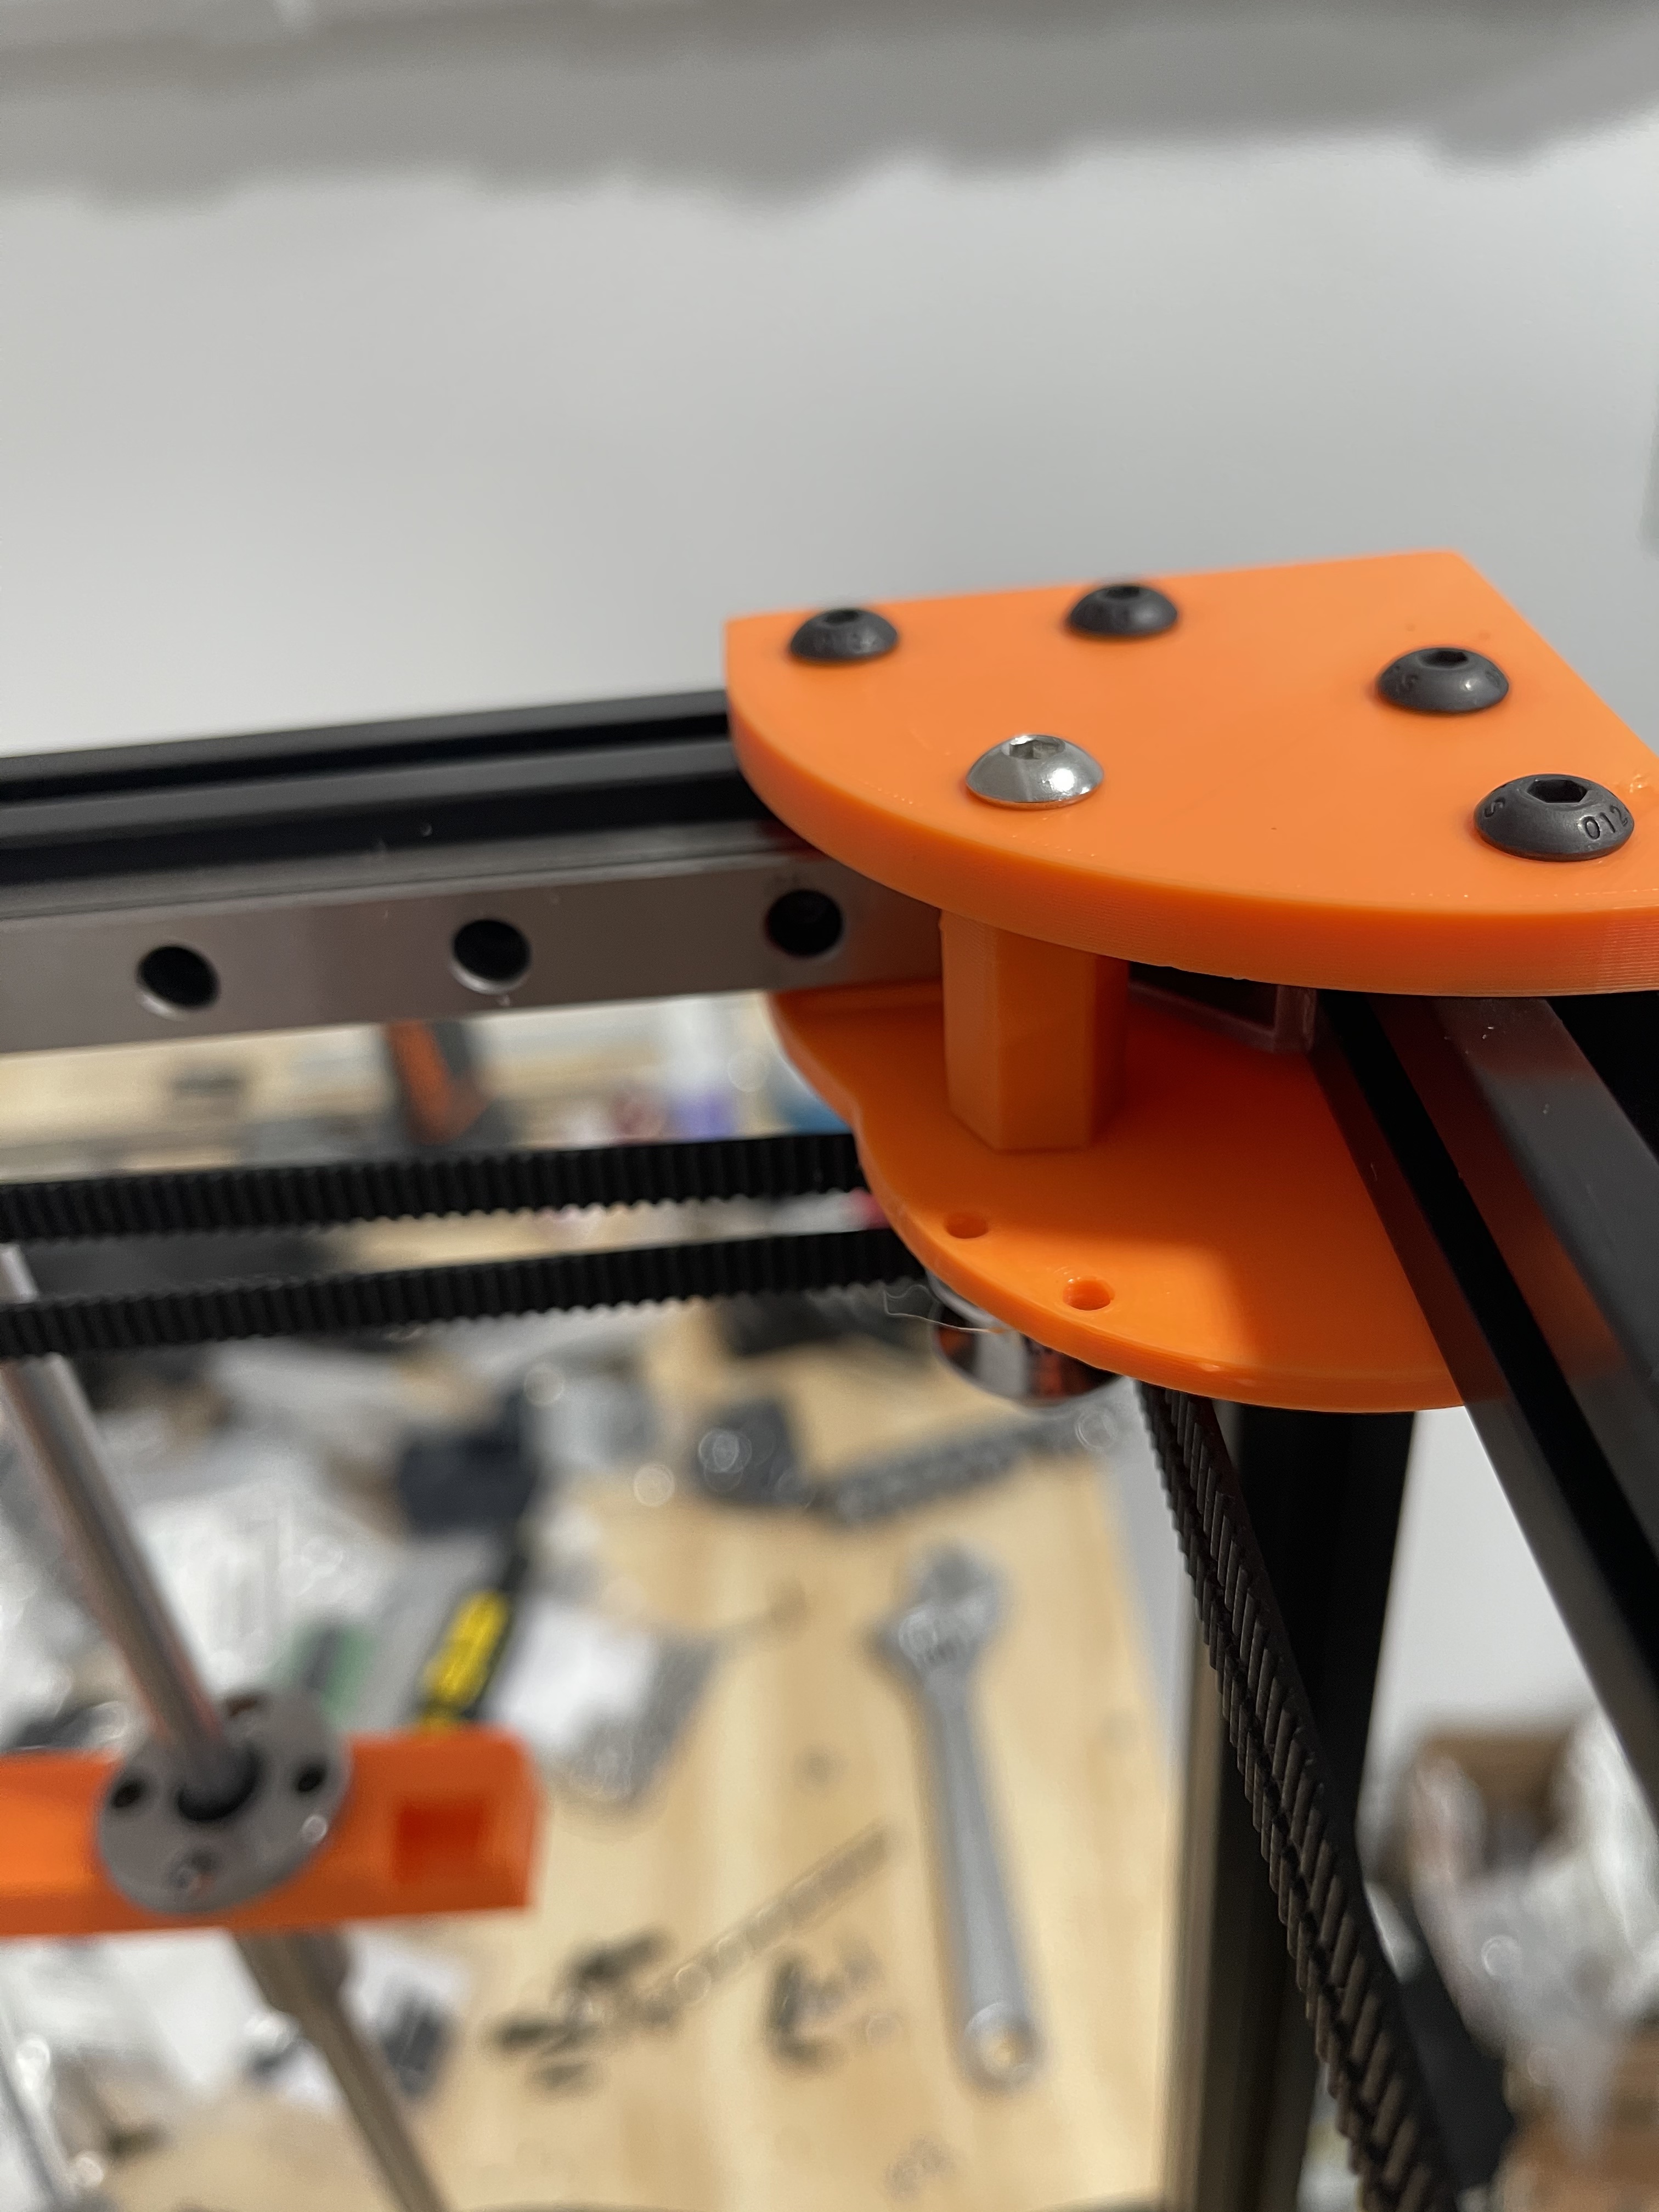
I like that the XY motors are flipped too. I have bulky corner brackets, so my motors are very low, with the pulley very far out from the motor. 2.5 looks pretty good.
Thanks @jeffeb3, You inspired me to build this printer, I followed your building thread from the day you started. I didn’t do much of a good job documenting my build as you did, just some pictures here and there.
The printer works great as is, now I install klipper but I’m having couple of problems:
BL-Touch, no matter what I do in the config file it only show as triggered.
and the other problem that I sure is also something very simple to fix is the Z-axis it is always energised and if I try a command to move, nothing happens.
Not sure if @stewart had any problems configuring klipper like I’m.
Once I have it figured out I will start printing parts to convert it into V2.5 , I already ordered the optical end-stops.
Thank you,
comparing your cfg with mine will be a plus and i will for sure end up learning something, but don’t go out of your way, I’m also out of town for Father’s day weekend and won’t be back until monday night.
I’m wrapping up a build of my own and love your drag chain implementation. Would you be up for sharing files for the modified hotend fork and the extrusion mount at the other end of the chain? It’d save me some time messing around with CAD.
 , Did some modifications and some of the prototype parts still in place, I just need to reprint the final parts with better infill and more shell count, some parts will printed with CF PLA and some resin.