I just got around to making a video about how I used new Kiri:Moto features to mill a double-sided bowl.

Enjoy
I just got around to making a video about how I used new Kiri:Moto features to mill a double-sided bowl.
Enjoy
I’m kind of stuck right now as I need a better dust collection shoe. I hope to get to that tomorrow. Since my CNC is in a carpeted office, I do have to be careful about dust collection. But I really want to do this and the spoon.
Frank Howarth did a good video on a 3D carving, although not really the same double sided challenge.
")
Cool video. Thanks for the link.
My mill is also in a carpeted room. Dust collection isn’t perfect, but good enough that it doesn’t really leave the table. I cut a couple of pieces of coroplast that I clip to the sides of the table that keep all the escaping low chips from leaving the table bounds.
Hey Stewart, can I ask what happened to the lip of your bowl on the underside? looks like it flattened out in three areas
That’s an artifact of the rough contour finishing and insufficient step-down finishing on the outline. It’s a small bowl and it could have been better. However, this is also an area where contour finishing needs improvement. This shape highlights that shortcoming.
That turned out great. That is a lot of work done in 6.5mins. Impressive.
I am in the process of learning about CNC and all the software necessary to make things happen. I have settled for Design Spark as the CAD software I will be using as it is very easy to use with powerful features for being free. I’ve used Fusion 360 for CAD and CAM but don’t really like the workflow of the CAD and the CAM has way too many options for a beginner. I just found the Kiri:Moto on a YouTube video and was blown away by its ease of use. I will be using a CNC to build instruments and so far the hardest part to build and cut is the neck. Could someone create a video of how they would go about slicing a guitar neck. I am trying to figure it out but the order of the path I am getting are weird. It begins cutting some top curves then it starts to cut the part contours from the bottom to the top, instead of starting to cut from the top. I will try to upload a sample stl. Thank you.
Hi @robles1999, and welcome! I’m looking at your part now. In playing around with some settings, it looks like there is a bug if you select “inside only” on roughing with this STL in certain orientations. I’m not sure if that’s what you’re seeing.
However, I’m working up some settings that you can test. I will see if I can post a video later showing what I’m doing and proposing a few options.
Wow!! That was fast. Thank you for looking into this. I am really excited about the possibility of using this software for all my CAM work. I was going to pull the trigger on MeshCam but I think kiri:Moto might be able to handle the job.
One suggestion I’d like to make is to have the ability to select parts of the geometry to create gcode for just that portion of the part.
Selection could be like those of MeshCam.
Thank you so much for your help.
Geometry / region selection and much more are on my TODO list.
I’ve completed the video and it’s uploading to YouTube now. It’s about 10 minutes long, so I expect it’ll take a couple of hours to process. When it’s done (or tomorrow morning), I’ll start a new post to discuss it and tag you so you’re notified. But the short version is: this should work out well.
Great. I am going to watch it first thing in the morning. Thank you!!
Thank you for taking the time to make the video and explain how you would go about slicing the neck. After watching it a couple of times and trying it out my self, I see where this tool is all I am going to need going forward. I am really happy I came across this tool and I believe it will be a game changer soon in the CNC CAM arena.
With that being said, here are a few item I would greatly appreciate you looking over.
In the video you started with the back of the neck where most of the contours are. I would need to start with the top side as when carving the back side the carving needs to go through the entire stock to capture the entire contour. If you carve the back first and only go down halfway through the stock, when you flip the part you aren’t able to capture the entire contour of the back.
I am probably not looking at the preview correctly and I am getting confused with the order in which the part will be cut. In the sliding bar at the bottom I can see the bar going from 0 - (a higher #). If I move the bar to 0 (where I think the first cut is to happen) the tool path is where the last toolpath should be. It seems like the preview is in FDM mode where is building a part (additive mode) rather than CNC mode (subtractive mode).
Suggestion: After viewing older versions of the Kiri:Moto, I think I like the right bar (settings panel) better the old way where you can see all the settings without having to hover over the settings to get to the parameters.
Suggestion: It would be beneficial to have a coordinate system on the bottom left where the corner of the CNC bed is to be able to see which way the part is facing in relation to the the CNC bed. Even an X Y line would be sufficient. Maybe you could add an “X” “Y” to the origin point? Or make the X line of the origin point RED and the Y line in Green?
Again, thank you!!
Great suggestions. The slice view shows what will be cut, but hasn’t done any path planning. Preview does the path planning. Since this tool uses a common base with FDM printing, perhaps this is not a useful intermediate step. But I often use it as a shortcut to play with settings before moving on to path planning.
Here’s the video link for those who haven’t found it:

I can’t wait to be able to get my longmill to be able to start trying things out. I am in the process of preparing a room in the garage for it so that I can keep the noise at a minimum which will allow me to do some work at night without bothering the family and the neighbors. A little over the top but I want to make it nice since I believe I will be spending a lot of time in there.  My water heater had a leak during this process and I had to pull out the flooring. I hope to have the room ready in a couple of weeks.
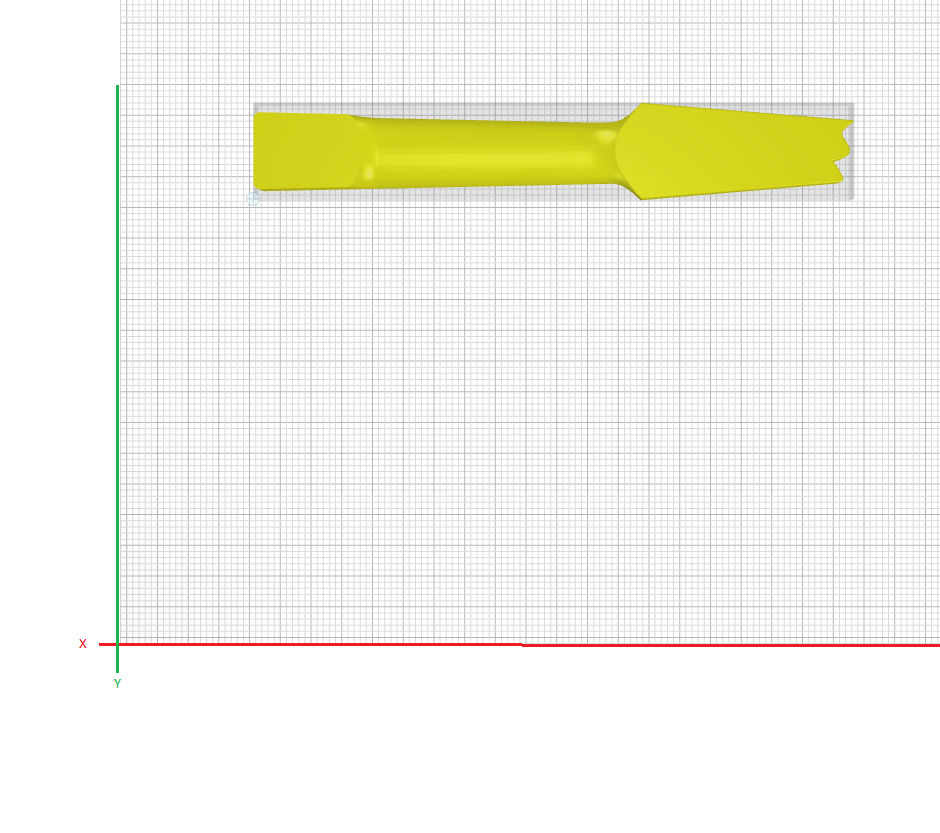
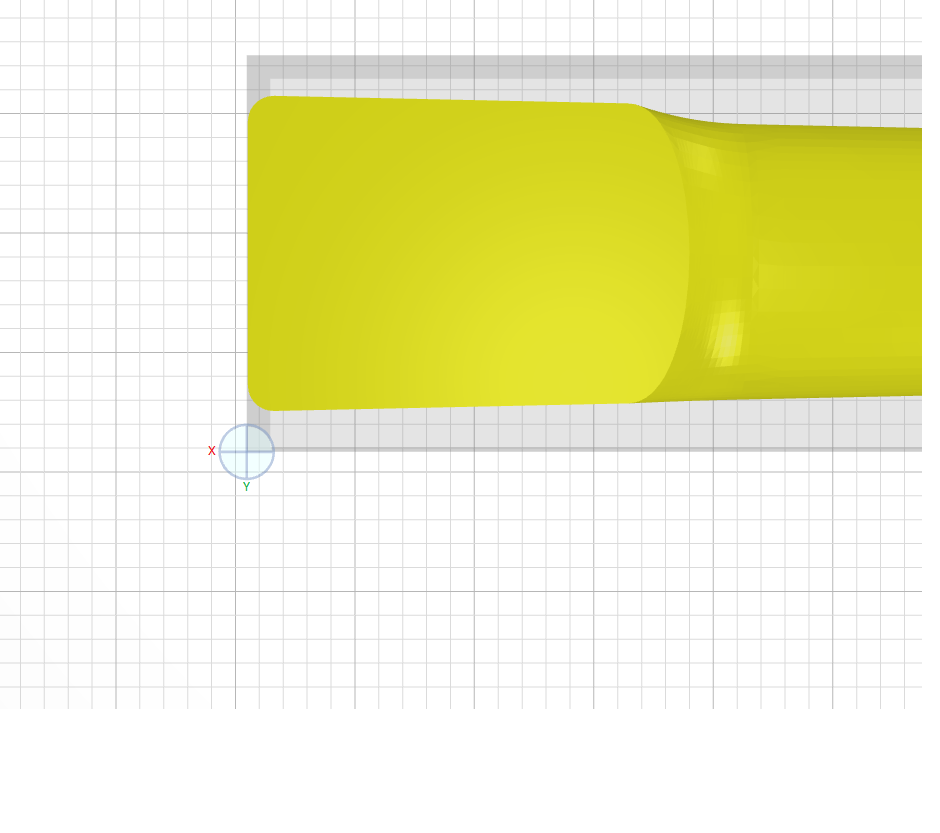
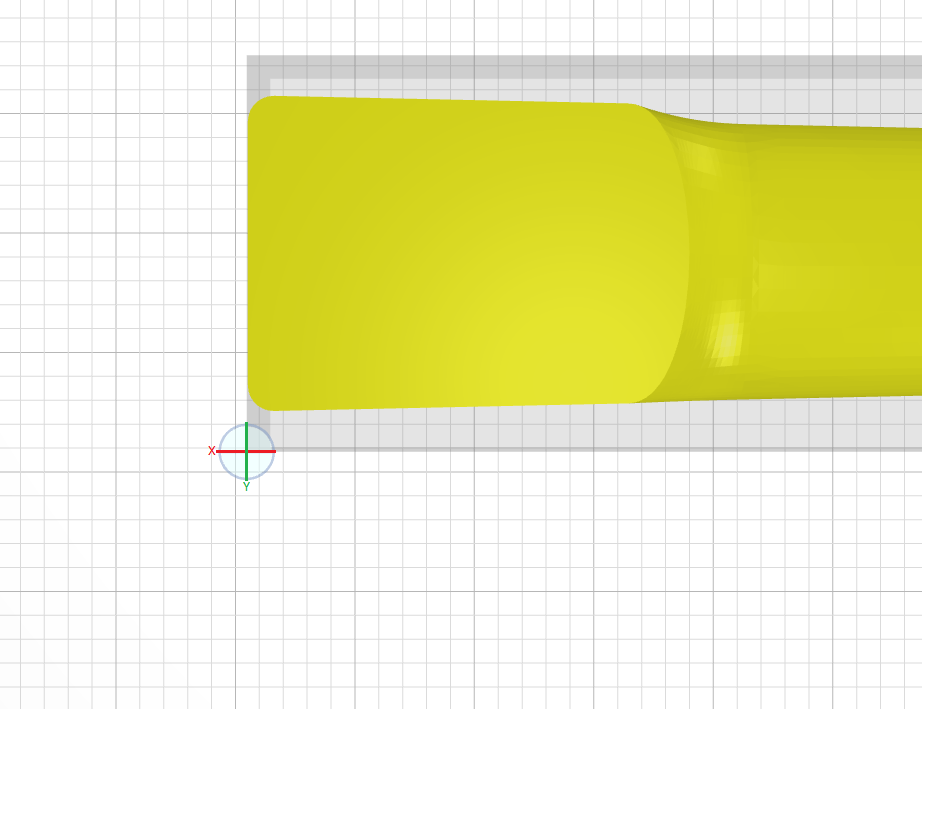
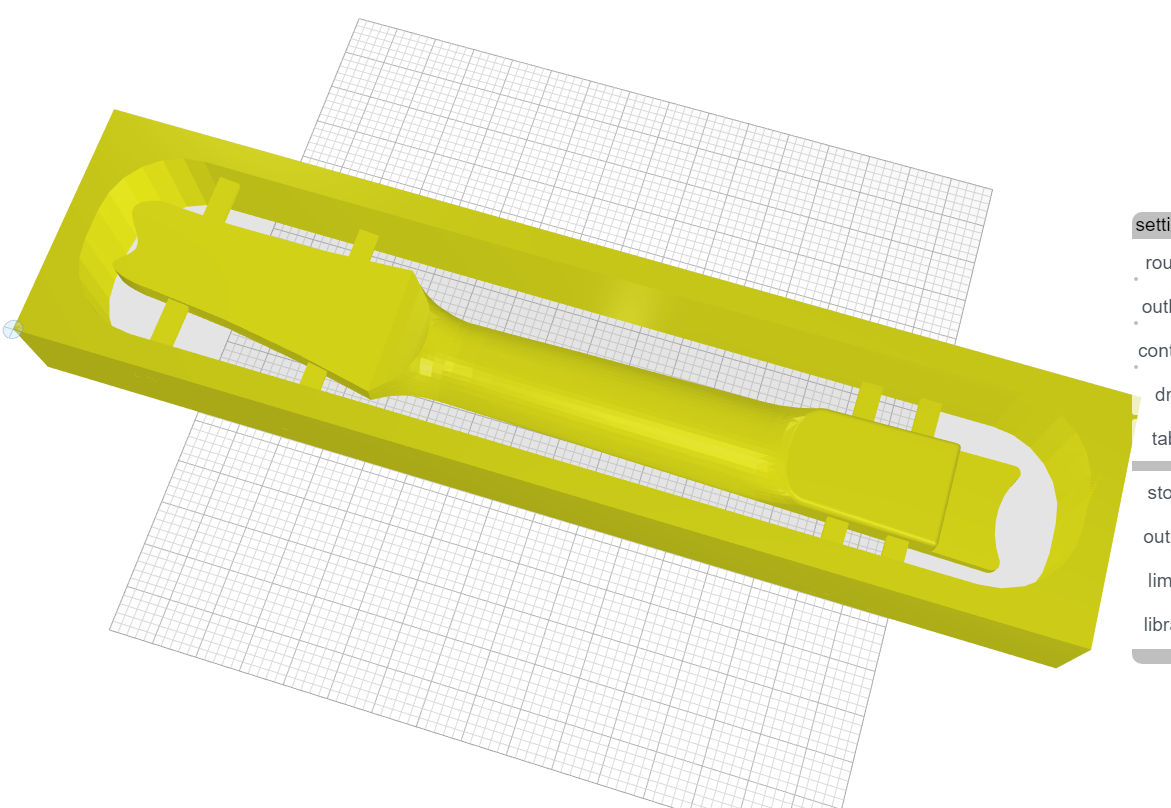
I just wanted to give an update just in case any luthier might find this thread. What I’ve come up with to facilitate the carving of the neck is add an outer shell to the neck design which includes tabs and will allow to flip the part and use screws to hold the part down instead of tape. A more efficient cut path can be obtained by making the outer shell to match more of the neck shape except on the areas where the screws will be placed.
if you disable “clear voids” under roughing, it may optimize the path between the shell and the neck better.
I’ll try that. Thank you!