thanks for the reminder. I’ll add it to the default devices.
Also add a 5 second dwell after spinning up the router.
Oh, and 4th axis and laser.
4th axis is available, you need to enable indexed mode, then you can set positions and lathe processes.
Laser I have not tried yet, but I did make it a dragcutter with a little dragknife holder I made for in the Carvera spindle ![]()
Thanks.
I’ve heard of drag cutting, but have never done it.
I do have the 4th axis for the Carvera Air, but haven’t gotten the laser unit - may not need it if the 4th axis can engrave the bells and barrels I’ll be making.
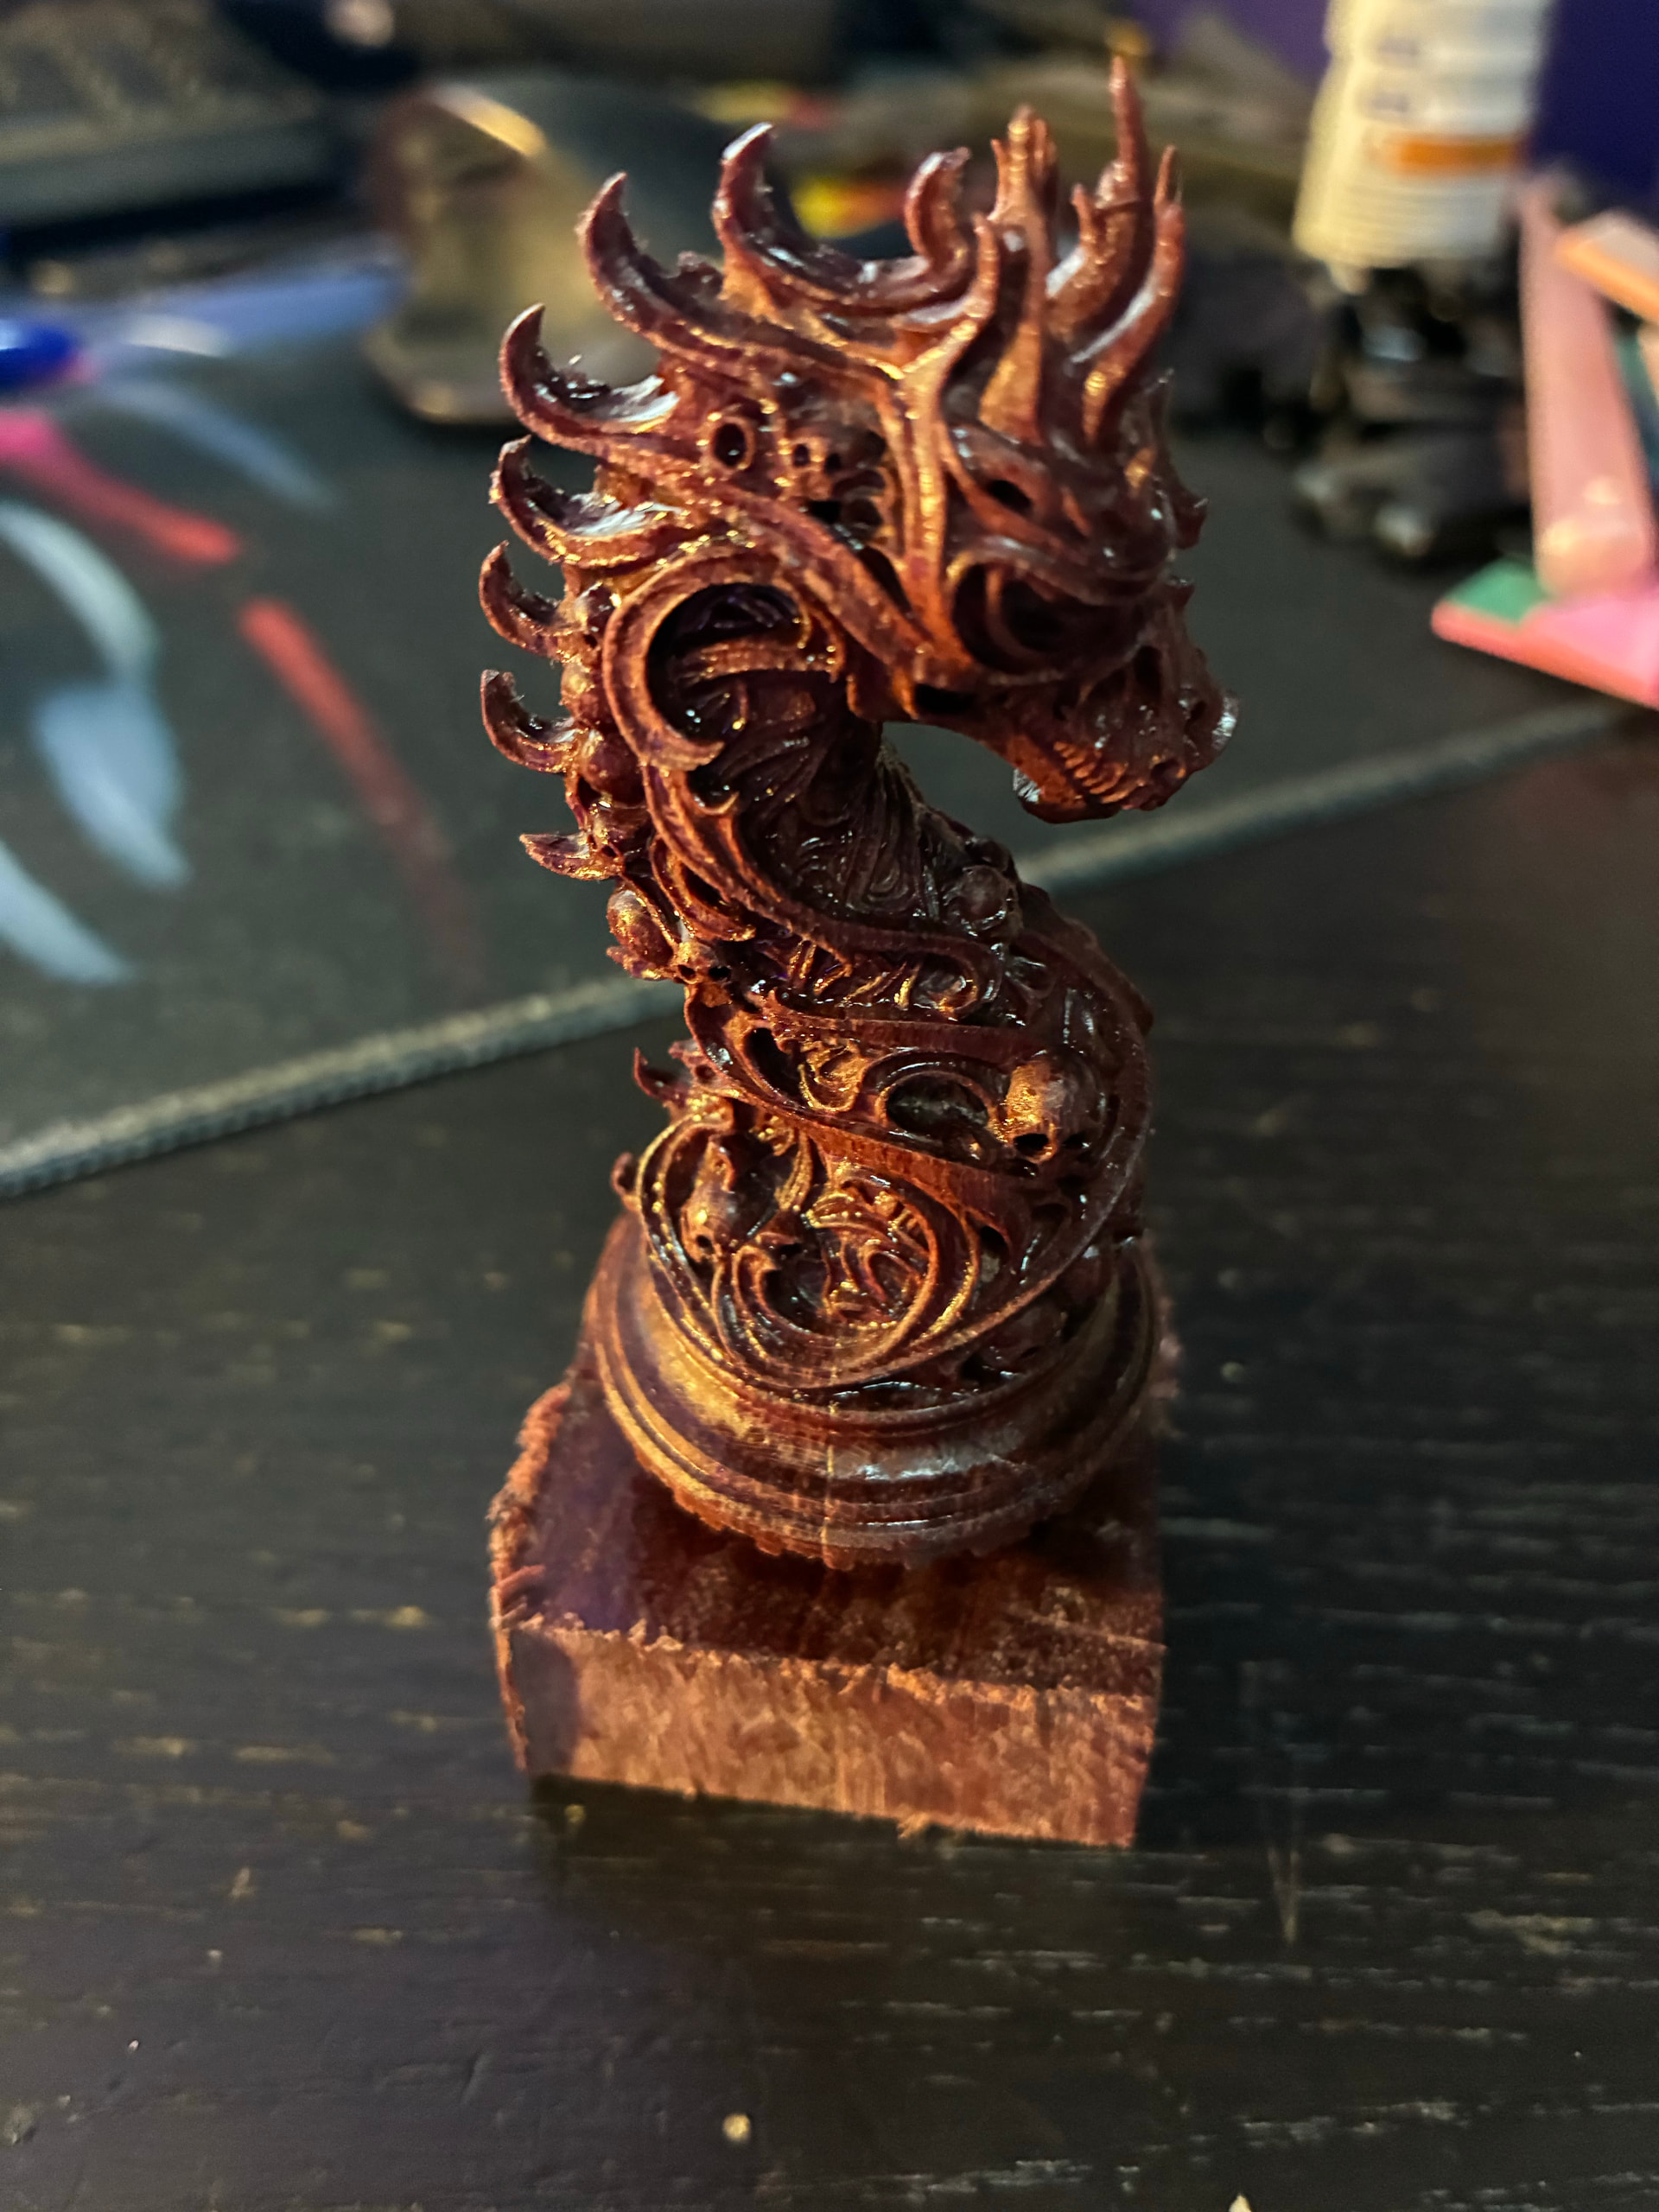
the lathe operation should handle the bells. look at the chess pieces in Showcase for an example of complex 4th axis lathe on a Carvera.
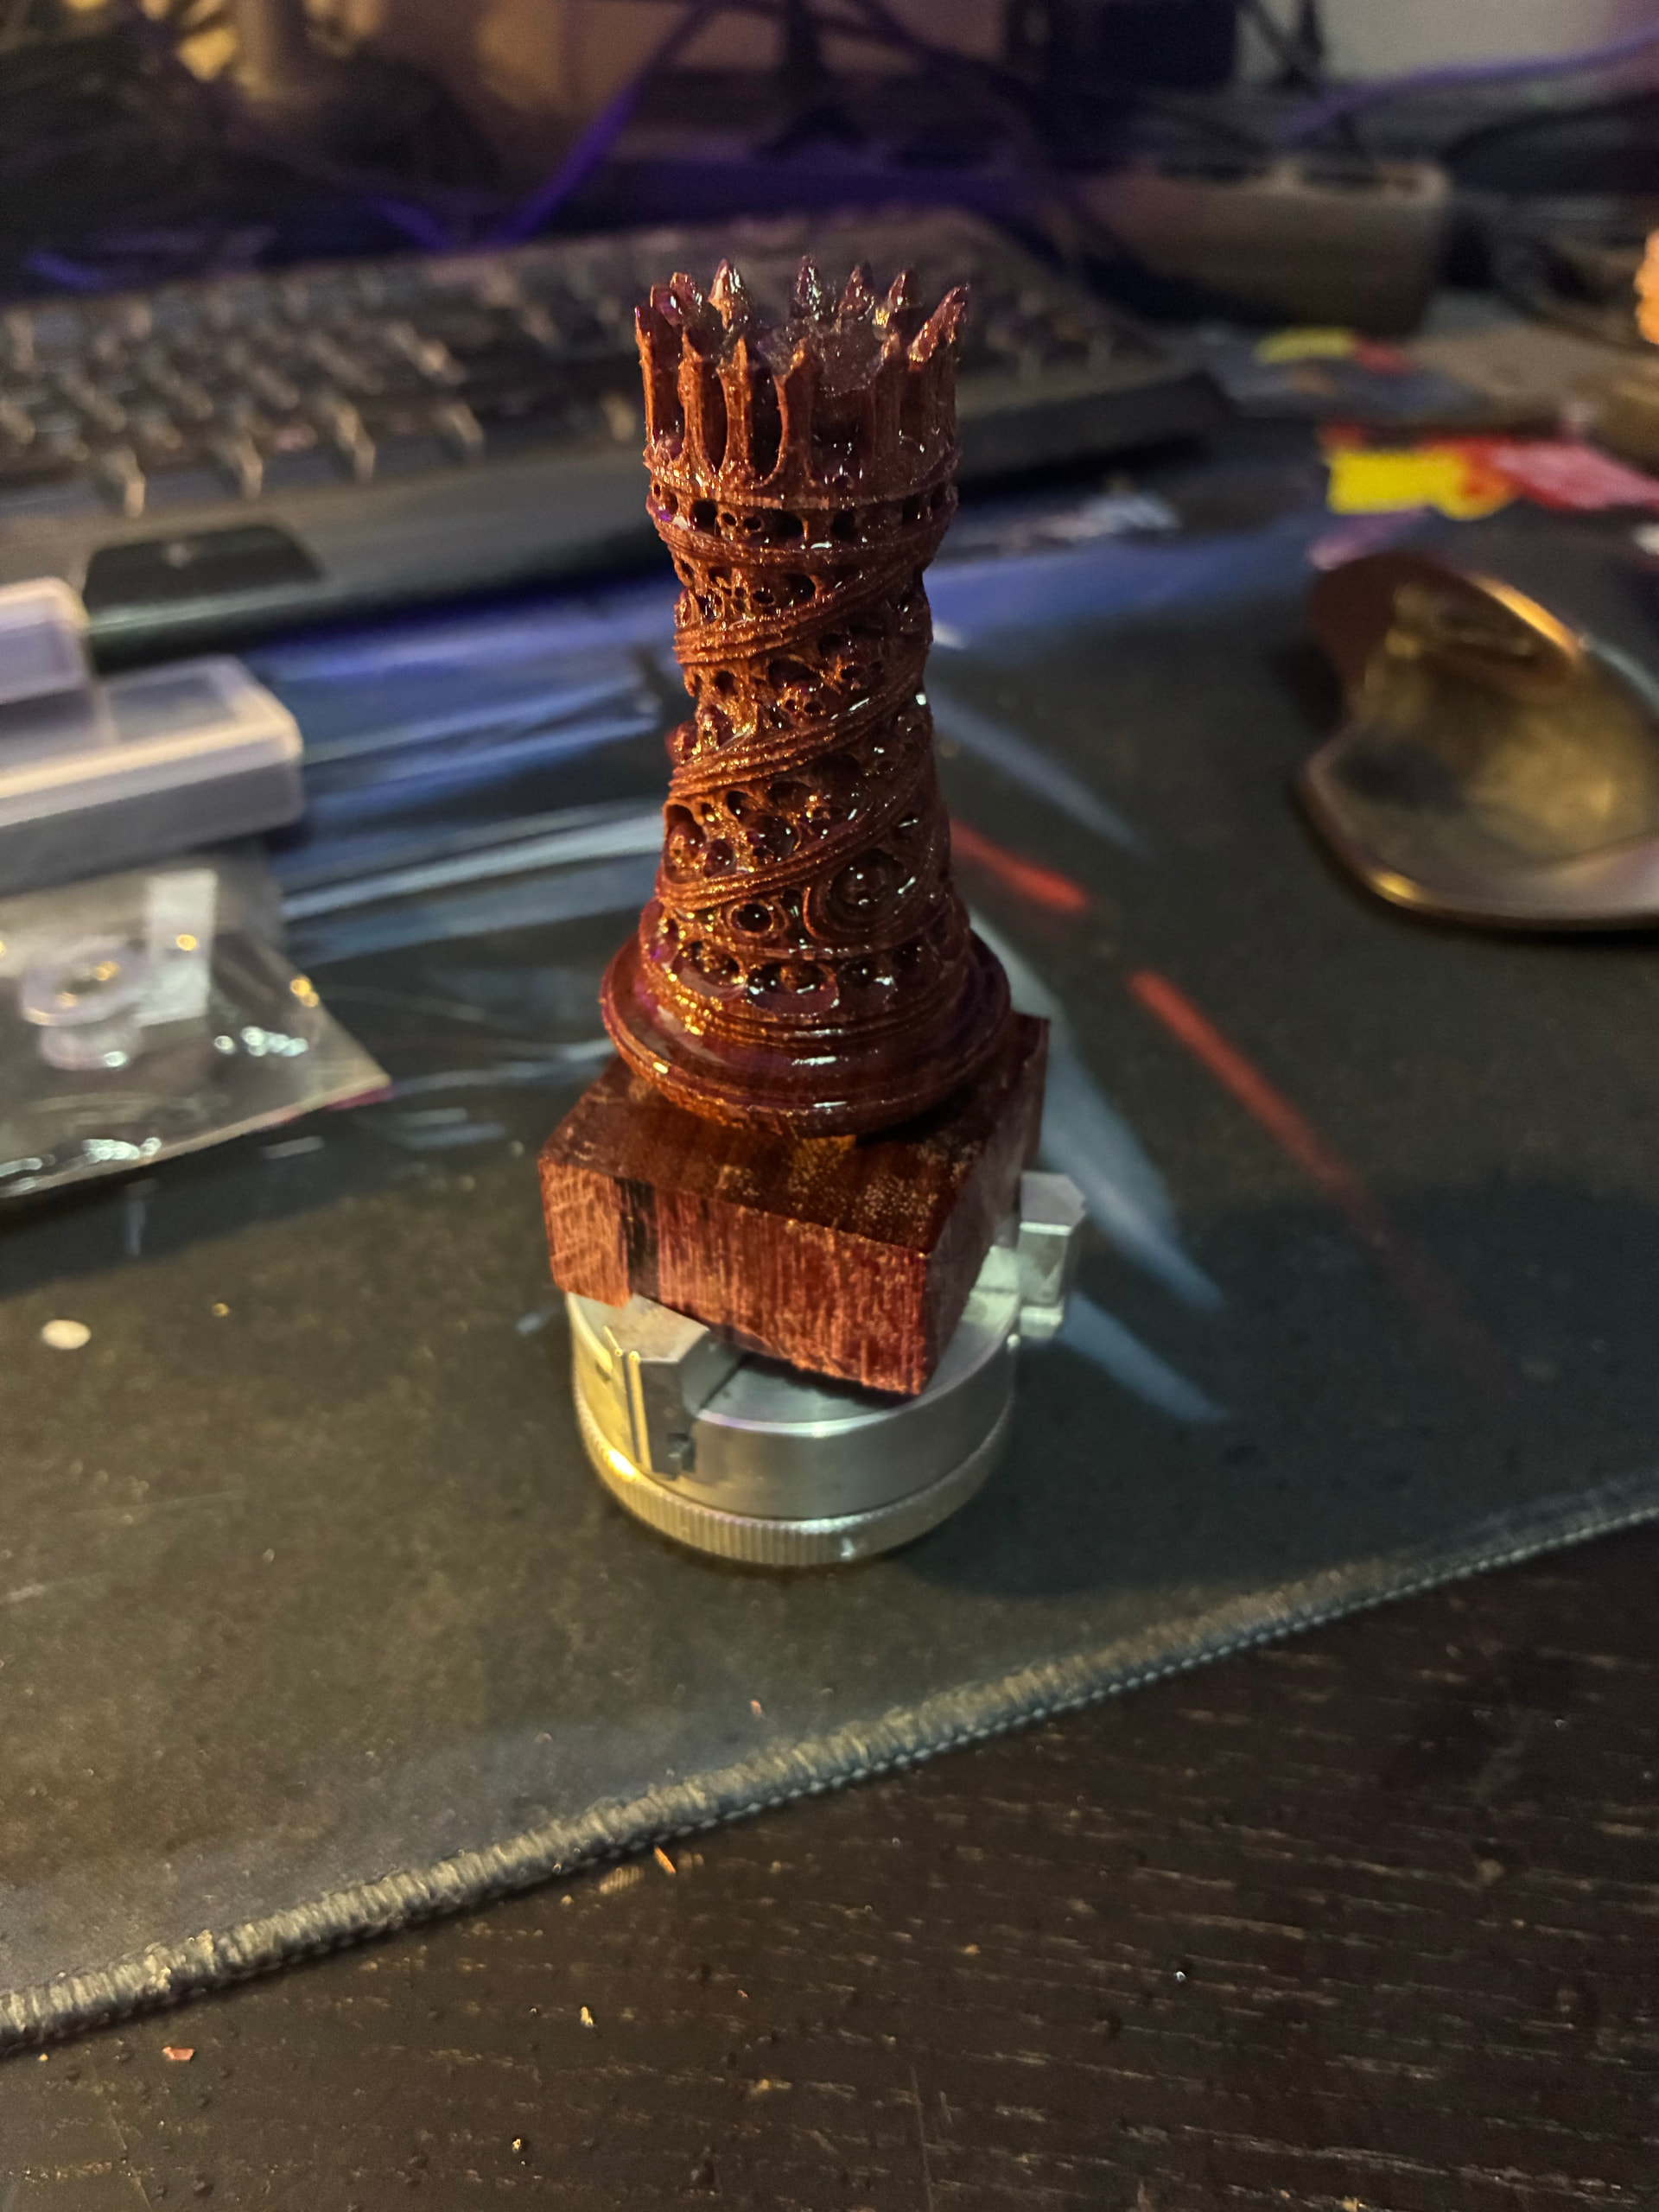
If you have a bell and want to engrave it, then positioning is a thing, if you make the bell with an engraving from a block that’s perfect… I’m making a gothic style chessboard with the index and lathe operations:

I need to update that showcase a bit ![]() I’ll do that when I’m done with all the pieces.
I’ll do that when I’m done with all the pieces.
@DaBIGOne Those looks very good, how you did some details like the hat of the bishop?
I recall seeing these models and some like that one would require a 5th axis CNC as there are some parts the mill can’t reach just with 4 axis.
The bishop could use some more milling deeper in the hat, but the lack of it didn’t bother me.
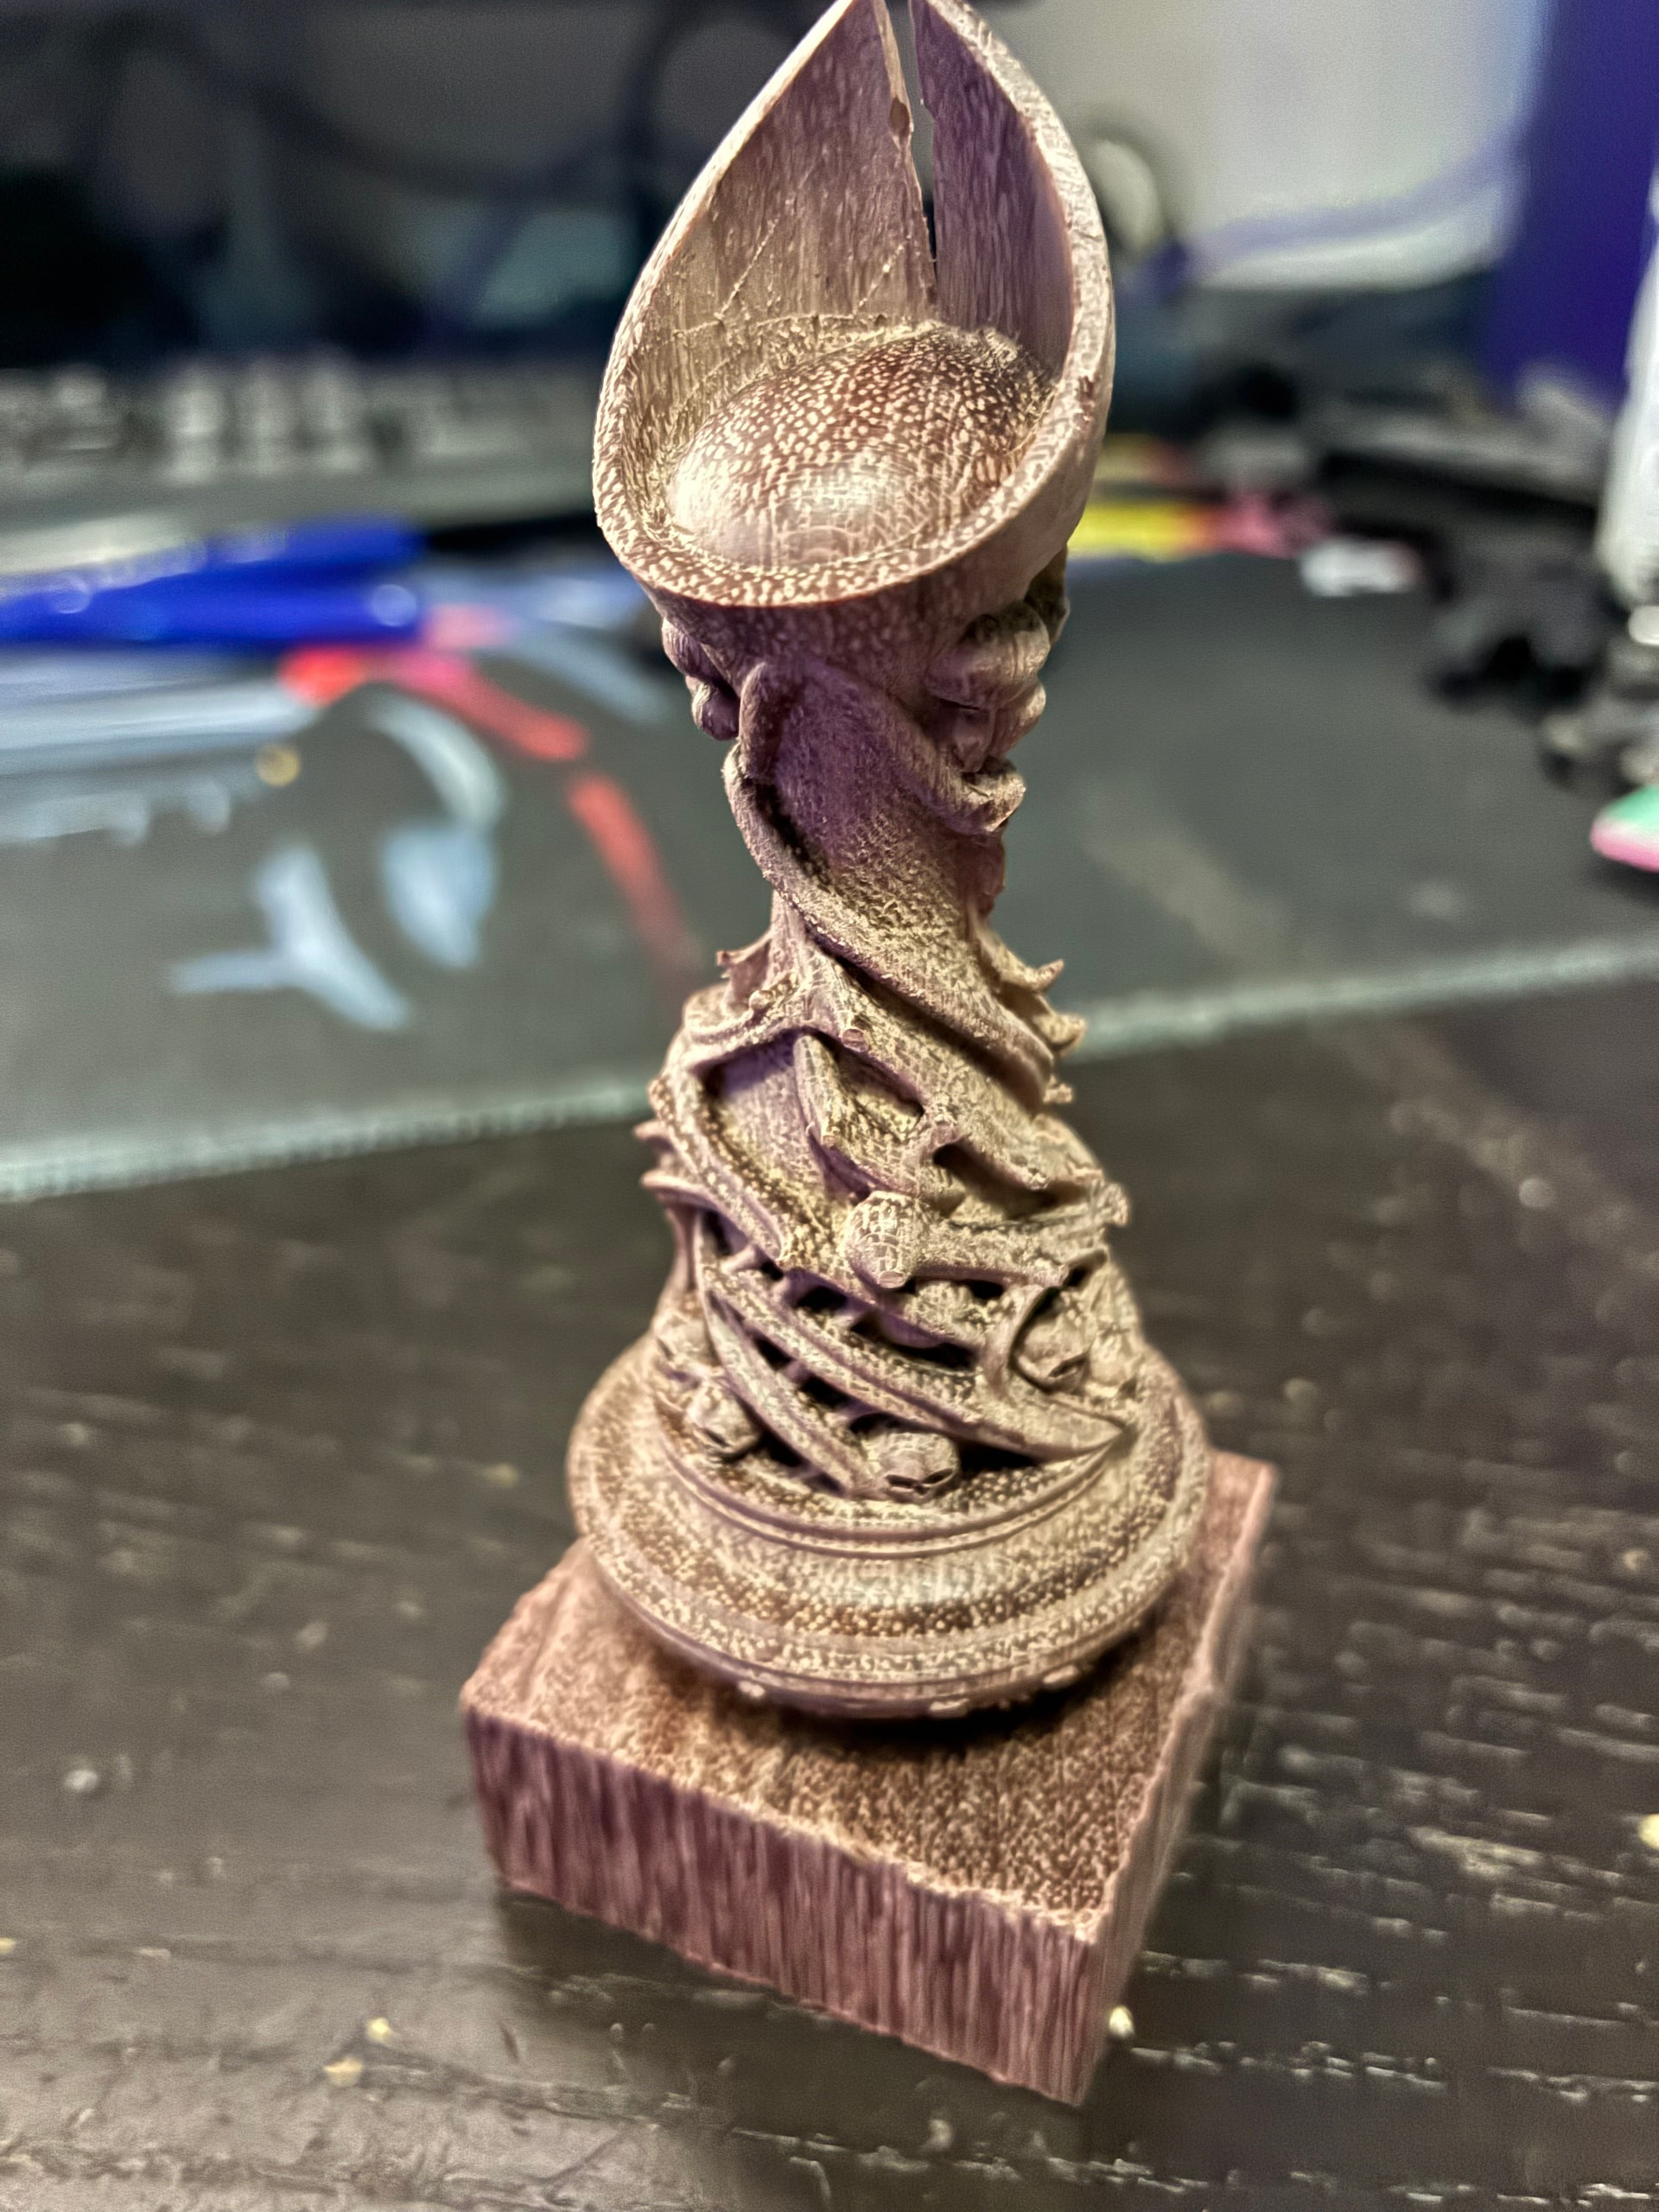
So I didn’t go on with my plan of making a jig that holds the model at 45 degrees and try to position it perfectly… I think it was more hassle than worth the risk, I sanded the head a bit and left it like that.
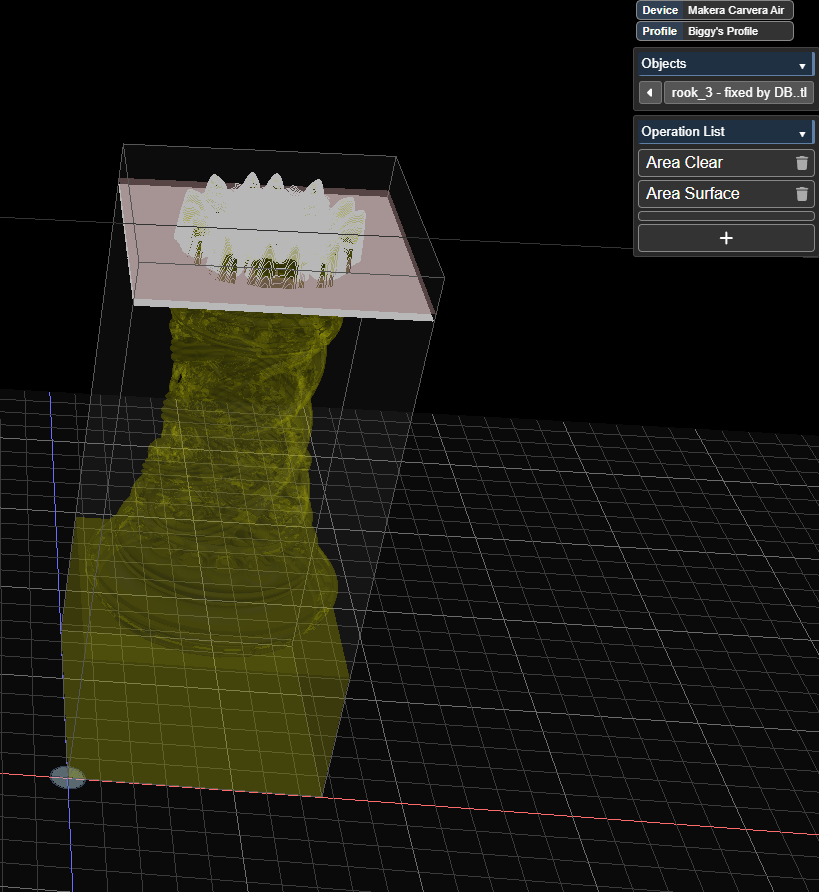
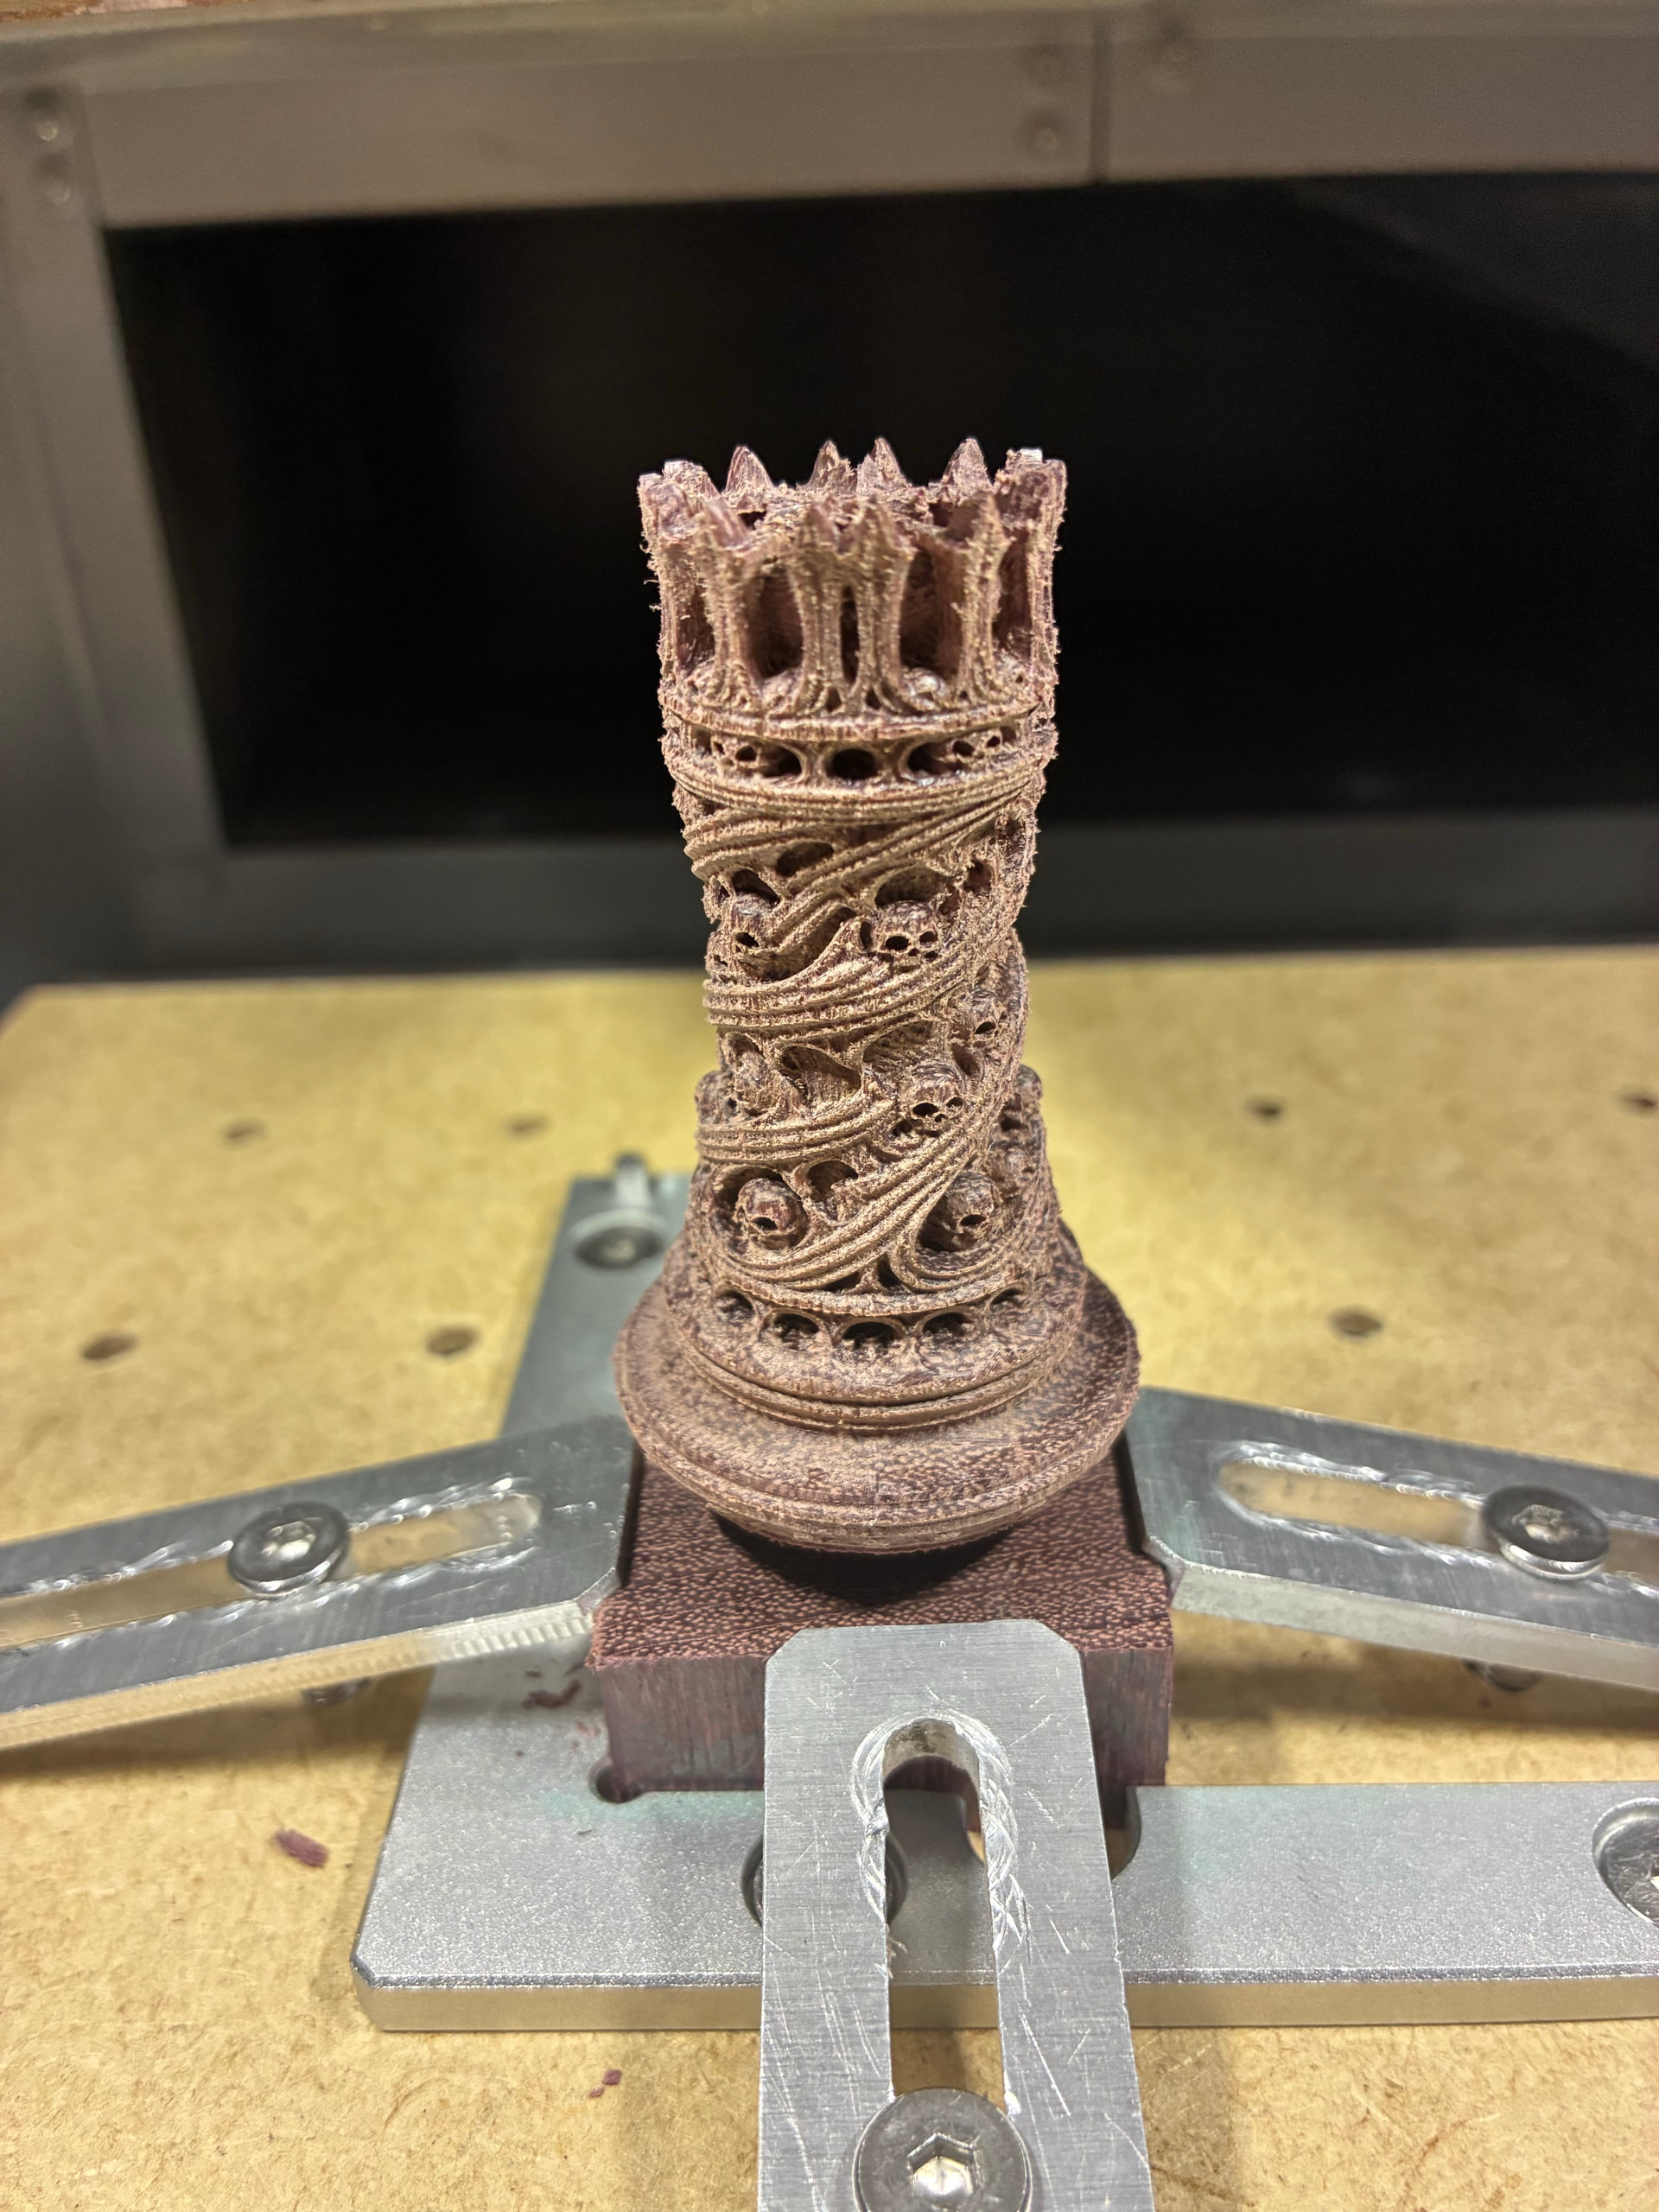
For the rook though that was absolutely necessary, I strapped it on the anchor 2, measured the base added that to the model and then milled it with a Z-bottom of like 82 mm.
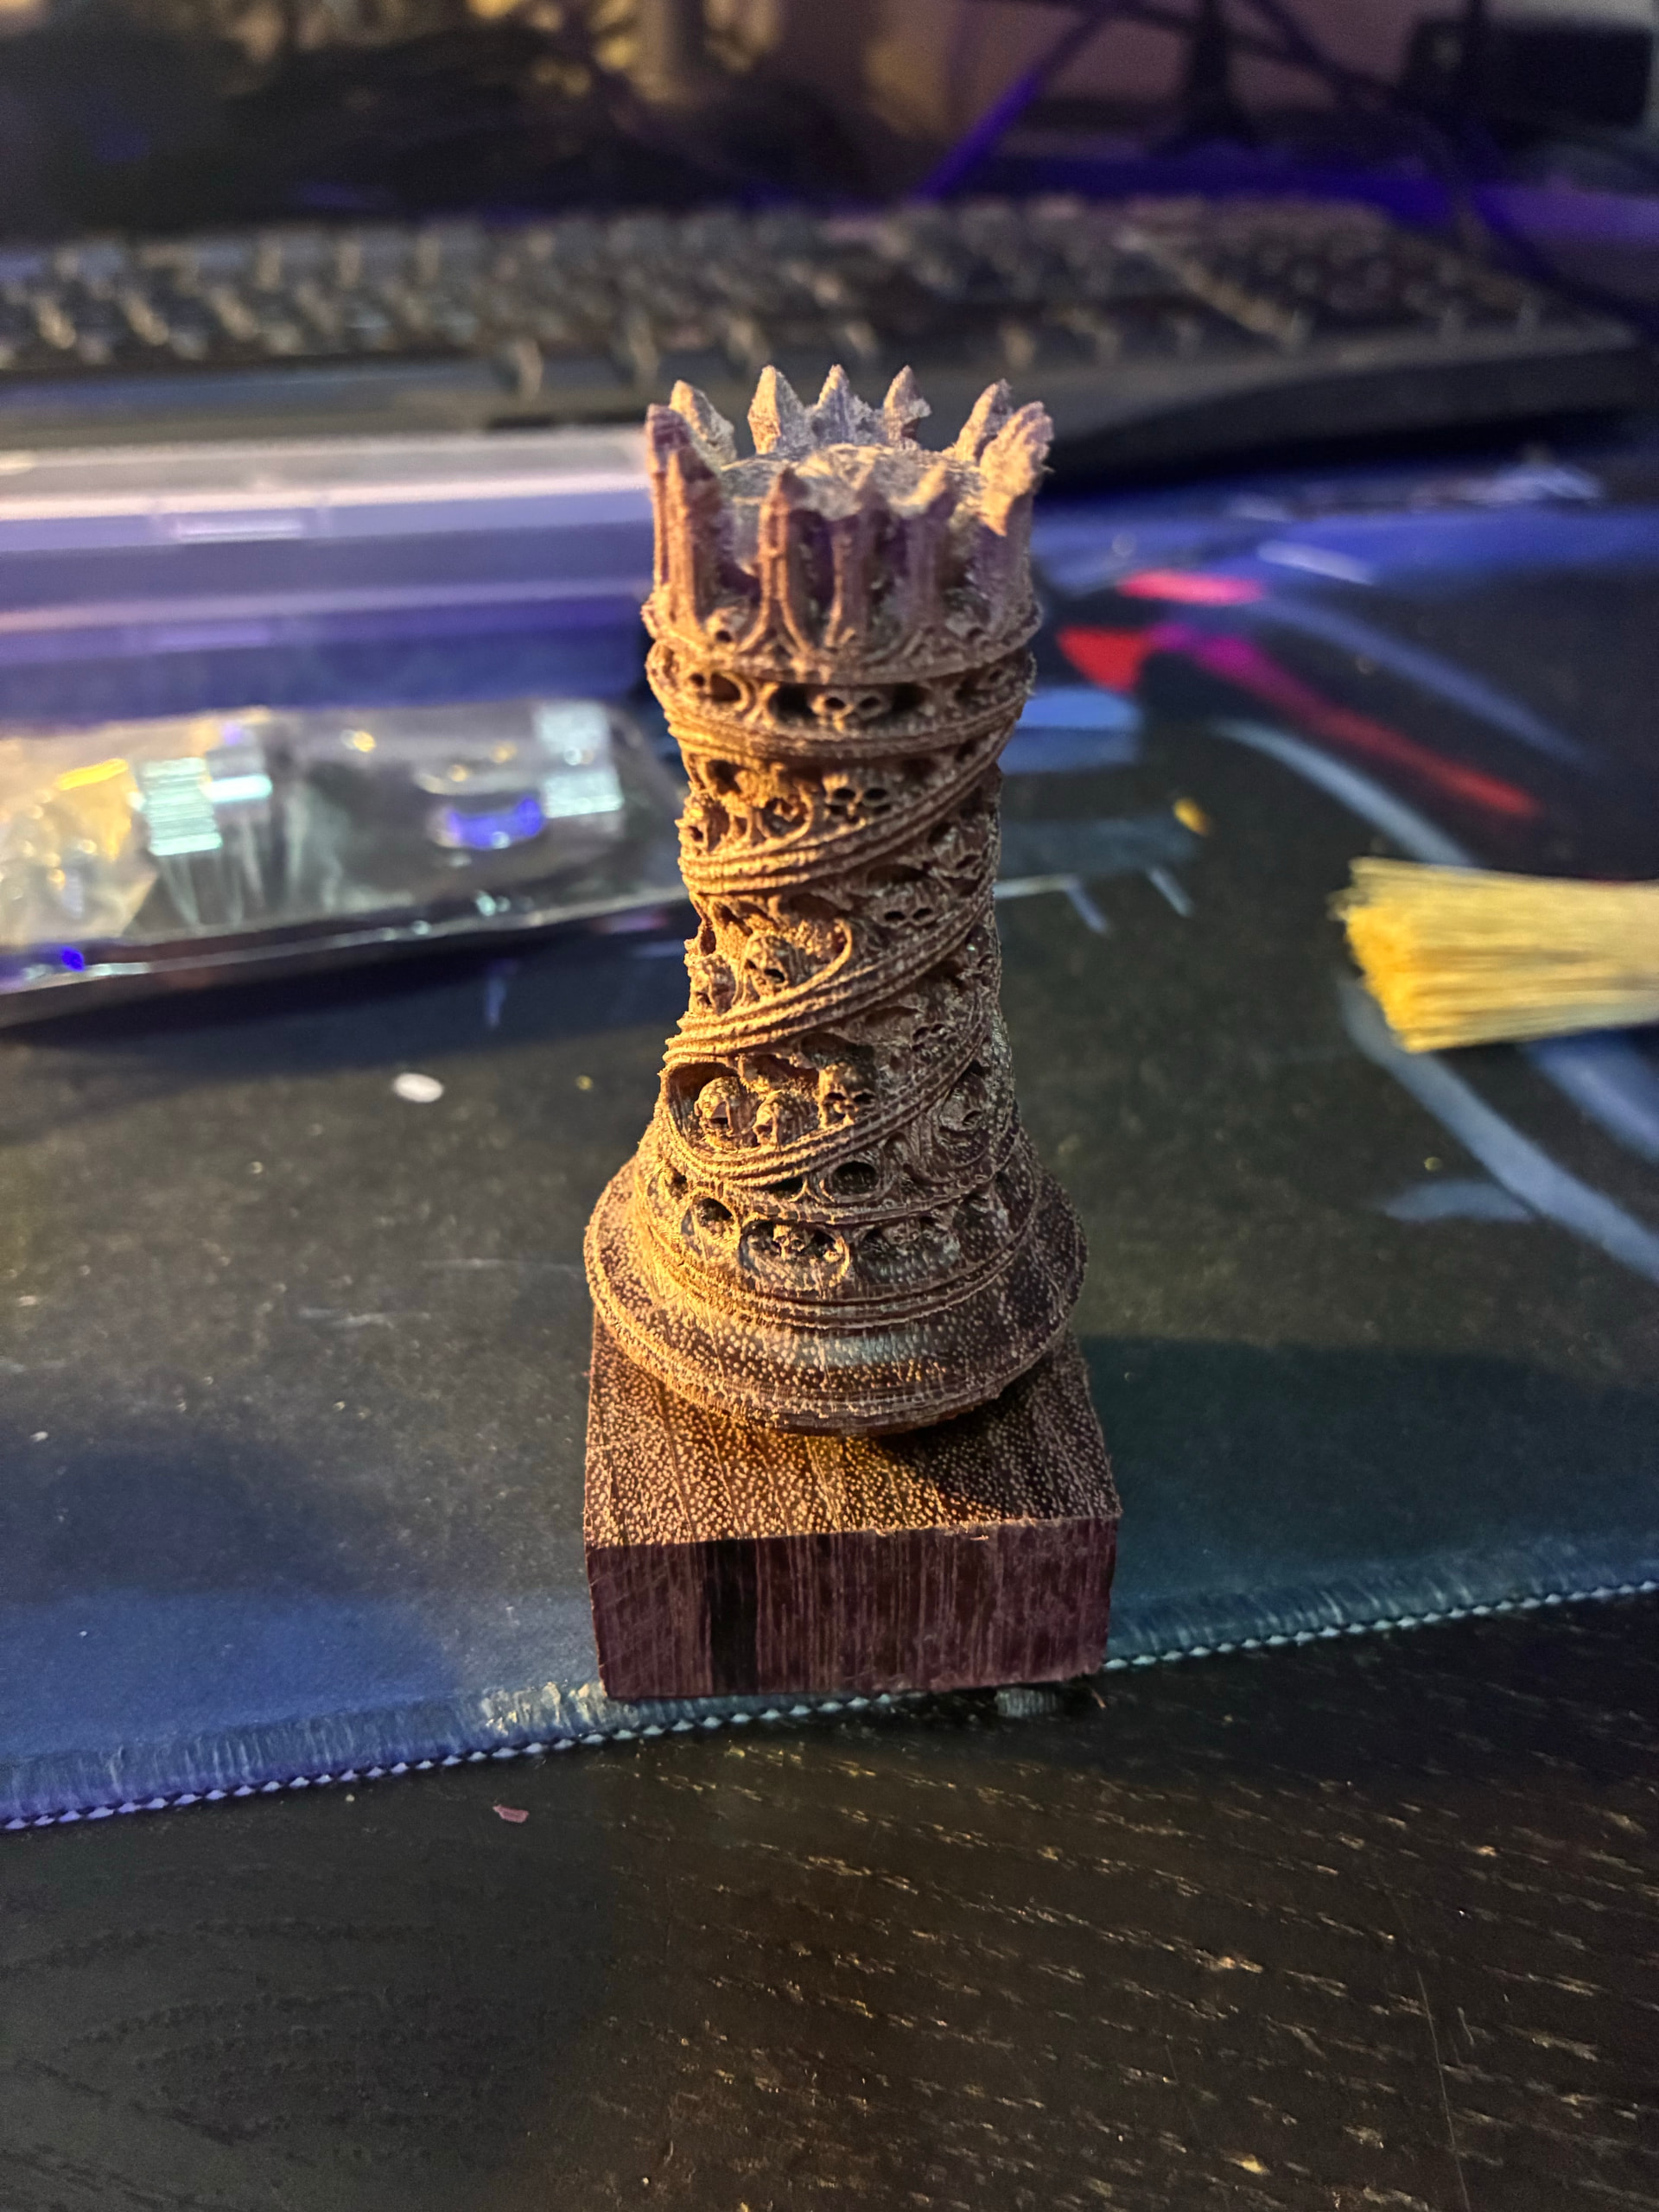
and then finished with Osmo 420 UV protective oil (just applied, still wet I let it dry on a small lathe I made for drying the pieces, hence the chuck):